How to use Espresso Test Recorder
Espresso Test Recorder in Android Studio turns a short manual pass through an Android screen into an instrumented Espresso test class. It is most useful when a developer needs a quick starting point for a UI test before tightening the generated selectors, assertions, and naming.
The recorder launches the selected app on an emulator or device, logs tap and type actions, and lets you add assertions from a captured view hierarchy. When the recording is saved, Android Studio writes the test into the app module's androidTest source set and can add missing Espresso dependencies to the module build file.
Use a focused screen that already opens successfully on the test device. Turn off device animations first, keep the recorded journey short, and run the generated class immediately so brittle text, generated names, or missing assertions are found before the test is committed.
Steps to use Espresso Test Recorder in Android Studio:
- Open the Android app project in Android Studio and select the app module or build variant that should be tested.
The app must already build and install on the selected emulator or device.
Related: How to configure an Android project for Espresso - Disable animations on the emulator or device used for the recording.
Animations can change timing and view state while Espresso records or replays interactions.
Related: How to disable Android animations for Espresso tests - Start the recorder from the Android Studio menu.
Run -> Record Espresso Test
- Choose the emulator or device in Select Deployment Target and click OK.
Android Studio builds, installs, and launches the app before the Record Your Test window becomes interactive. If a Waiting for Debugger or Attaching Debugger dialog appears on the device, wait for it to close instead of force-closing the app.
- Perform one short user journey in the app.
The Record Your Test window should log actions such as taps and typed text in the order they were performed.
- Click Add Assertion when the screen shows the state that should be checked.
The Screen Capture dialog closes after Espresso Test Recorder captures the current hierarchy.
- Select the target view in the captured screen or from the first Edit assertion drop-down.
The selected view is highlighted before the assertion is saved.
- Choose the assertion type and click Save Assertion.
Use text is for exact text checks, exists when the view should be present, and does not exist when the view should be absent.
- Click Complete Recording after the interaction and assertion list matches the intended journey.
- Enter a clear class name in Pick a test class name for your test and click Save.
If Missing Espresso dependencies appears, click Yes only after confirming the project should let Android Studio add the required Espresso dependencies to the module build file.
- Confirm that the generated test file opens under the app module's androidTest source set.
app/src/androidTest/java/com/example/shop/CheckoutRecorderTest.java
The exact package path follows the launched activity package and the project's instrumentation test root.
- Run the generated class from the Project window.
Right-click the test class or method, click Run, choose the deployment target, and watch the Run window for the test result.
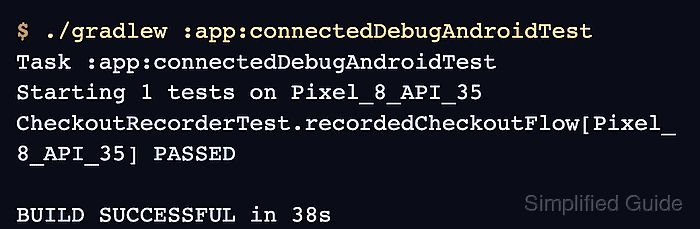
Related: How to run Espresso tests in Android Studio - Run the connected test task when a terminal smoke test is needed for the generated class.
$ ./gradlew :app:connectedDebugAndroidTest
Task :app:connectedDebugAndroidTest
Starting 1 tests on Pixel_8_API_35
CheckoutRecorderTest.recordedCheckoutFlow[Pixel_8_API_35] PASSED

BUILD SUCCESSFUL in 38s
Replace :app and Debug with the module and variant used by the project. Refine generated matchers and assertions as normal Espresso code before expanding the test suite.
Related: How to run Espresso tests locally
Related: How to stabilize selectors in Espresso tests