A first Espresso test should prove that the Android instrumentation runner can launch a real screen and that Espresso can find one view state after an interaction. Starting with one small assertion keeps the test focused on the project setup, runner, and screen wiring before a larger UI suite adds more branches.
ActivityScenarioRule starts the target activity for each test method and closes it after the method finishes. The test source belongs in the app module's androidTest source set, where AndroidX Test dependencies are available without shipping test code in the release APK.
A deterministic screen without a network request, login challenge, or seeded account makes the first run easier to interpret. View-based Android screens are the right target for Espresso; screens built only with Jetpack Compose should use the Compose testing APIs instead.
Steps to write a first Espresso test:
- Add the minimal Espresso dependencies and instrumentation runner to the app module.
- build.gradle.kts
android {
    defaultConfig {
        testInstrumentationRunner =
            "androidx.test.runner." +
                "AndroidJUnitRunner"
    }
}

val espressoVersion = "3.7.0"
val junitVersion = "1.3.0"
val runnerVersion = "1.7.0"

dependencies {
    androidTestImplementation(
        "androidx.test.espresso:" +
            "espresso-core:$espressoVersion"
    )
    androidTestImplementation(
        "androidx.test.ext:" +
            "junit:$junitVersion"
    )
    androidTestImplementation(
        "androidx.test:" +
            "runner:$runnerVersion"
    )
}
The versions shown match the current AndroidX Test releases in Google Maven. Keep the Espresso artifacts on the same release when adding more Espresso modules later.
- Create the first test class under the app module's androidTest source set.
- WelcomeActivityTest.kt
package com.example.app

import androidx.test.espresso.Espresso.onView
import androidx.test.espresso.action.ViewActions.*
import androidx.test.espresso.assertion.ViewAssertions.*
import androidx.test.espresso.matcher.ViewMatchers.*
import androidx.test.ext.junit.rules.ActivityScenarioRule
import androidx.test.ext.junit.runners.AndroidJUnit4
import androidx.test.filters.LargeTest
import org.junit.Rule
import org.junit.Test
import org.junit.runner.RunWith

@RunWith(AndroidJUnit4::class)
@LargeTest
class WelcomeActivityTest {

    @get:Rule
    val activityRule =
        ActivityScenarioRule(WelcomeActivity::class.java)

    @Test
    fun tappingContinueShowsWelcomeMessage() {
        onView(withId(R.id.continue_button)).perform(click())

        onView(withId(R.id.message))
            .check(matches(withText("Welcome")))
    }
}
- Replace the sample activity, view IDs, and expected text with values from the screen under test.
val activityRule =
    ActivityScenarioRule(MainActivity::class.java)

onView(withId(R.id.sign_in)).perform(click())

onView(withId(R.id.status))
    .check(
        matches(withText("Signed in"))
    )
Use resource IDs for the first test when the app exposes them. Text-only matchers are easy to read but can break when copy changes or localization is enabled.
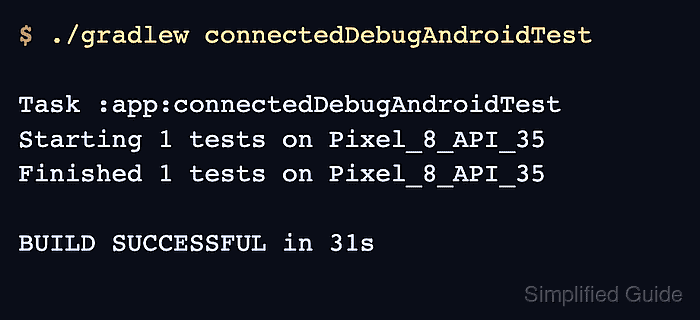
- Run the connected Espresso test task on an emulator or device.
$ ./gradlew connectedDebugAndroidTest

Task :app:connectedDebugAndroidTest
Starting 1 tests on Pixel_8_API_35
Finished 1 tests on Pixel_8_API_35

BUILD SUCCESSFUL in 31s
The task name changes with the module and variant. Android projects with product flavors may expose a variant-specific task such as connectedFreeDebugAndroidTest.
Related: How to run Espresso tests locally

Mohd Shakir Zakaria is a cloud architect with deep roots in software development and open-source advocacy. Certified in AWS, Red Hat, VMware, ITIL, and Linux, he specializes in designing and managing robust cloud and on-premises infrastructures.


