An SSH key pair gives a local account a private credential and a matching public key that can be installed on remote servers. Creating the pair before a login handoff prevents accidental reuse of old keys and keeps the private key on the machine that will initiate SSH connections.
OpenSSH creates two files for a new identity. The private key stays under ~/.ssh with owner-only permissions, while the public .pub file can be copied into a remote account's authorized_keys file or a deployment system that accepts SSH public keys.
Use ed25519 for most new keys unless a server, policy, or hardware token requires another algorithm. A passphrase protects the private key if the file is copied or stolen, while unattended automation should use an agent or a dedicated restricted key instead of exposing an interactive user's private key.
Steps to create an SSH key pair with OpenSSH:
- Create an Ed25519 key pair with a useful comment.
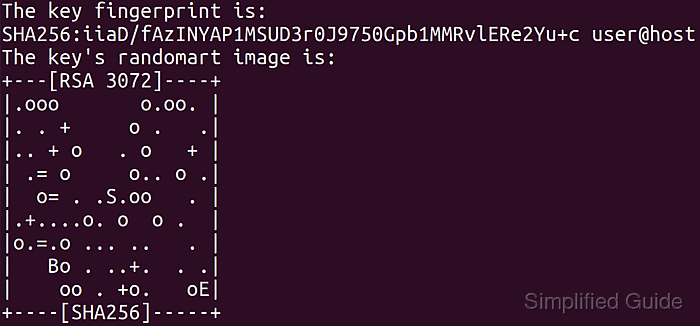
$ ssh-keygen -t ed25519 -C "user@workstation"
Generating public/private ed25519 key pair.
Enter file in which to save the key (/home/user/.ssh/id_ed25519):
Enter passphrase (empty for no passphrase):
Enter same passphrase again:
Your identification has been saved in /home/user/.ssh/id_ed25519
Your public key has been saved in /home/user/.ssh/id_ed25519.pub
The key fingerprint is:
SHA256:tXtH/VwGC1b/CcB0r8WKV05KG2Lv9QPjjFZBJcE9xvY user@workstation
##### snipped #####
Press Enter at the file prompt to use the default /home/user/.ssh/id_ed25519 path. Enter a different filename when an existing key at that path must be kept.
- Check the saved key file permissions.
$ ls -l ~/.ssh/id_ed25519 ~/.ssh/id_ed25519.pub
-rw------- 1 user user 411 Jun 13 01:35 /home/user/.ssh/id_ed25519
-rw-r--r-- 1 user user  98 Jun 13 01:35 /home/user/.ssh/id_ed25519.pub
The private key should be readable only by its owner. If ssh warns about an unprotected private key, reduce the mode before using it.
Related: How to fix the SSH unprotected private key file warning - Print the public key fingerprint.
$ ssh-keygen -lf ~/.ssh/id_ed25519.pub
256 SHA256:tXtH/VwGC1b/CcB0r8WKV05KG2Lv9QPjjFZBJcE9xvY user@workstation (ED25519)
Use the fingerprint to identify the public key in tickets, inventories, and handoff notes without pasting the private key.
Tool: SSH Key Fingerprint Checker - Display the public key line that can be installed on a server.
$ cat ~/.ssh/id_ed25519.pub
ssh-ed25519 AAAAC3NzaC1lZDI1NTE5AAAAIGU+H7TrzzwHtzv7fHyoptsyFjbULDrpf/DMMD7lyeSs user@workstation
Copy only the .pub line to remote systems or access requests. Never paste the private key file contents into authorized_keys, tickets, chat, or browser tools.

Mohd Shakir Zakaria is a cloud architect with deep roots in software development and open-source advocacy. Certified in AWS, Red Hat, VMware, ITIL, and Linux, he specializes in designing and managing robust cloud and on-premises infrastructures.


