PyTorch projects often need a Python package set that stays separate from system tools, notebooks, and other experiments. A venv environment keeps the interpreter, pip, and installed torch wheels together for one training or inference workspace.
Python's venv module creates the environment directory, and activation points python and pip at that directory. Installing with python -m pip after activation keeps the PyTorch wheel under the selected environment instead of a user or system site-packages path.
The CPU wheel index is a portable default for development hosts without a required accelerator. Use the PyTorch install selector for CUDA, ROCm, or platform-specific wheels after the environment is created, then keep the same package-location and import checks against that environment.
Related: How to install PyTorch with pip
Related: How to create a Conda environment for PyTorch
Related: How to check the PyTorch version
Steps to create a PyTorch virtual environment:
- Open a terminal where Python 3.10 through 3.14 is available.
$ python3 --version
Python 3.14.4
Current PyTorch stable wheels require Python 3.10 or later. On Ubuntu or Debian, install python3-venv first if python3 -m venv reports that ensurepip is unavailable.
- Create an isolated Python environment for the project.
$ python3 -m venv ~/venvs/torch-lab
Replace ~/venvs/torch-lab with a project-local path such as .venv when the environment should sit inside the project directory.
- Activate the environment.
$ source ~/venvs/torch-lab/bin/activate
(torch-lab) $
- Upgrade pip inside the active environment.
(torch-lab) $ python -m pip install --upgrade pip
Requirement already satisfied: pip in ~/venvs/torch-lab/lib/python3.14/site-packages (25.1.1)
Collecting pip
##### snipped #####
Successfully installed pip-26.1.2
- Install PyTorch and the common companion packages from the official CPU wheel index.
(torch-lab) $ python -m pip install torch torchvision torchaudio --index-url https://download.pytorch.org/whl/cpu
Looking in indexes: https://download.pytorch.org/whl/cpu
Collecting torch
##### snipped #####
Successfully installed filelock-3.29.0 fsspec-2026.4.0 jinja2-3.1.6 numpy-2.4.4 pillow-12.2.0 torch-2.12.1+cpu torchaudio-2.11.0+cpu torchvision-0.27.1+cpu typing-extensions-4.15.0
The --index-url value selects CPU wheels. Use the current PyTorch install selector for CUDA or ROCm wheels, then install the generated command into the same active environment.
Related: How to enable CUDA in PyTorch
Related: How to enable ROCm in PyTorch - Confirm that torch is installed inside the virtual environment.
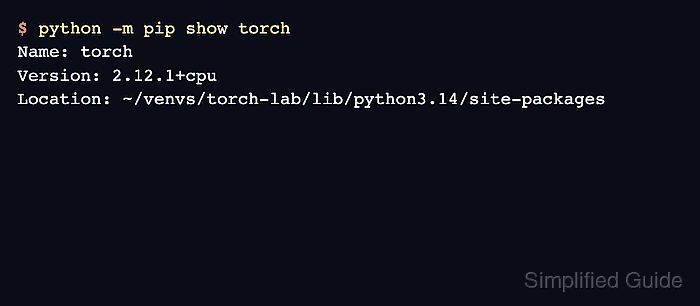
(torch-lab) $ python -m pip show torch
Name: torch
Version: 2.12.1+cpu
Summary: Tensors and Dynamic neural networks in Python with strong GPU acceleration
Home-page: https://pytorch.org
License: BSD-3-Clause
Location: ~/venvs/torch-lab/lib/python3.14/site-packages
Requires: filelock, fsspec, jinja2, networkx, setuptools, sympy, typing-extensions
Required-by: torchvision
The Location value should point under the environment path created for the project, not a system or user site-packages directory.
- Run a PyTorch import and tensor smoke test from the active environment.
(torch-lab) $ python -c 'import pathlib, sys, torch; print("python=" + sys.executable); print("torch=" + torch.__version__); print("site=" + str(pathlib.Path(torch.__file__).parents[1])); print(torch.ones(2, 3).sum())'
python=~/venvs/torch-lab/bin/python
torch=2.12.1+cpu
site=~/venvs/torch-lab/lib/python3.14/site-packages
tensor(6.)

Mohd Shakir Zakaria is a cloud architect with deep roots in software development and open-source advocacy. Certified in AWS, Red Hat, VMware, ITIL, and Linux, he specializes in designing and managing robust cloud and on-premises infrastructures.


