PyTorch is usually installed inside a project-specific Python environment so training, inference, and notebook code can import torch without changing the system interpreter. A pip install is the direct path for local development when the project needs the official PyTorch wheels rather than a distro package.
An isolated virtual environment and the official CPU wheel index make a narrow default for Linux development hosts that do not need CUDA or ROCm acceleration. The same environment keeps torch, torchvision, torchaudio, and their Python dependencies together for one project.
Use the PyTorch install selector before choosing an accelerator-specific wheel index. After installation, python -m pip show torch should point inside the active environment, and a small tensor operation should run without import errors.
Steps to install PyTorch CPU wheels with pip:
- Open a terminal where Python 3.10 through 3.14 is available.
Current PyTorch stable wheels require a supported Python 3 release. If the project already uses a virtual environment, activate that environment instead of creating a new one.
- Create an isolated Python environment for PyTorch.
$ python3 -m venv ~/venvs/torch-cpu
Replace ~/venvs/torch-cpu with the project environment path when another location is preferred.
- Activate the environment.
$ source ~/venvs/torch-cpu/bin/activate
(torch-cpu) $
- Upgrade pip inside the active environment.
(torch-cpu) $ python -m pip install --upgrade pip
Requirement already satisfied: pip in ~/venvs/torch-cpu/lib/python3.14/site-packages (25.1.1)
Collecting pip
##### snipped #####
Successfully installed pip-26.1.2
- Install PyTorch, torchvision, and torchaudio from the official CPU wheel index.
(torch-cpu) $ python -m pip install torch torchvision torchaudio --index-url https://download.pytorch.org/whl/cpu
Looking in indexes: https://download.pytorch.org/whl/cpu
Collecting torch
Collecting torchvision
Collecting torchaudio
##### snipped #####
Successfully installed torch-2.12.1+cpu torchaudio-2.11.0+cpu torchvision-0.27.1+cpu
The --index-url value selects the CPU wheel index. Use the PyTorch install selector for CUDA or ROCm wheels, then install the selected command into the same active environment.
Related: How to enable CUDA in PyTorch
Related: How to enable ROCm in PyTorch - Confirm that torch is installed inside the active environment.
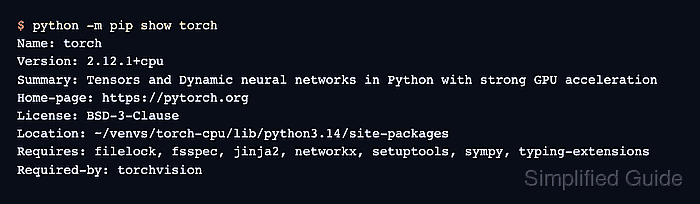
(torch-cpu) $ python -m pip show torch
Name: torch
Version: 2.12.1+cpu
Summary: Tensors and Dynamic neural networks in Python with strong GPU acceleration
Home-page: https://pytorch.org
License: BSD-3-Clause
Location: ~/venvs/torch-cpu/lib/python3.14/site-packages
Requires: filelock, fsspec, jinja2, networkx, setuptools, sympy, typing-extensions
Required-by: torchvision
The Location value should point inside the environment that will run the project code.
- Run a PyTorch tensor smoke test.
(torch-cpu) $ python -c 'import torch; print(torch.__version__); print(torch.tensor([1.0, 2.0, 3.0]) * 2); print("cuda_available=" + str(torch.cuda.is_available())); print("cuda_runtime=" + str(torch.version.cuda))'
2.12.1+cpu
tensor([2., 4., 6.])
cuda_available=False
cuda_runtime=None
The CPU wheel reports cuda_available=False and cuda_runtime=None. Use a CUDA, ROCm, or MPS setup when the project must run tensors on a GPU.
Related: How to enable MPS in PyTorch
Related: How to select a device in PyTorch

Mohd Shakir Zakaria is a cloud architect with deep roots in software development and open-source advocacy. Certified in AWS, Red Hat, VMware, ITIL, and Linux, he specializes in designing and managing robust cloud and on-premises infrastructures.


