ComfyUI represents image generation as a graph of model loading, sampling, and image output nodes. Open WebUI can run that graph from a chat when its ComfyUI connection and workflow inputs match.

An API export describes executable node IDs and input keys. The ordinary visual-editor export includes a different graph structure and cannot substitute for it. The positive-prompt mapping lets Open WebUI replace the graph's prompt, while other mappings control the checkpoint, dimensions, sampling steps, and seed.
A running ComfyUI server with an installed checkpoint and a working text-to-image workflow is the starting point. In Legacy function-calling mode, the chat's Image toggle sends each message to the image engine; the image checkpoint stays separate from the model selected for text chat.
Steps to connect ComfyUI image generation to Open WebUI:
The starting point is an administrator session in Open WebUI, a connected chat model, and an existing ComfyUI text-to-image workflow with a Save Image output node. The example workflow already has DreamShaper8_LCM.safetensors installed and uses an lcm sampler, sgm_uniform scheduler, and CFG of 1.0. Its node IDs and sampling values are examples for that workflow, rather than settings for every image model.
Related: How to connect Ollama to Open WebUI
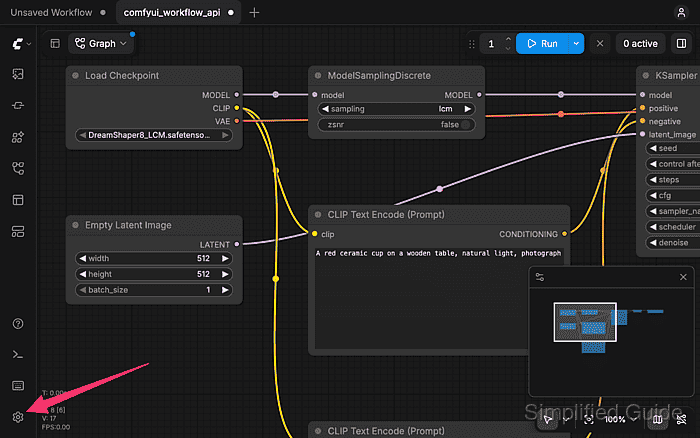
- Open Settings using the gear button in ComfyUI.
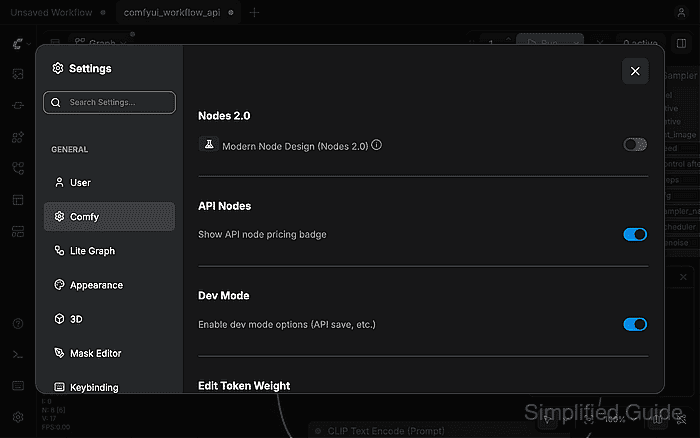
- Enable Dev Mode in the Comfy settings category.
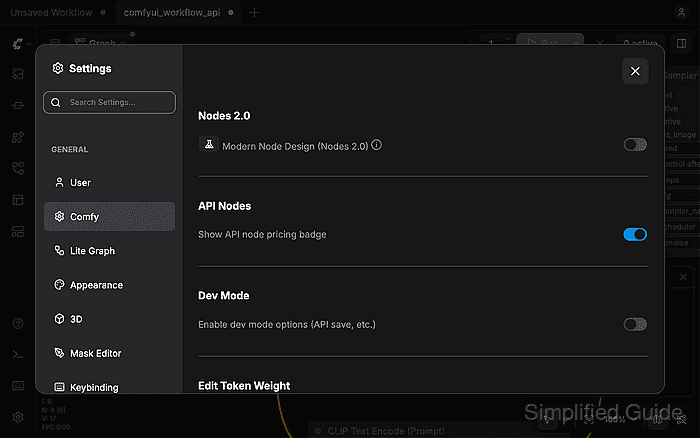
The option is labeled Enable dev mode options (API save, etc.).
- Close the Settings dialog.
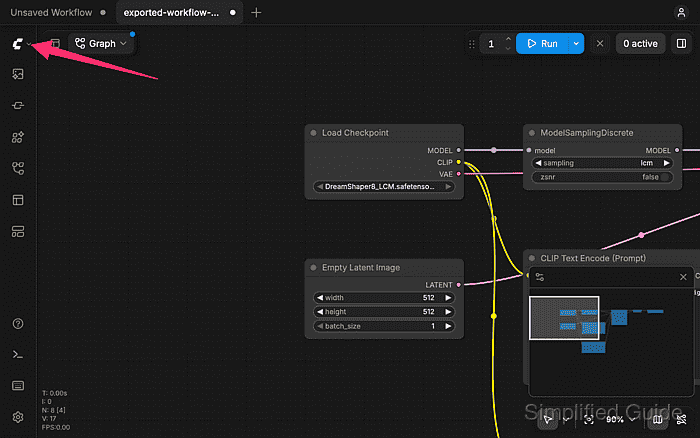
- Open the ComfyUI menu.
- Open the File submenu.
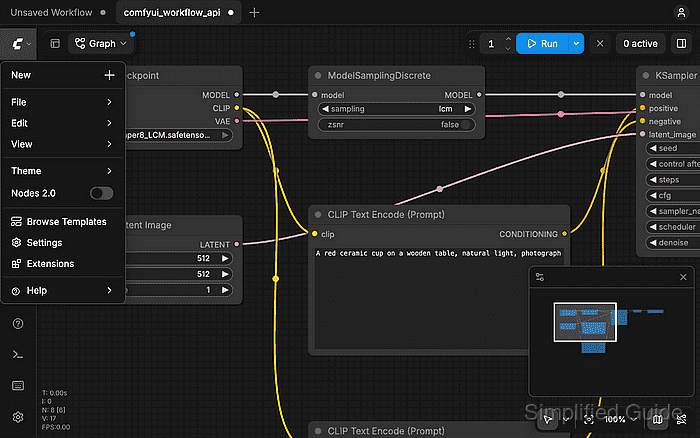
- Choose Export (API).
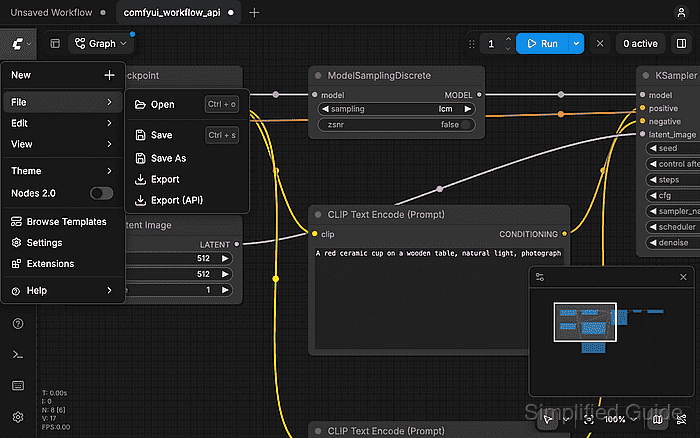
The separate Export option produces the visual-editor format.
- Confirm the export filename.
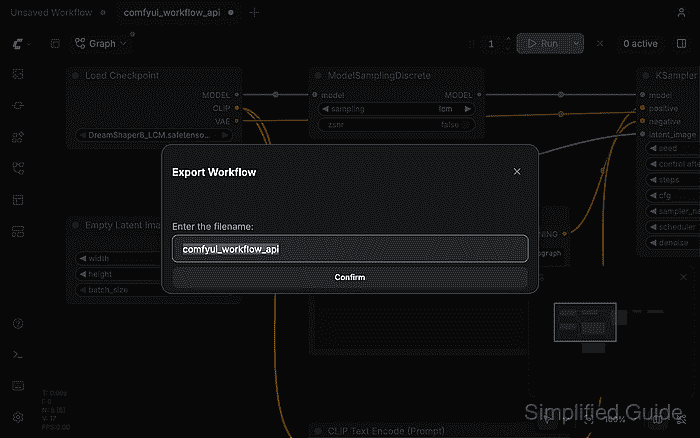
The browser downloads the API workflow as a JSON file.
- Open the Open WebUI user menu.
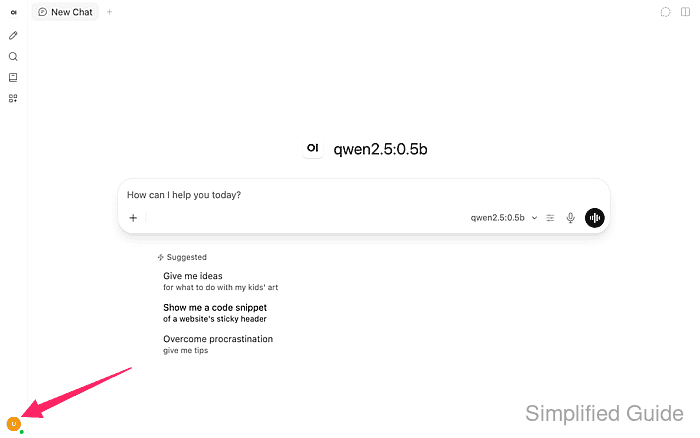
- Select Settings.
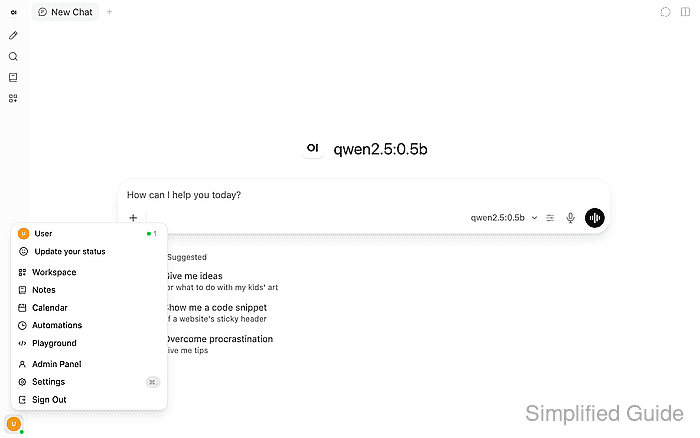
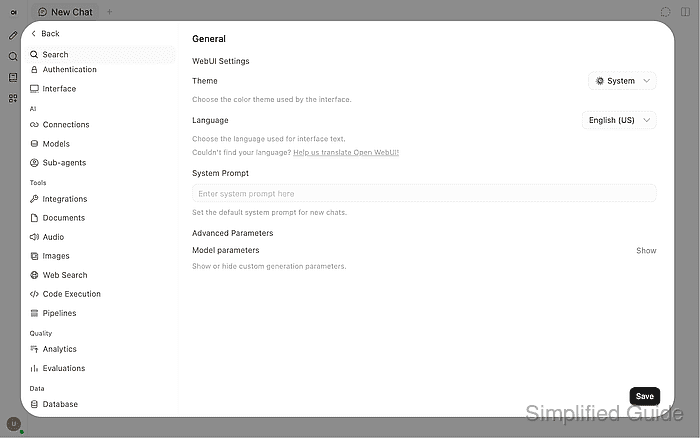
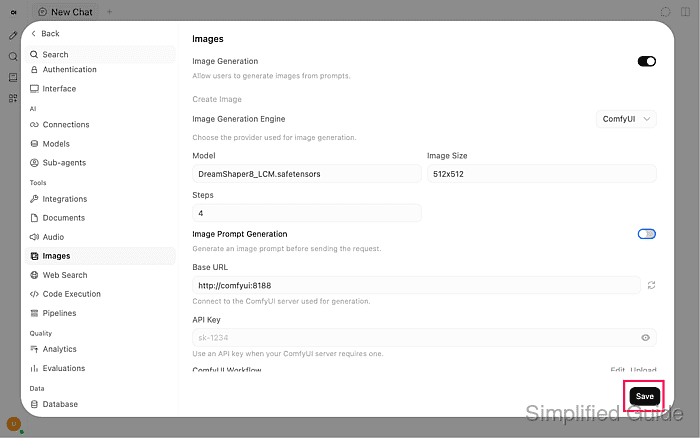
- Select Images under Admin → Tools.
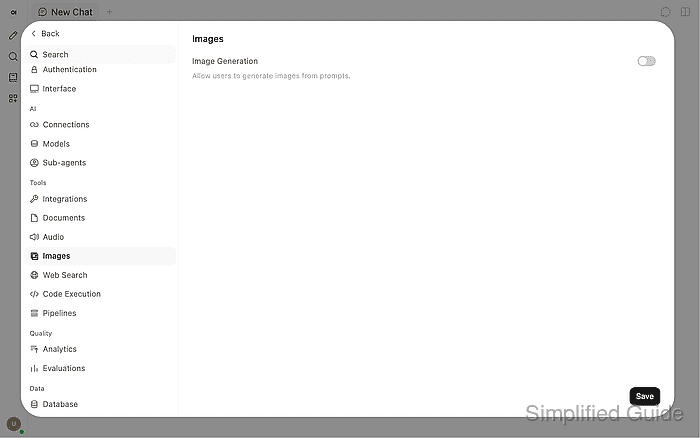
- Enable Image Generation.
- Select ComfyUI as the Image Generation Engine under Create Image.
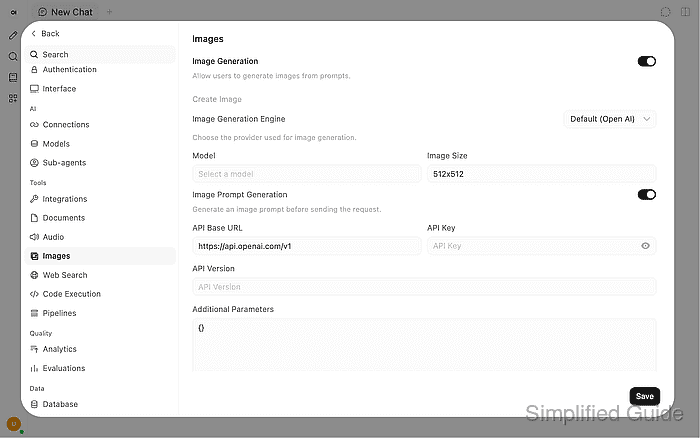
- Enter your ComfyUI server's address in Base URL.
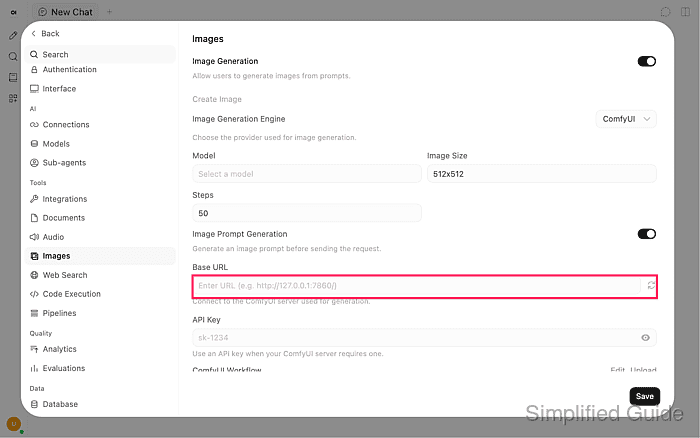
A ComfyUI server can accept generation jobs without authentication. Its address should be reachable by the Open WebUI backend on a trusted private network, rather than exposed publicly. Image generation consumes the server's memory and compute resources.
For two containers on the same private Docker network, an address such as http://comfyui:8188 uses the ComfyUI service's network name. Here, comfyui stands for your server's reachable name. Inside the Open WebUI container, localhost refers to Open WebUI itself. An authenticated ComfyUI endpoint also needs its issued key in API Key; the private server shown here does not require one.
- Click the refresh icon beside Base URL to verify the connection.
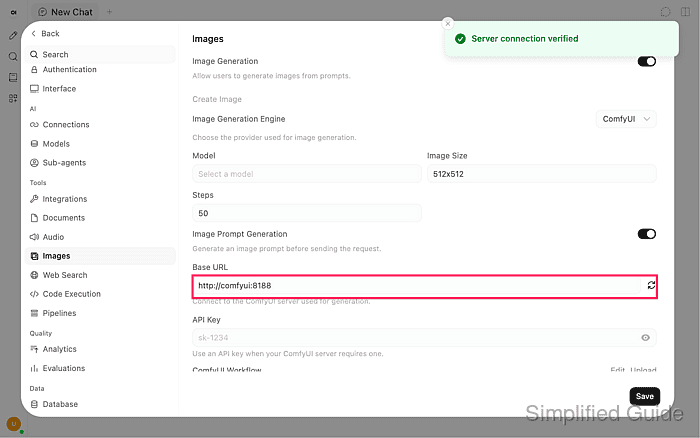
Server connection verified confirms that Open WebUI can read ComfyUI's node information. If verification fails, the address, listener, network route, or required credentials need repair before importing the workflow. A successful connection still does not prove that a workflow can generate an image.
- Upload the exported API JSON using Upload beside ComfyUI Workflow.
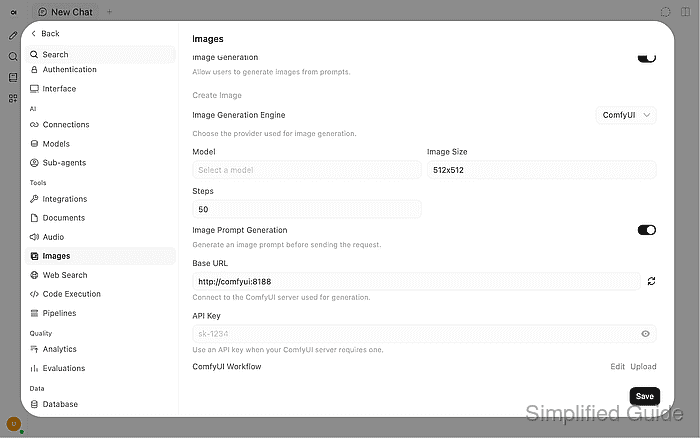
- Map the inputs under ComfyUI Workflow Nodes to the node IDs in your exported JSON.
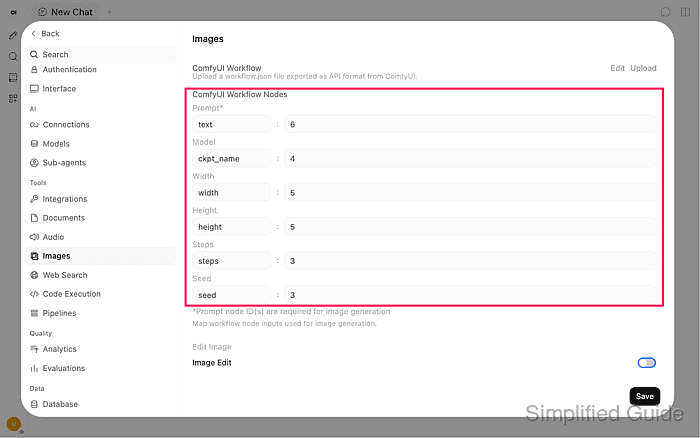
The outer numeric keys in the API JSON are node IDs; the names under each node's inputs object are input keys. The following mappings belong to the example export.
Input Key Node ID Prompt* text 6 Model ckpt_name 4 Width width 5 Height height 5 Steps steps 3 Seed seed 3 Prompt* must point to the positive text prompt, rather than the negative prompt. Optional mappings can remain empty when their values should stay fixed in the workflow. A different loader or sampler can use different keys and IDs.
- Enter your installed checkpoint's filename in Model.
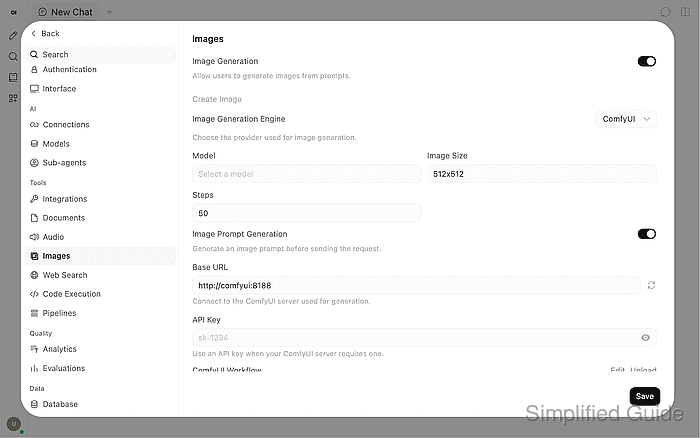
The example uses DreamShaper8_LCM.safetensors. With a Model node mapping, this value replaces that node's ckpt_name input.
- Set Image Size to dimensions supported by your workflow.
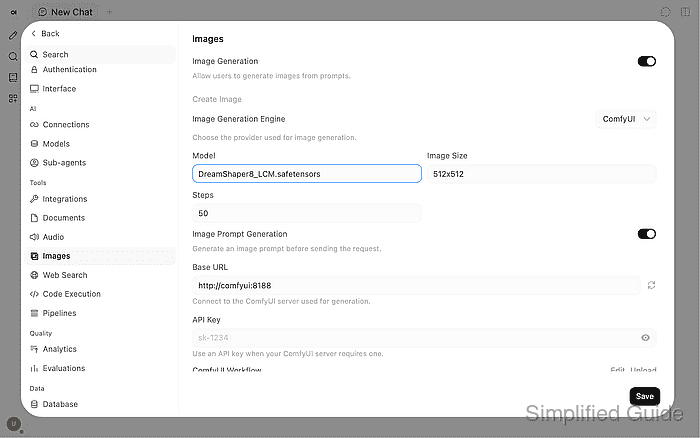
The example uses 512x512. Width and height mappings let this setting replace the latent image dimensions.
- Set Steps to the sampling count required by your workflow.
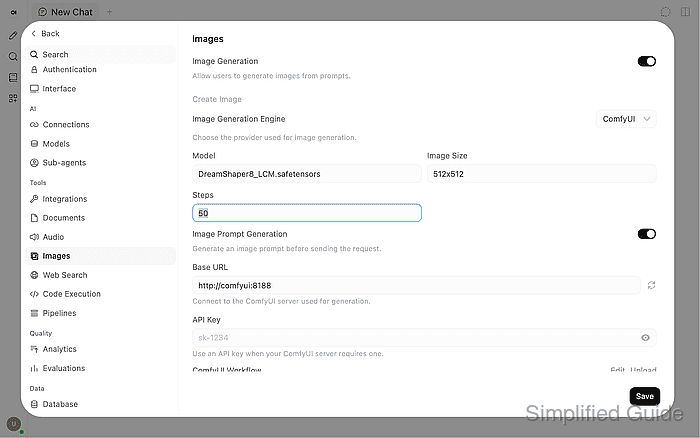
The LCM workflow shown here uses 4 steps. A conventional Stable Diffusion workflow can require a different sampler and a larger step count.
- Disable Image Prompt Generation to send the entered prompt without rewriting it.
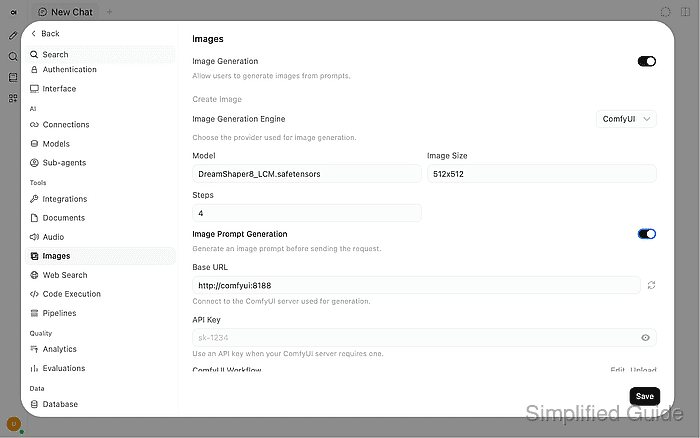
This option affects the Legacy creation path. Admin settings survive container recreation while ENABLE_PERSISTENT_CONFIG remains at its default, enabled value; with it disabled, environment values take precedence at recreation.
- Save the image settings to connect Open WebUI to ComfyUI.
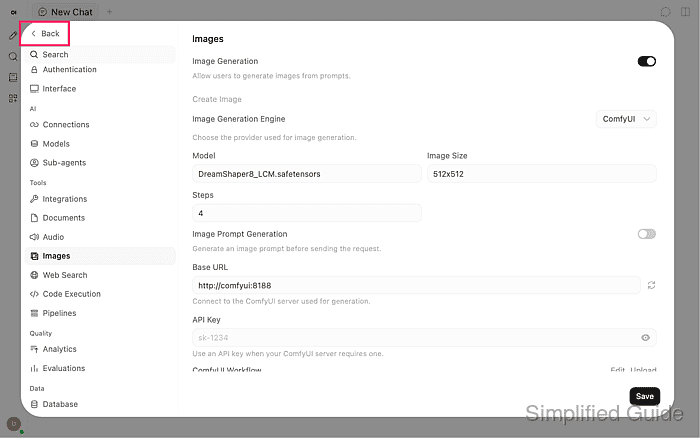
- Return to the chat using Back.
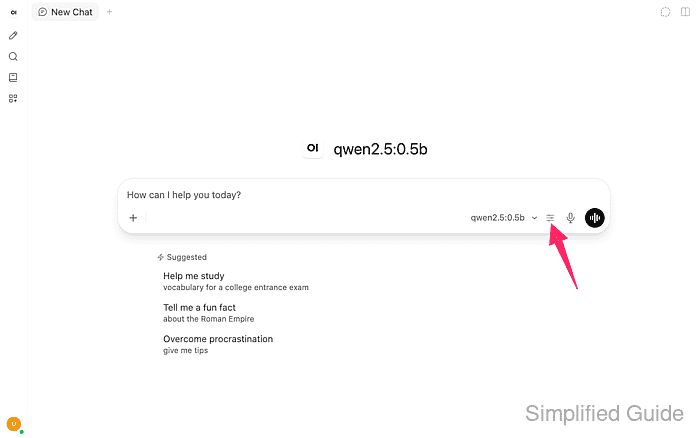
- Open Model controls beside the chat model selector.
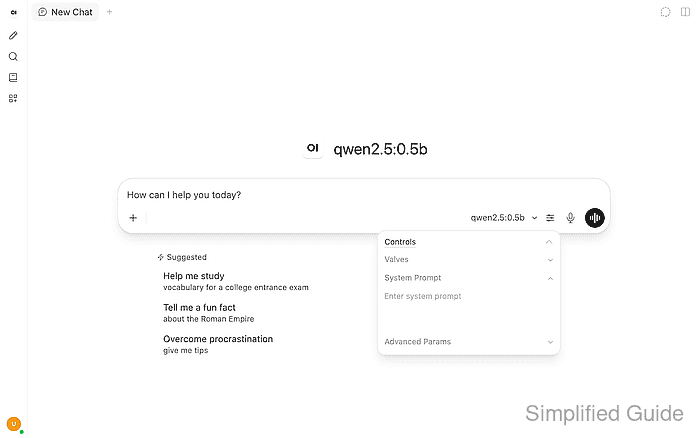
- Expand Advanced Params under Controls.
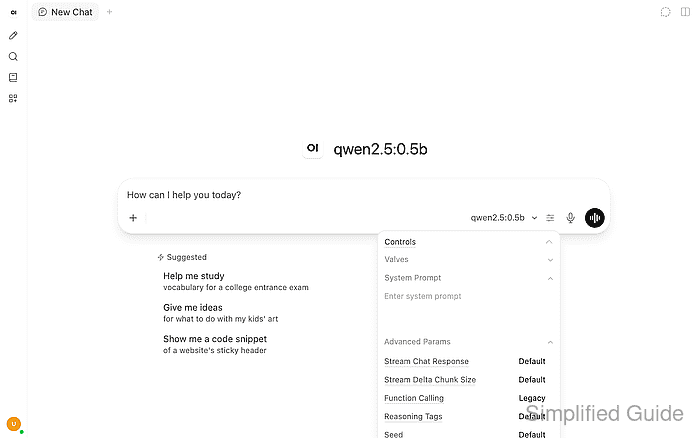
- Set Function Calling to Legacy.
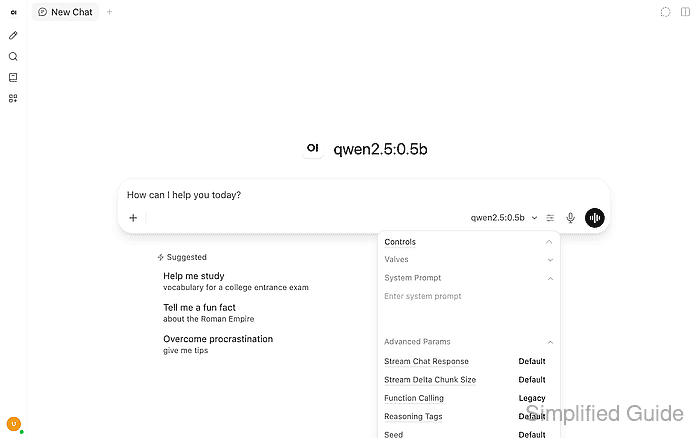
The value cycles through the available modes when clicked. In Legacy mode, an enabled Image toggle sends the message directly to the image engine. Native mode instead depends on the chat model calling the image tool.
- Dismiss Model controls by clicking outside its popup.
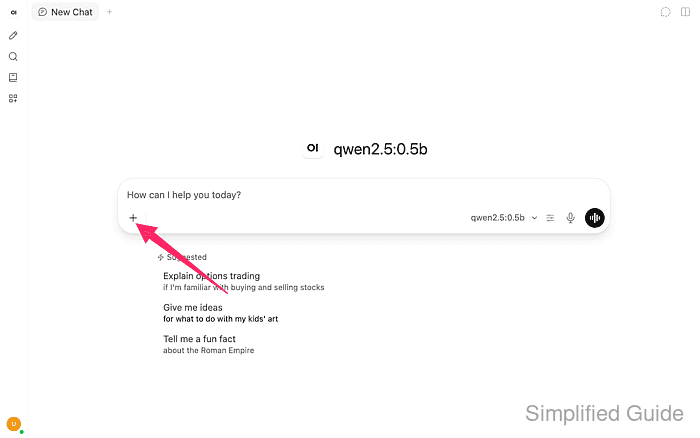
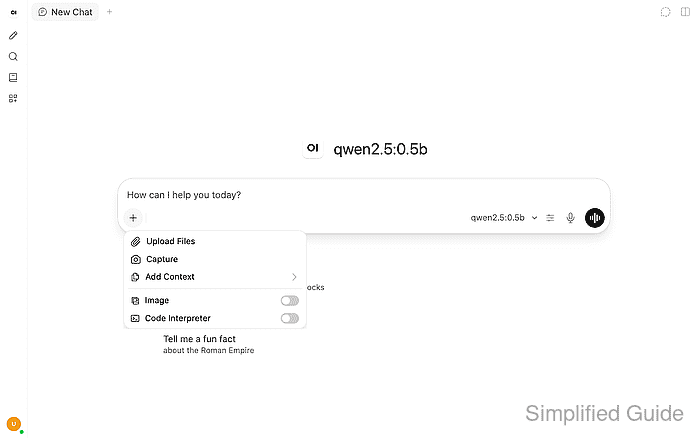
- Open the + menu in the message composer.
- Enable Image for the chat.
- Enter a short image prompt in the message composer.
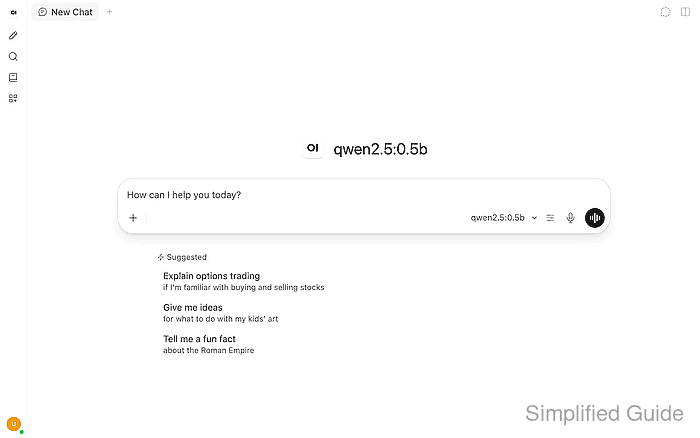
The example prompt is A red ceramic cup on a wooden table, natural light, photograph. A synthetic subject avoids putting confidential information into the first request.
CPU generation can take minutes and use several gigabytes of memory. The Creating image state can remain visible while ComfyUI runs the job.
- Send the image prompt.
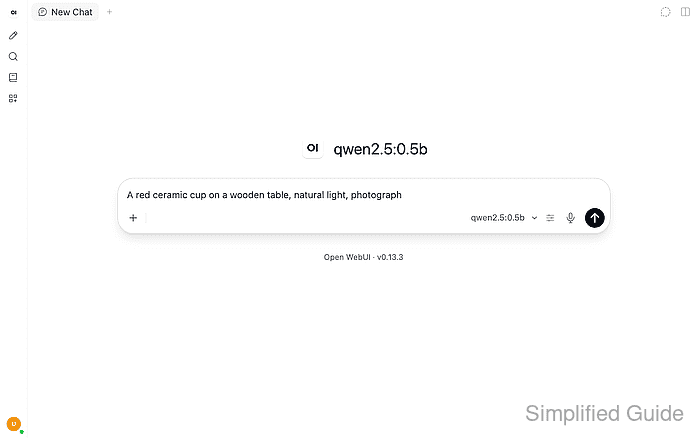
- Confirm the generated picture appears beneath your prompt in the same chat.
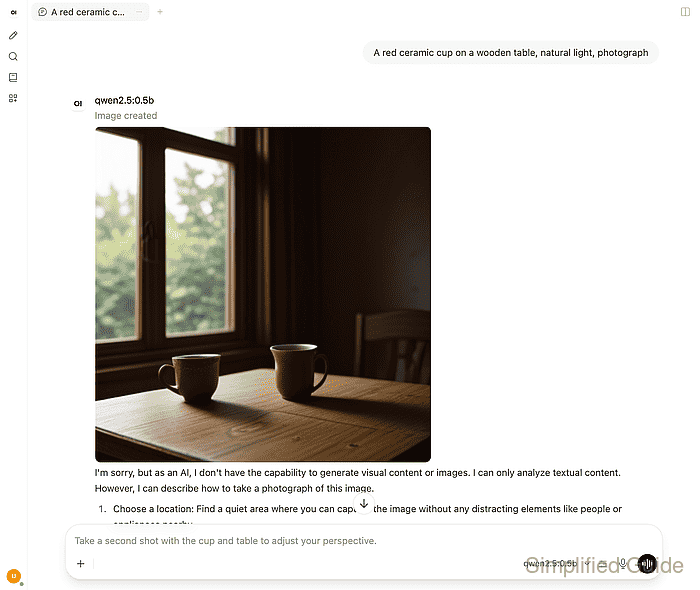
A text-only answer without a picture does not confirm generation. Legacy image generation can finish before the chat model replies, so a text refusal does not invalidate an image already displayed. If the request fails after connection verification succeeds, ComfyUI's job error can identify a missing checkpoint, rejected input, or incompatible node mapping. The checkpoint filename and mapped keys must match the installed model and API export before another attempt. A completed job whose image is missing from chat instead needs investigation of the returned image or file retrieval.