Creating a manual System Restore point provides a quick rollback option before installing drivers, Windows updates, or software that might destabilize a Windows 11 system.
System Restore works through System Protection and the Volume Shadow Copy service to capture a snapshot of critical system state, such as the Windows registry, system files, drivers, and some application components. These snapshots are stored as restore points on the protected drive and can be selected later to revert recent changes.
Restore points are not full backups and do not protect personal files from deletion or disk failure. System Protection must be enabled for the system drive and enough storage must be allocated, otherwise restore point creation can fail or older restore points may be removed automatically when space runs low.
Steps to create manual restore point for System Restore in Windows 11:
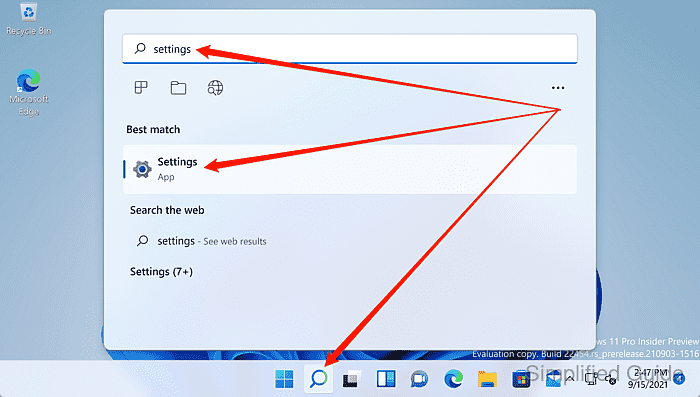
- Launch the Settings app from the Search bar.
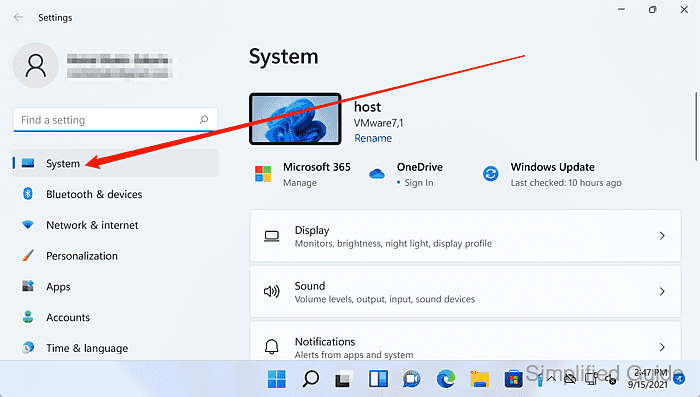
- Click System on the sidebar.
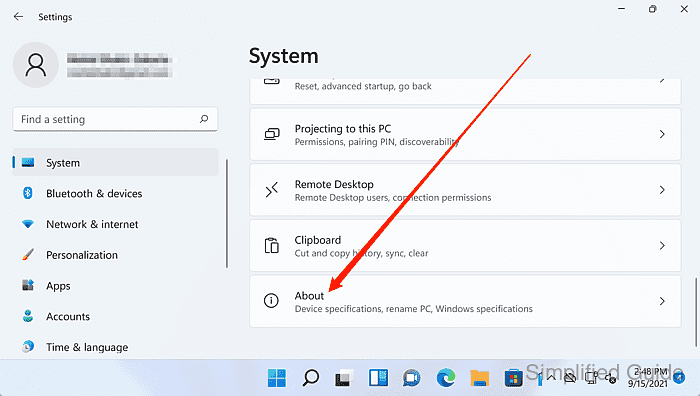
- Scroll down and click About.
- Click on the System protection link.

The link opens System Properties on the System Protection tab.
- Select the C: (system) drive under Protection Settings.
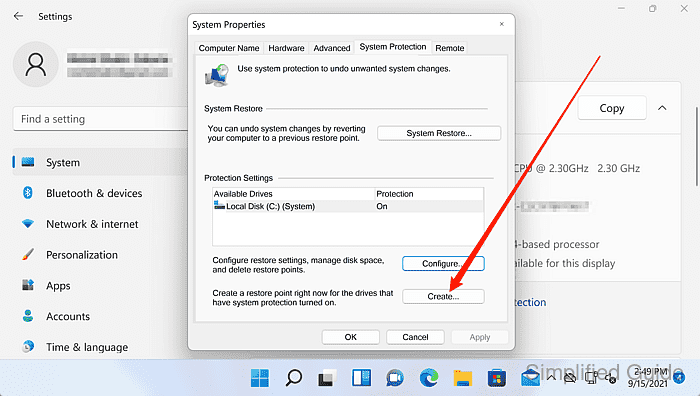
Protection must be On for the system drive and sufficient space must be available in Disk Space Usage to create restore points.
- Click on the Create button.
- Enter a name for the restore point.
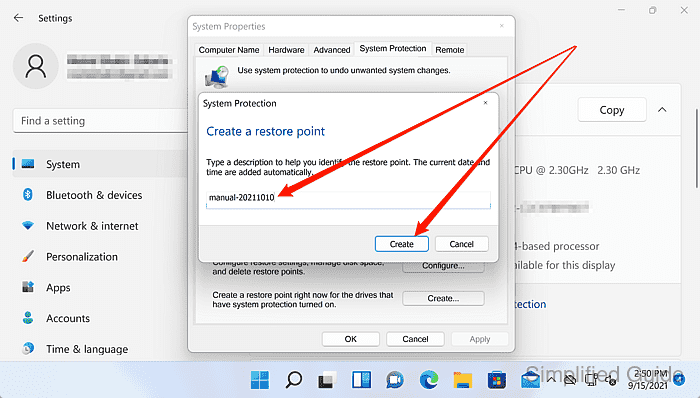
Use a descriptive label, such as Before chipset driver update or Before VPN client install.
- Click on the Create button.
- Wait for the restore point to finish creating.
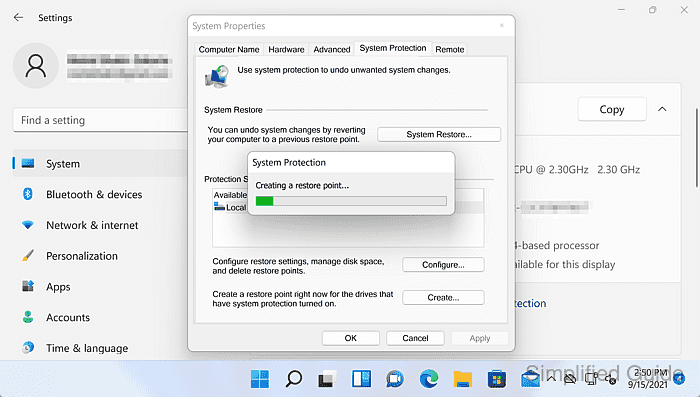
Restore point creation uses Volume Shadow Copy and may take longer on busy or nearly full disks.
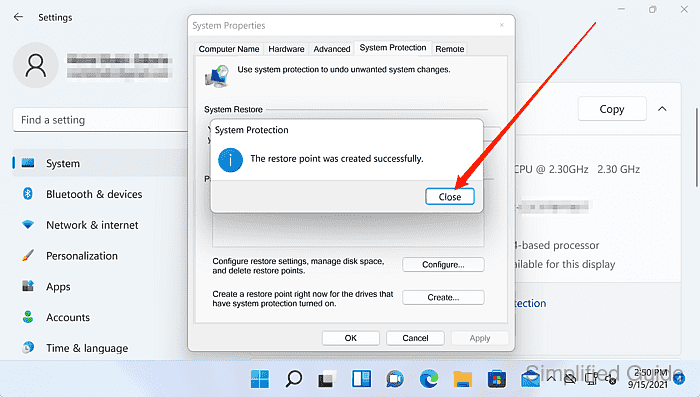
- Click Close when the process is complete.

Mohd Shakir Zakaria is a cloud architect with deep roots in software development and open-source advocacy. Certified in AWS, Red Hat, VMware, ITIL, and Linux, he specializes in designing and managing robust cloud and on-premises infrastructures.


