Restoring a Windows 11 system from a System Restore point rolls critical system components back to a known-working state after a problematic update, driver change, or software installation. This approach can recover stability and bootability without requiring a full reinstall or wiping personal data.
System Restore uses restore points created by Windows and installers to snapshot system files, drivers, the Windows Registry, and related configuration. Selecting a restore point applies the captured state during a reboot, replacing affected system components with the versions from the chosen snapshot.
Personal files are not restored or removed, but applications, drivers, and updates installed after the restore point can be removed, and older versions can return. Ensure a reliable power source during the restore, and keep the BitLocker recovery key available if disk encryption is enabled on the device.
Steps to restore from //System Restore//'s restore point in Windows 11:
- Launch the Settings app from the Search bar.

- Open System from the sidebar.
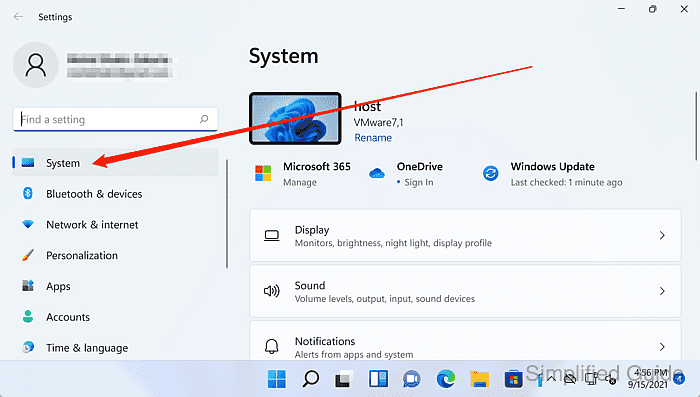
- Open About in the System section.
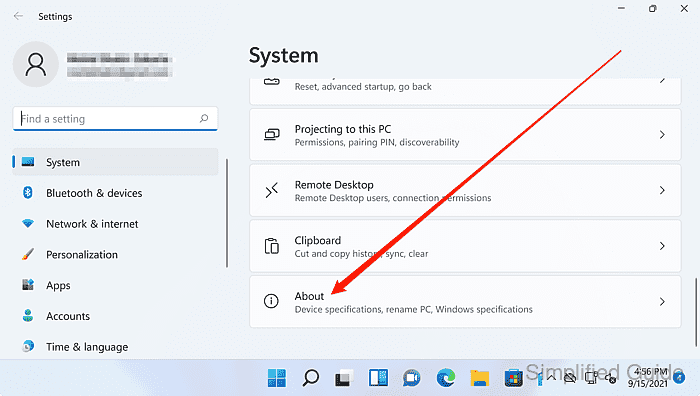
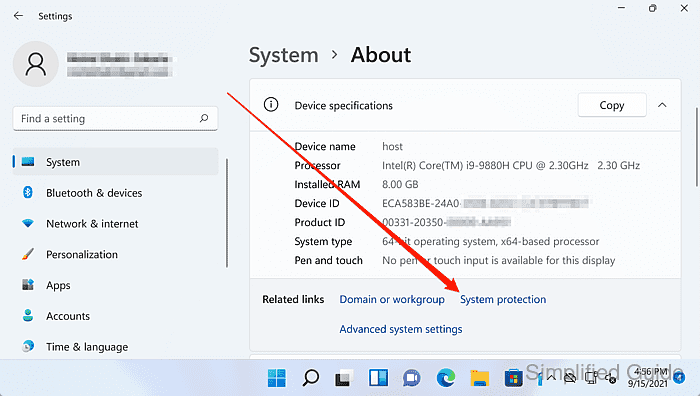
- Click the System protection link.
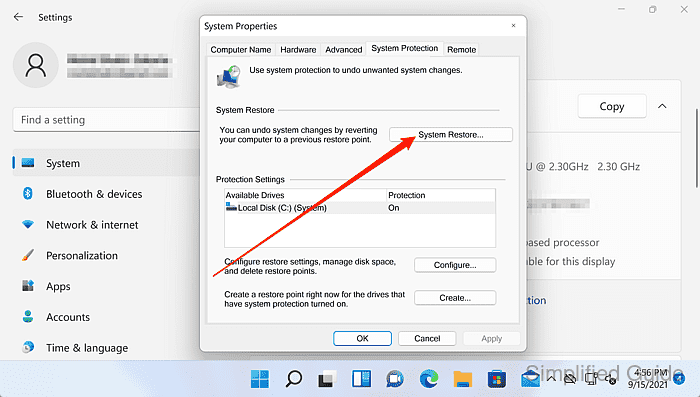
- Click the System Restore button in the System Protection tab.
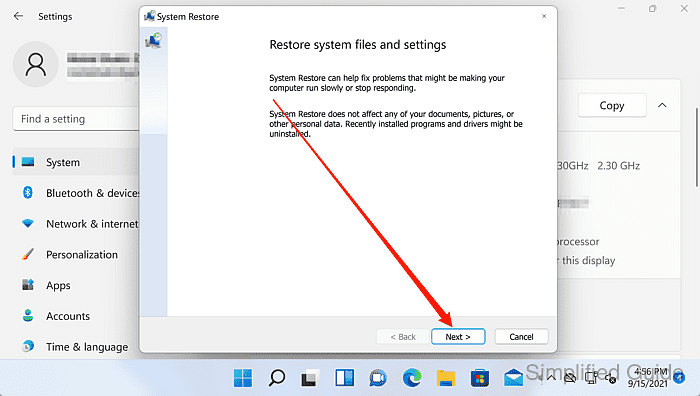
- Click Next in the System Restore wizard.
- Select the restore point to roll back to.
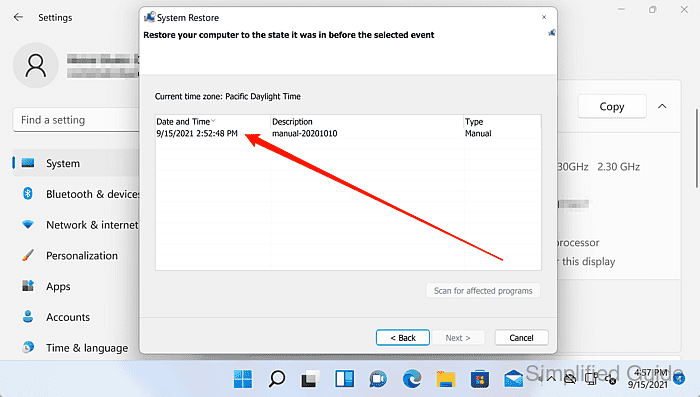
Use Scan for affected programs to preview which drivers, updates, and applications will change.
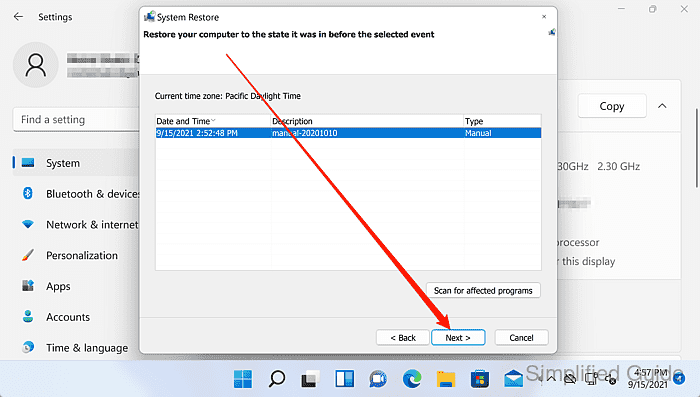
- Click Next to confirm the selected restore point.
- Click Finish to start the restore.
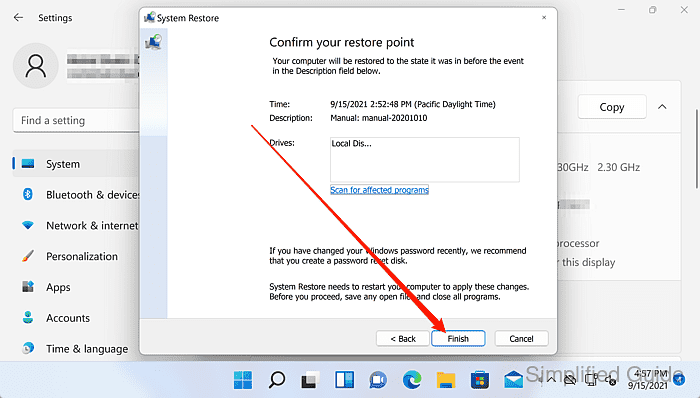
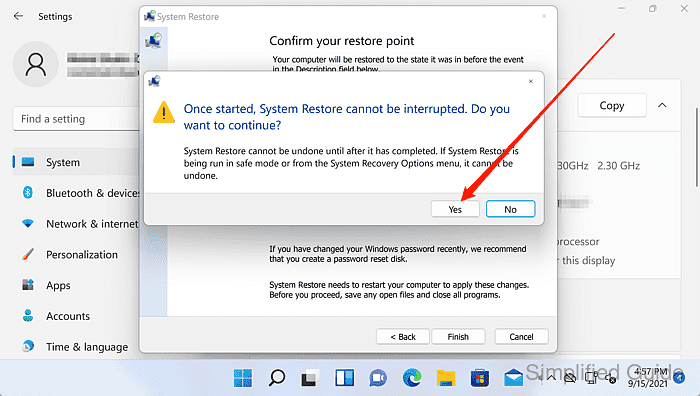
Open applications are closed and unsaved work is lost after the restore is confirmed.
- Click Yes to confirm the restore warning prompt.
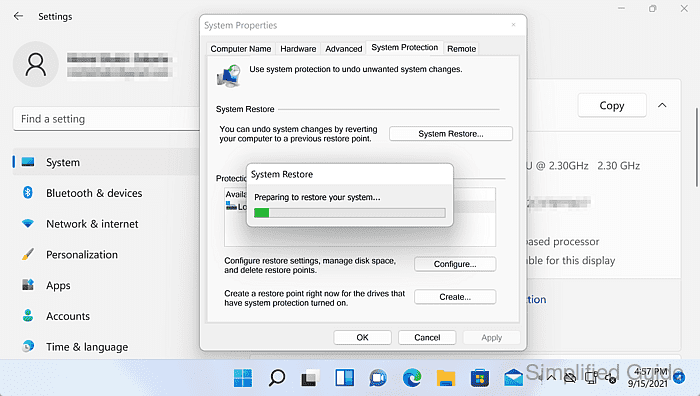
- Wait for System Restore to prepare the restore process.
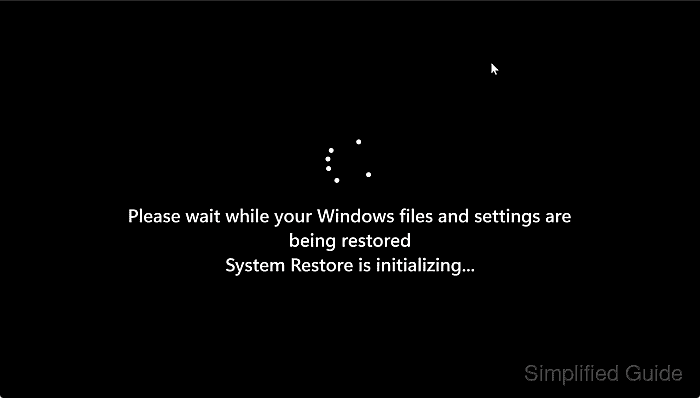
- Wait for Windows to reboot.

- Wait for System Restore to complete during boot.
- Sign in to Windows after the restore finishes.

- Confirm the System Restore completion notification after sign-in.

Mohd Shakir Zakaria is a cloud architect with deep roots in software development and open-source advocacy. Certified in AWS, Red Hat, VMware, ITIL, and Linux, he specializes in designing and managing robust cloud and on-premises infrastructures.


