System Restore provides a fast rollback option when a driver update, Windows update, or software install leaves Windows 11 unstable. Enabling it helps recover from many common “something changed and now it’s broken” scenarios without a full reinstall, while disabling it can reclaim disk space at the cost of losing that rollback safety net.
System Restore is controlled by System Protection and stores restore points as shadow copies via the Volume Shadow Copy Service. Protection is configured per drive, and each protected volume reserves a configurable amount of disk space for keeping snapshots of system files, the registry, and critical configuration.
Disabling System Protection removes all existing restore points for that drive, so recent rollback options disappear immediately. System Restore is not a substitute for full backups, and managed devices may have settings locked by policy, which can prevent changes from the graphical interface.
Steps to enable and disable System Restore in Windows 11:
- Open the Settings app from the Windows Search bar.
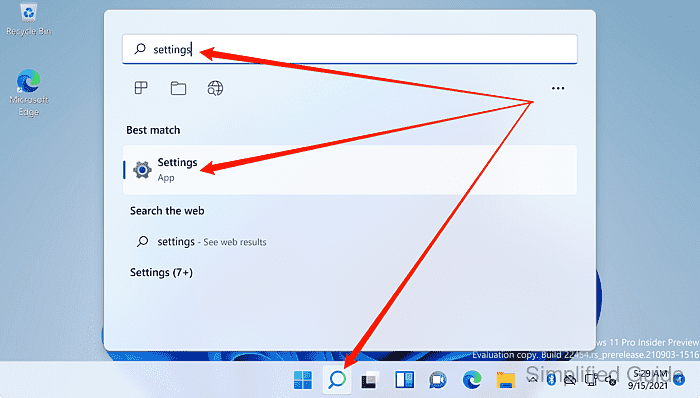
Searching for Create a restore point opens the System Protection dialog directly.
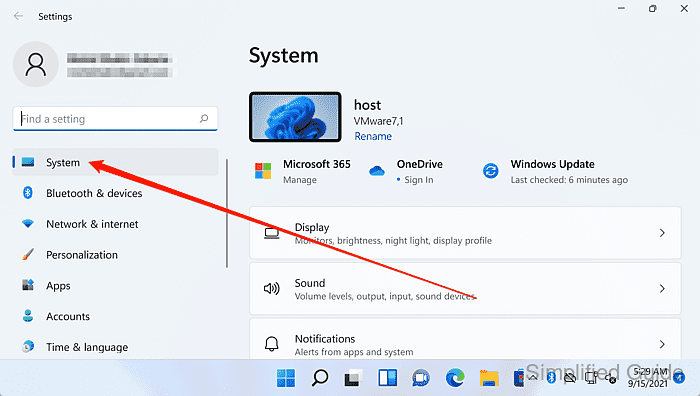
- Select System in the sidebar.
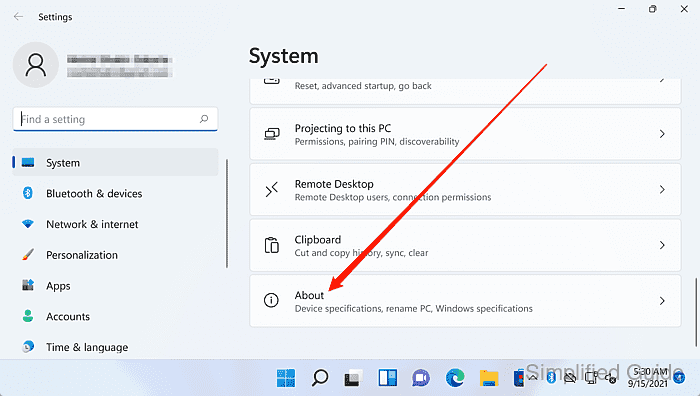
- Select About.
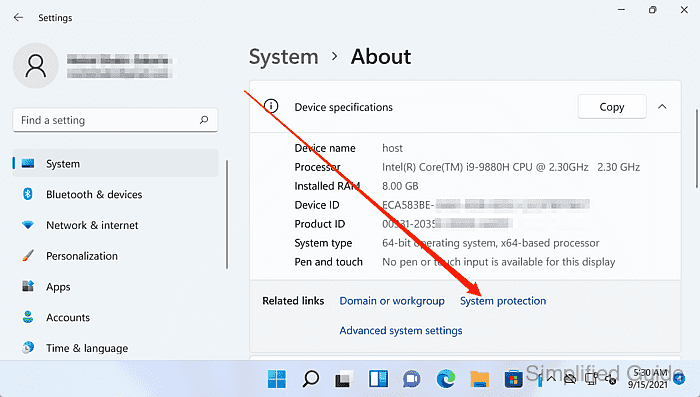
- Click System protection under Related links.
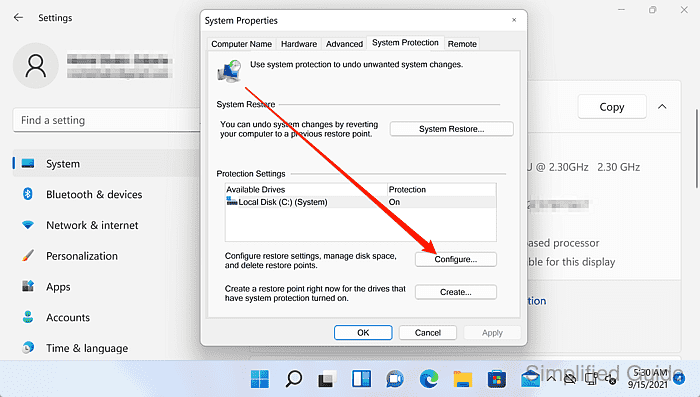
- Select the drive to configure under Protection Settings.
System Protection is configured per drive, so the same change can be repeated for other volumes when needed.
- Click Configure.
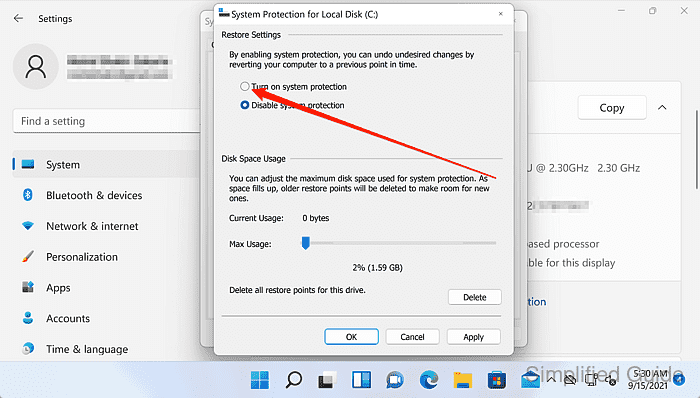
- Select Turn on system protection or Disable system protection.
Use Max Usage to cap the disk space reserved for restore points when protection is enabled.
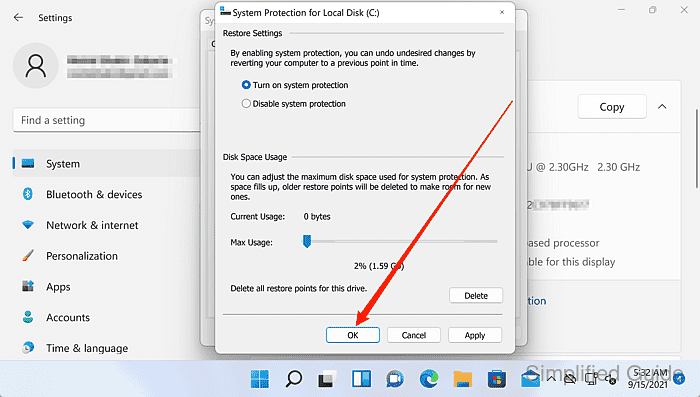
- Click OK to apply the setting.
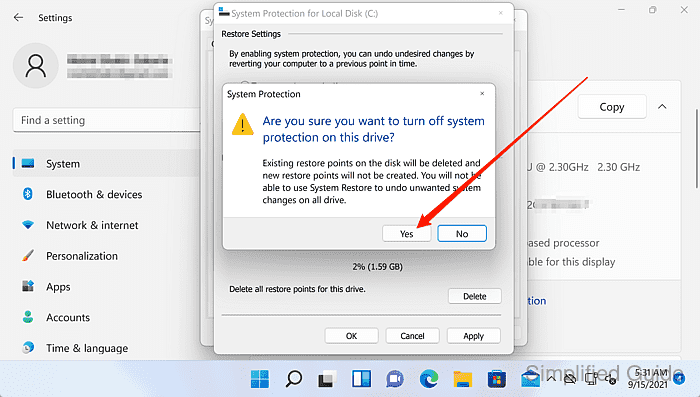
Disabling System Protection deletes all restore points for the selected drive, so rollback to earlier restore points is no longer possible until protection is enabled again. Click Yes to confirm if prompted.
- Confirm the Protection status shows the intended setting for the drive.

Mohd Shakir Zakaria is a cloud architect with deep roots in software development and open-source advocacy. Certified in AWS, Red Hat, VMware, ITIL, and Linux, he specializes in designing and managing robust cloud and on-premises infrastructures.


