Old System Restore points can consume significant disk space on the system drive, especially after feature updates, driver changes, or frequent software installs. Removing them can quickly free storage when low disk space warnings or update failures start appearing.
Windows creates restore points as snapshots of critical system state (system files, registry settings, drivers, and installed programs) so System Restore can roll changes back. These snapshots are managed by System Protection on a per-drive basis and stored as shadow copy data for protected drives.
Deleting restore points is irreversible and removes the ability to restore to earlier snapshots for the selected drive. The Delete option in the System Protection dialog removes all restore points for that drive rather than a single selected point, and it requires administrative privileges.
Steps to delete System Restore's restore point in Windows 11:
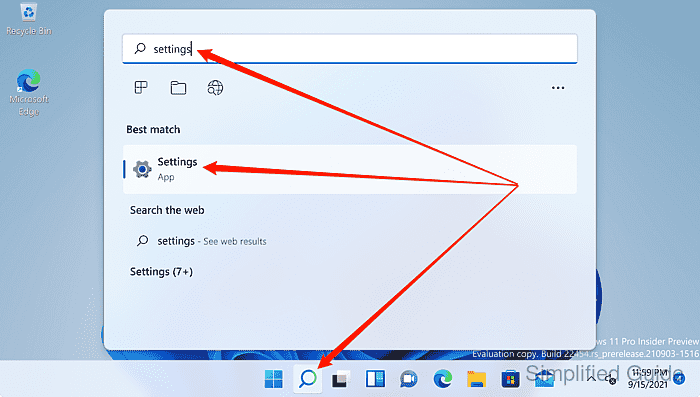
- Launch Settings from the Search bar.
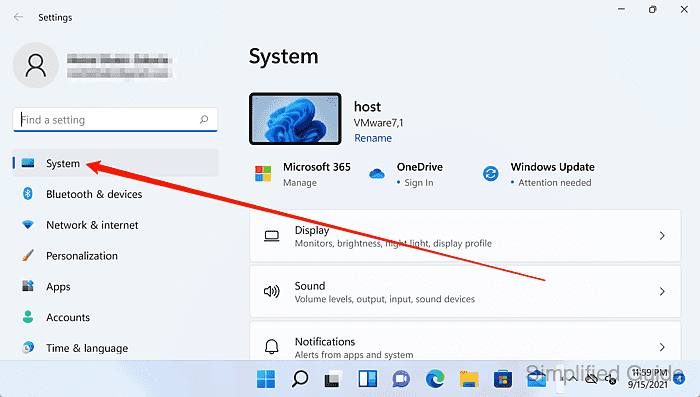
- Click on System on the sidebar menu.
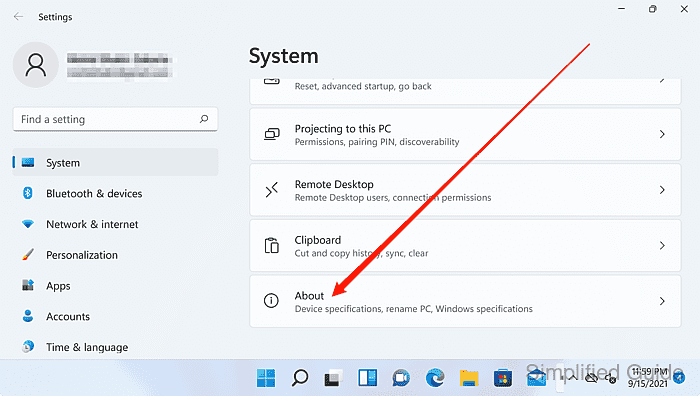
- Open About at the bottom of the System settings page.
- Click on the System protection link under Related settings.

- Select the protected drive and click Configure.
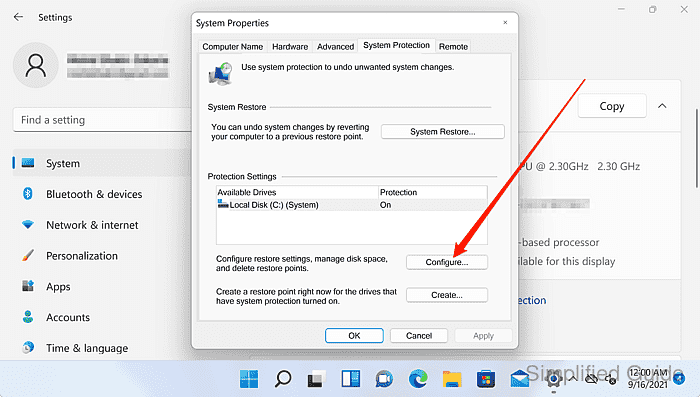
Restore points are managed per drive; repeat for each drive with Protection set to On.
- Click on the Delete button to remove all restore points for the selected drive.
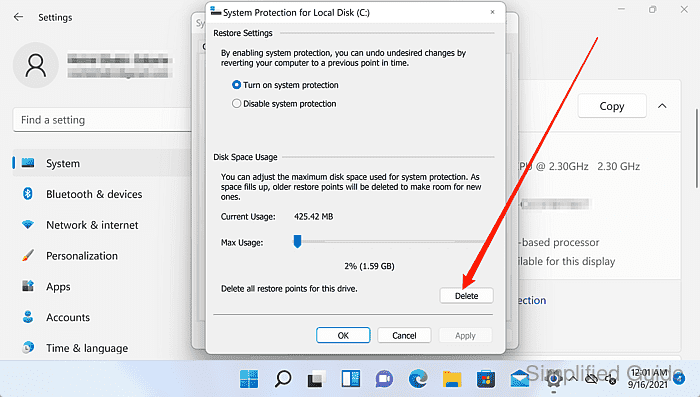
The Delete option in this dialog cannot remove a single restore point.
- Click Continue to confirm deletion of the restore points.
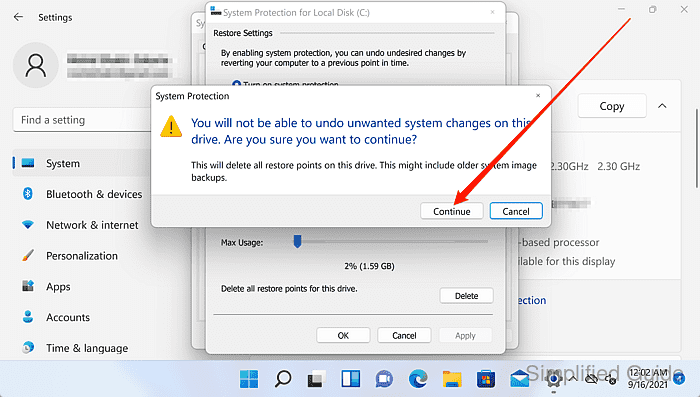
Restore points cannot be recovered after deletion, removing the ability to roll back system changes for that drive.
- Confirm the completion message indicates the restore points were deleted.
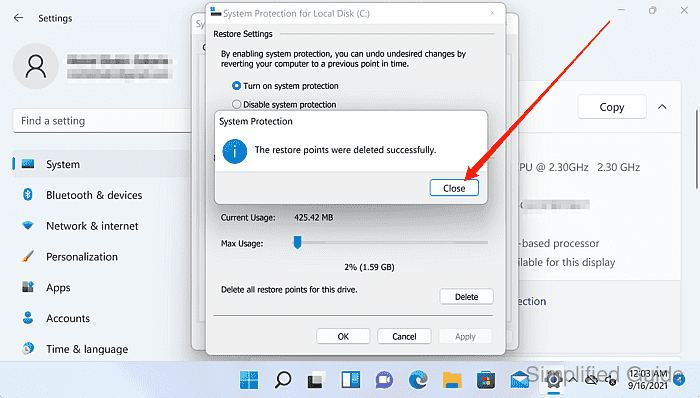
- Click on the Close button to exit the window.

Mohd Shakir Zakaria is a cloud architect with deep roots in software development and open-source advocacy. Certified in AWS, Red Hat, VMware, ITIL, and Linux, he specializes in designing and managing robust cloud and on-premises infrastructures.


