Accessing a shared printer in Windows makes a single printer available to multiple PCs, reducing duplicated hardware and keeping printing consistent across a home or office network.
Printer sharing uses SMB/CIFS to publish a printer queue from the computer attached to the printer, while the Print Spooler service receives, queues, and forwards jobs to the physical device. A client PC connects to that shared queue and typically installs a matching driver automatically, so the shared printer behaves like a local printer after it is added.
The sharing computer must stay powered on and reachable, and the network profile and firewall rules must allow discovery and printer sharing traffic on the local network. First-time connections commonly trigger credential prompts and driver-installation approvals, so only connect to printers shared from trusted computers and avoid enabling discovery on public networks.
Steps to access a shared printer in Windows 11:
- Enable Network Discovery on the Windows 11 PC that will access the shared printer.
Network Discovery is typically intended for Private networks, not public Wi-Fi.
- Open the computer sharing the printer by entering its UNC path in the Windows search bar.
\\192.168.1.25
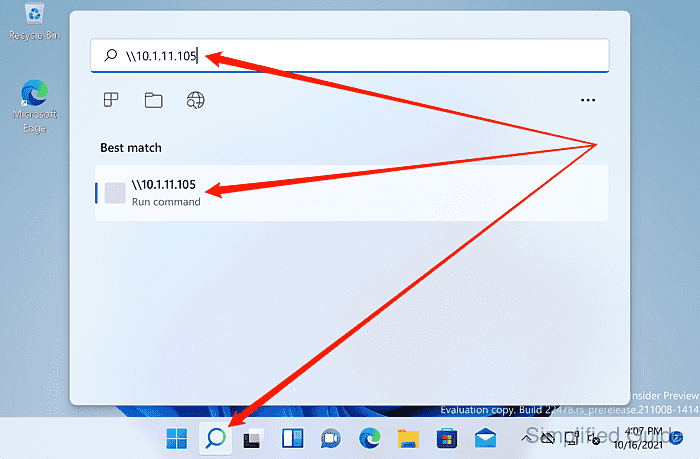
Use \\COMPUTERNAME when name resolution works, or \\<ip-address> when it does not.
If a sign-in prompt appears, authenticate with an account that has permission to print (COMPUTERNAME\username or a domain account).
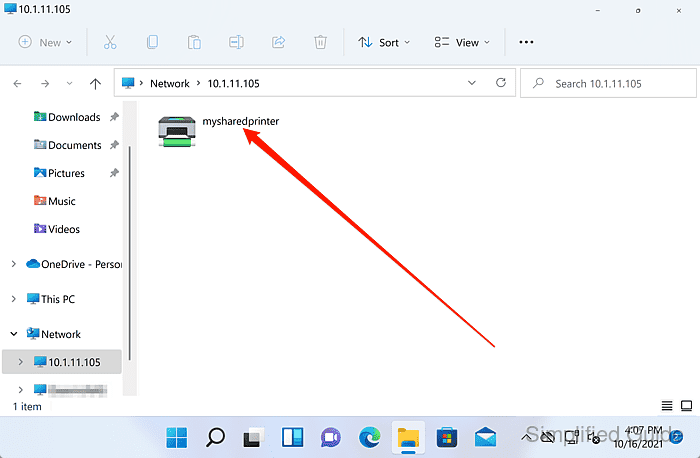
- Locate the shared printer in the opened network share window.
- Right-click the shared printer.
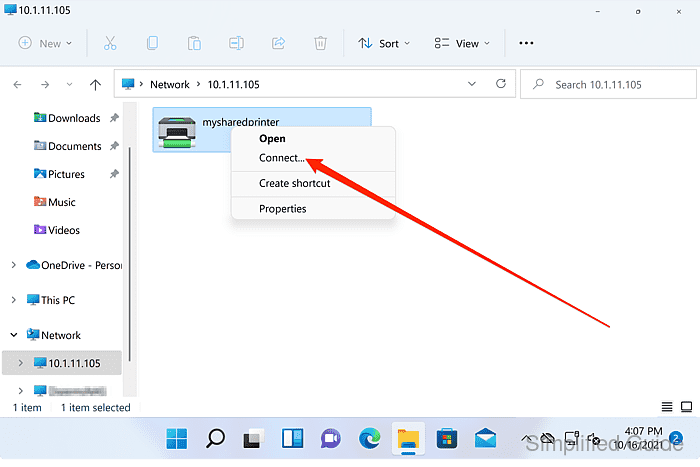
- Click Connect to add the shared printer.
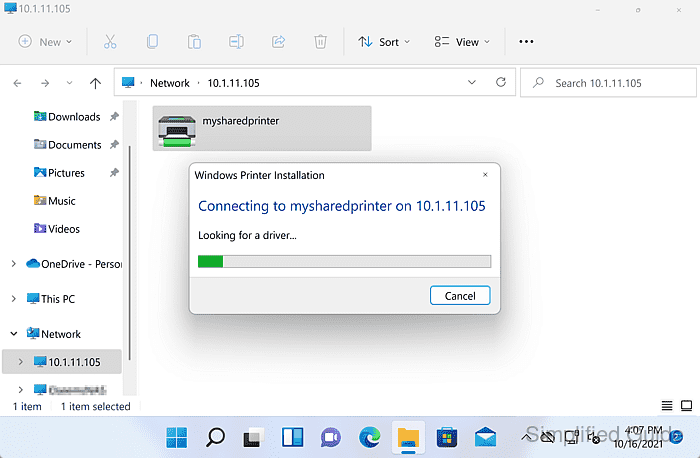
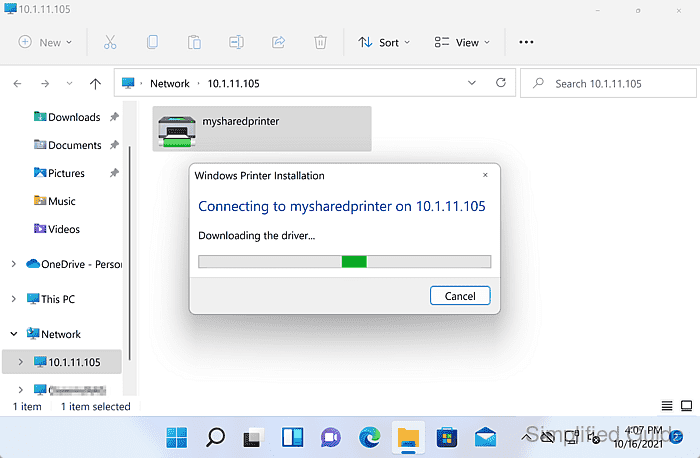
Windows may download or install a driver during the connection process.
- Click Yes on the User Account Control prompt to allow printer driver installation.
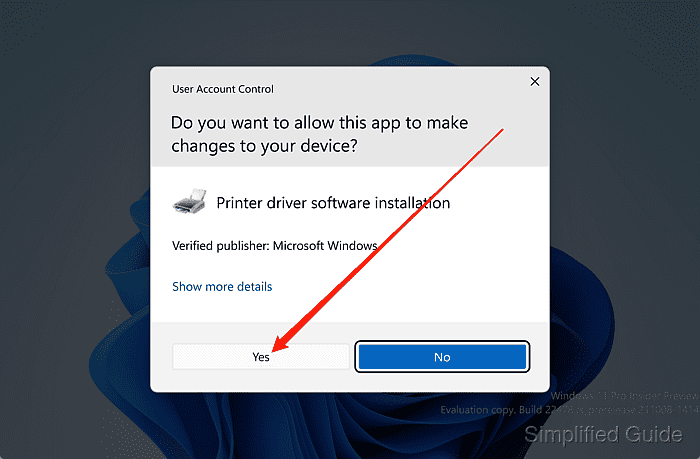
Approving this prompt can install printer drivers from the sharing computer, so only proceed for trusted devices on a known network.
- Wait for the shared printer to finish installing.
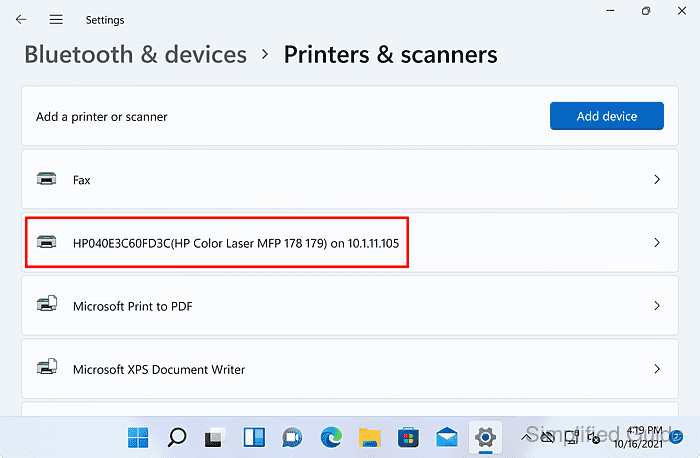
- Verify the printer appears in Settings → Bluetooth & devices → Printers & scanners.
Use Printer properties → Print Test Page to confirm end-to-end printing when troubleshooting.

Mohd Shakir Zakaria is a cloud architect with deep roots in software development and open-source advocacy. Certified in AWS, Red Hat, VMware, ITIL, and Linux, he specializes in designing and managing robust cloud and on-premises infrastructures.


