Sharing a printer from a Windows 11 PC allows multiple devices to print through a single queue, reducing hardware duplication and centralizing driver and queue management.
When printer sharing is enabled, Windows publishes the print queue over SMB (File and Printer Sharing) while the Print Spooler service receives jobs, stores them, and forwards them to the attached printer. Connected computers submit print jobs to the host, which controls spooling, permissions, and driver delivery.
Network discovery and file/printer sharing must be enabled for the correct network profile, and the Windows Firewall must allow SMB traffic (typically TCP 445) on trusted networks. Sharing a USB-connected printer requires the host PC to stay powered on for the queue to remain reachable, and administrative permission is required to change sharing settings.
Steps to share a printer in Windows 11:
- Open Advanced sharing settings in Settings → Network & internet → Advanced network settings.
- Enable Network discovery under Private networks.
- Enable File and printer sharing under Private networks.
Keep sharing disabled under Public networks to avoid exposing SMB and the shared printer on untrusted networks.
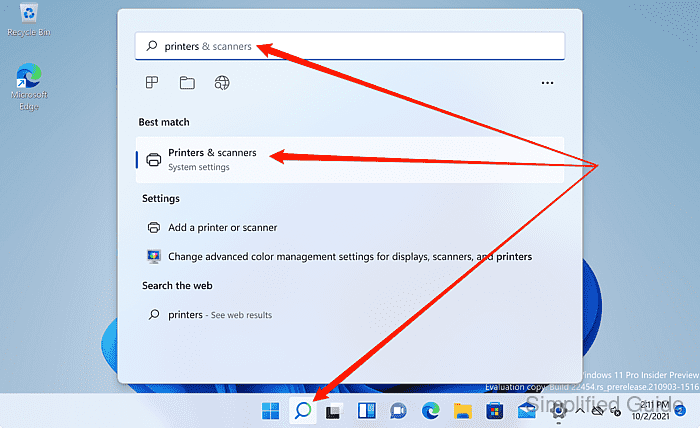
- Launch Printers & scanners option within System settings from the search bar.
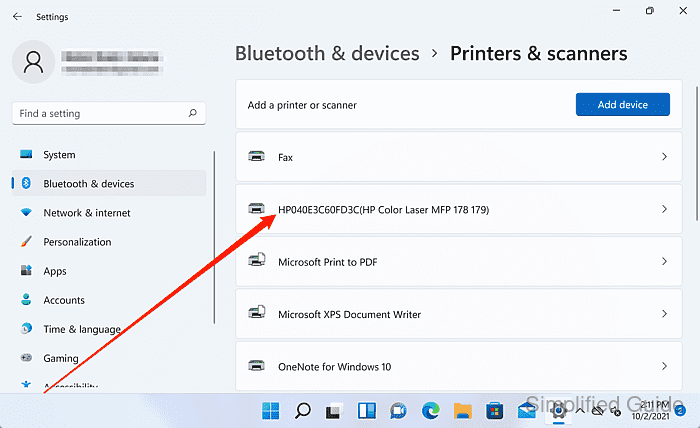
- Select the printer to share from the list.
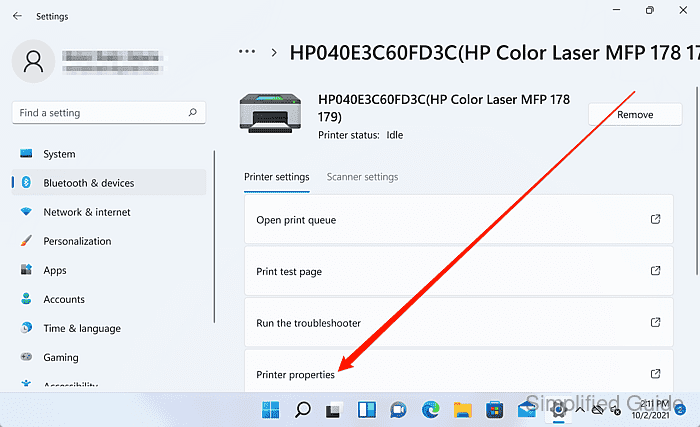
- Click on Printer properties.
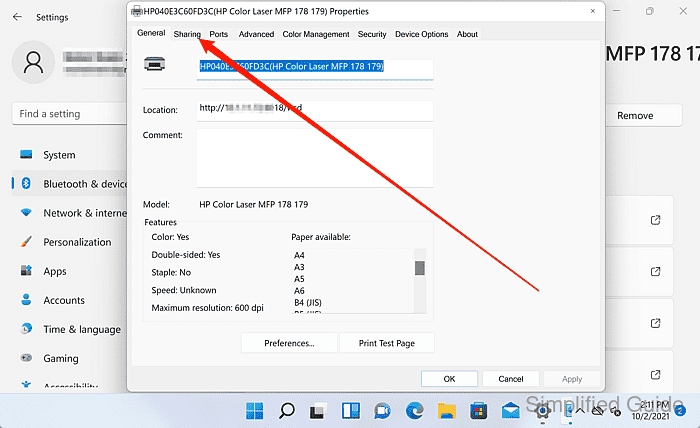
- Open the Sharing tab.
- Click Change Sharing Options to unlock printer sharing settings.
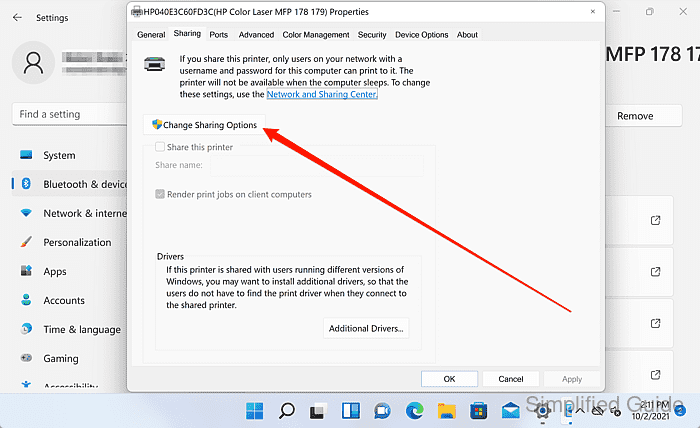
Administrative permission may be required to change printer sharing settings.
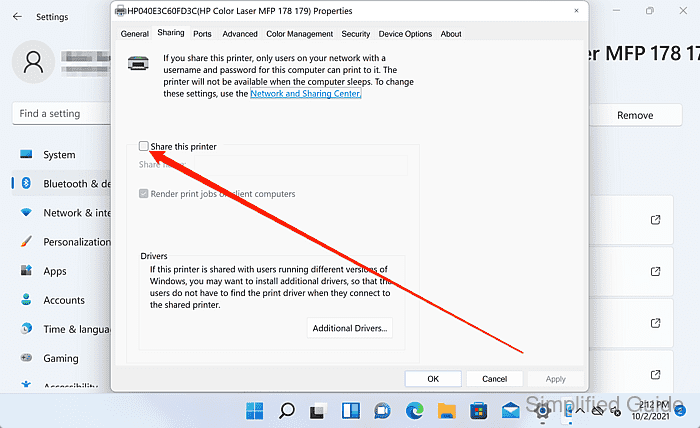
- Enable the Share this printer option.
- Set the printer Share name if necessary.
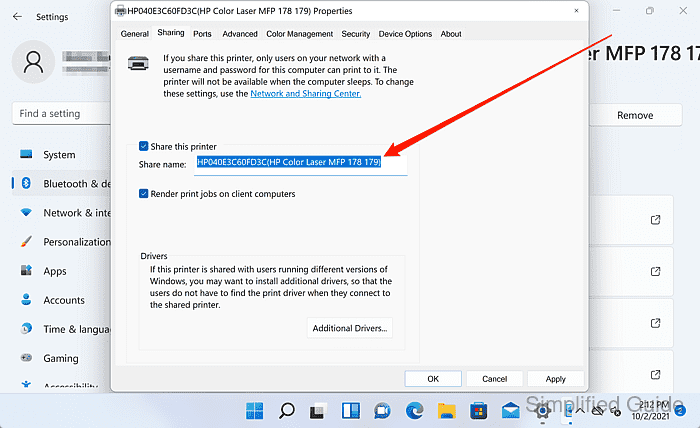
Short, simple share names reduce quoting issues in \\HOSTNAME\SHARENAME paths.
- Click OK to apply the printer sharing changes.
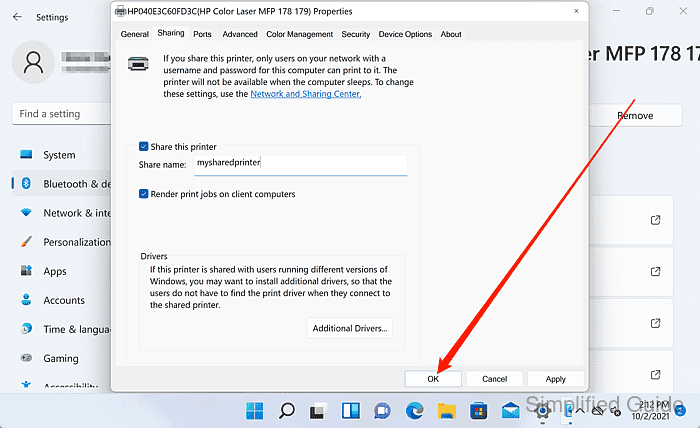
The shared printer is available at \\HOSTNAME\SHARENAME while the host PC is online.

Mohd Shakir Zakaria is a cloud architect with deep roots in software development and open-source advocacy. Certified in AWS, Red Hat, VMware, ITIL, and Linux, he specializes in designing and managing robust cloud and on-premises infrastructures.


