Sharing a folder in Windows 11 makes files reachable from other devices on the same network without using removable media or cloud sync. It is commonly used for shared documents, home lab storage, and quick one-off transfers between PCs.
Windows file sharing uses SMB (also known as CIFS) and exposes a folder as a network share with a path like \\PCNAME\Sharename. Access is controlled by both share permissions (set by the sharing wizard) and the folder’s underlying NTFS permissions.
Successful sharing depends on network profile and firewall rules, because discovery and sharing are typically restricted on Public networks. Authentication also matters: connecting devices may be prompted for credentials, and the most restrictive combination of share and NTFS permissions applies.
Steps to share a folder in Windows 11:
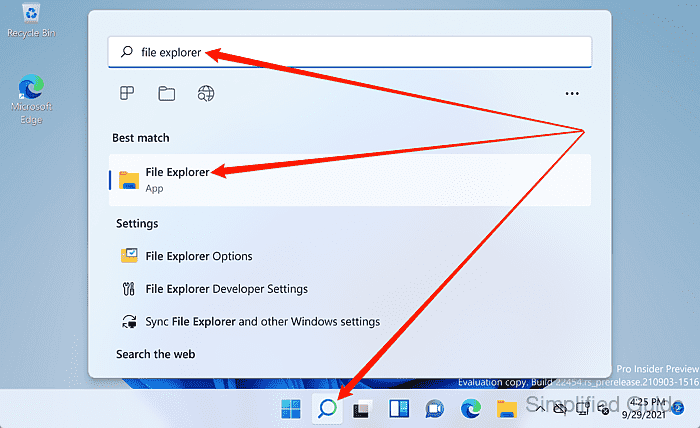
- Launch File Explorer from the search bar.
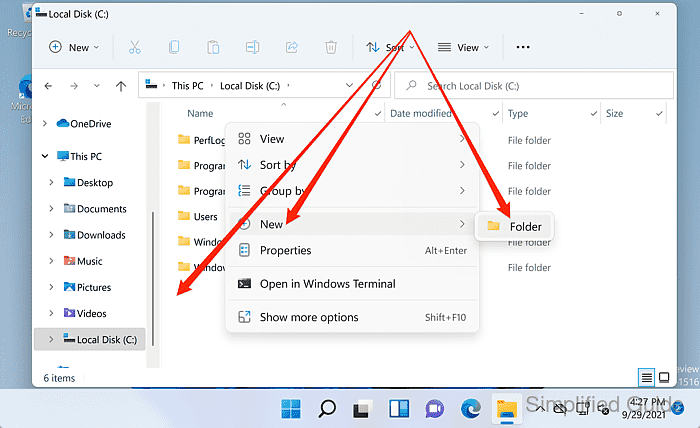
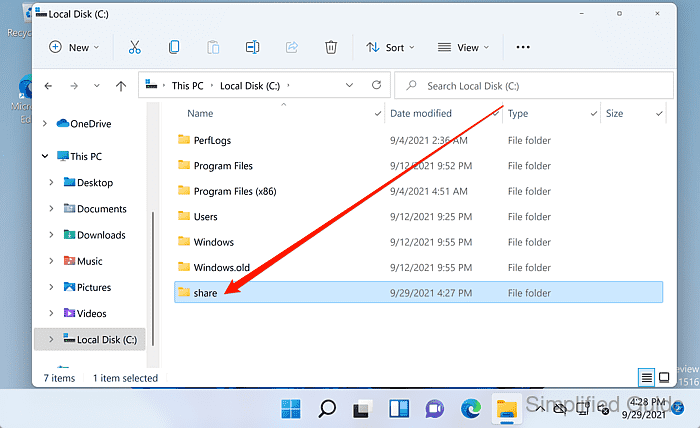
- Create or select the folder to share.
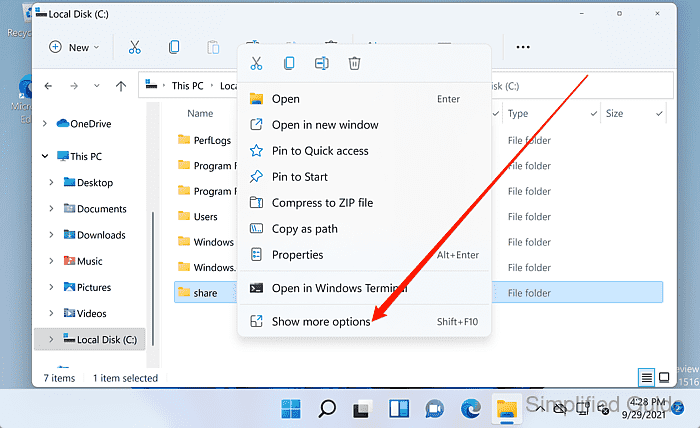
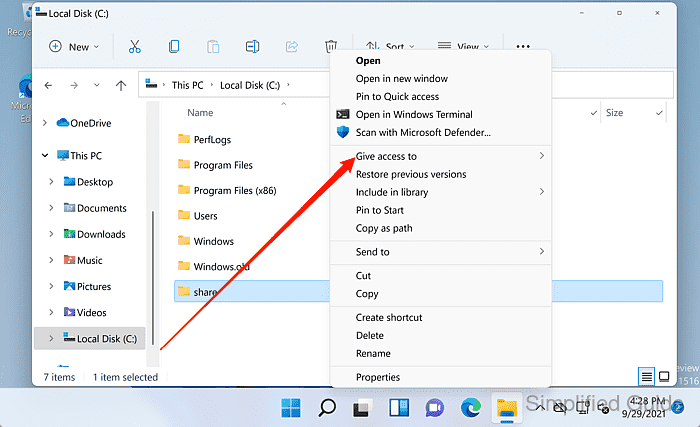
- Right-click the folder to share.
- Click on Show more options from the menu.
- Click on the Give access to menu item.
- Click on Specific people from the options.

- Select an account from the list and click Add.
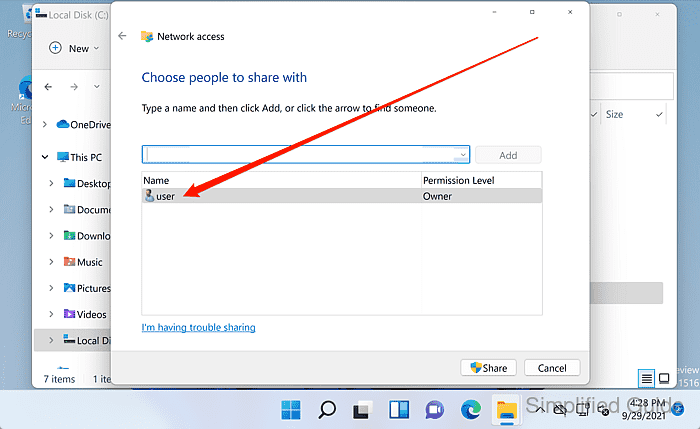
- Set the account permission under Permission Level to Read or Read/Write.
Share permissions and NTFS permissions both apply, and the most restrictive permission wins.
- Click on the Share button.
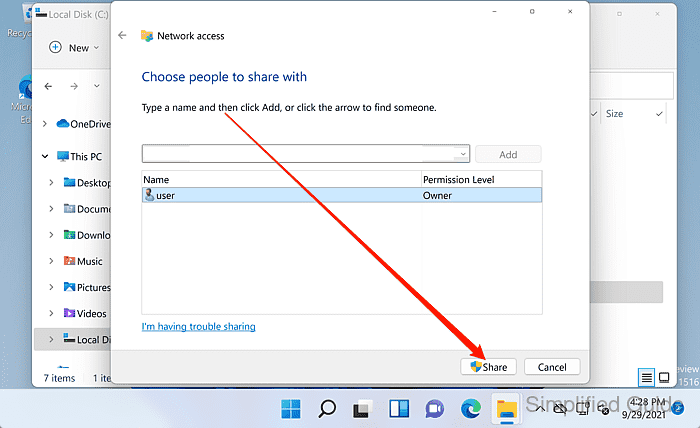
Avoid granting Everyone with Read/Write unless the network is trusted, because any reachable device can modify shared contents.
- Select the network that you want to allow file sharing.
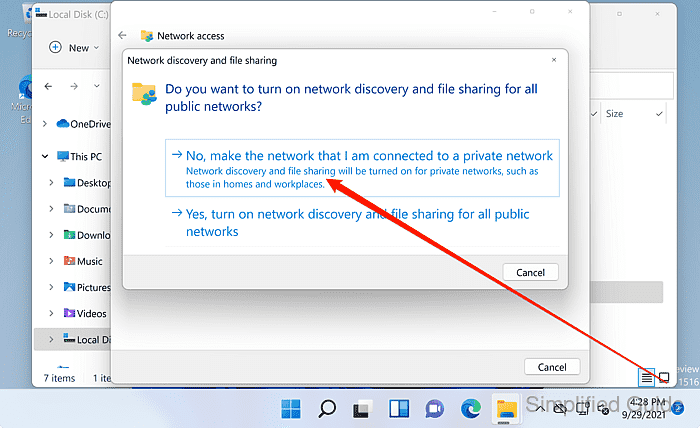
Private networks typically allow discovery and sharing, while Public networks commonly block it.
- Note the Network Path shown for the shared folder.
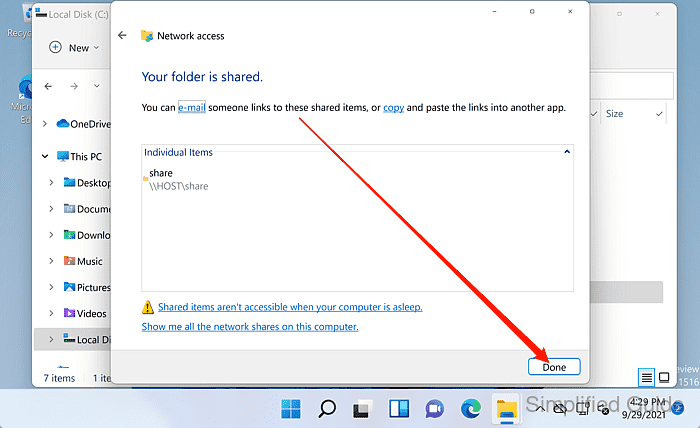
- Click Done to complete the sharing setup.
- Verify that the shared folder is accessible using its Network Path from another device.

Mohd Shakir Zakaria is a cloud architect with deep roots in software development and open-source advocacy. Certified in AWS, Red Hat, VMware, ITIL, and Linux, he specializes in designing and managing robust cloud and on-premises infrastructures.


