Gradle managed devices let an Android project declare the emulator target used for instrumentation tests instead of relying on whatever device happens to be attached. For Espresso suites, that keeps the screen size, API level, and system image close to the same across developer machines and CI runners.
The managed device definition lives in the app module's Android Gradle Plugin configuration. Gradle uses that definition to create a named Android test task, starts or provisions the emulator, installs the app and test APKs, runs the instrumentation package, and stores the test artifacts under the module build directory.
Use one small virtual device first, then add device groups or extra API levels after the single-device task passes. A managed device still needs the Android SDK, a compatible system image, and enough CPU, memory, and emulator support on the machine that runs Gradle.
Steps to run Espresso tests on Gradle managed devices:
- Confirm the app module already has Espresso dependencies and the AndroidJUnitRunner configured.
Managed devices run the instrumentation tests that the project already exposes. Add the test runner and AndroidX Test dependencies before declaring the device.
Related: How to configure an Android project for Espresso - Add a managed virtual device to the app module.
- build.gradle.kts
android {
    testOptions {
        managedDevices {
            localDevices {
                create("pixel2api30") {
                    device = "Pixel 2"
                    apiLevel = 30
                    systemImageSource = "aosp-atd"
                }
            }
        }
    }
}
Automated Test Device images are optimized for instrumentation testing. The aosp-atd image is a good first target when the app does not need Google APIs; use google-atd when the tested flow depends on Google services.
- Run the generated Gradle task for the managed device and build variant.
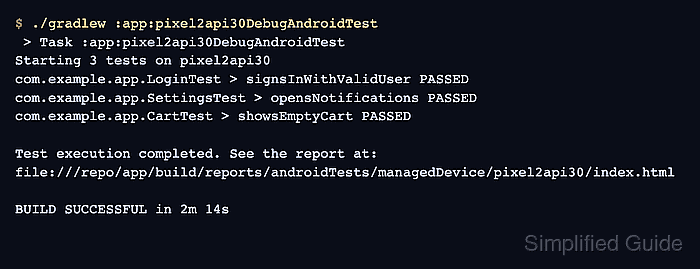
$ ./gradlew :app:pixel2api30DebugAndroidTest
> Task :app:pixel2api30DebugAndroidTest
Starting 3 tests on pixel2api30
com.example.app.LoginTest > signsInWithValidUser PASSED
com.example.app.SettingsTest > opensNotifications PASSED
com.example.app.CartTest > showsEmptyCart PASSED

Test execution completed. See the report at:
file:///repo/app/build/reports/androidTests/managedDevice/pixel2api30/index.html

BUILD SUCCESSFUL in 2m 14s
Task names combine the managed-device name, build variant, and AndroidTest. On CI runners without emulator graphics acceleration, keep the same task and add -Pandroid.testoptions.manageddevices.emulator.gpu=swiftshader_indirect to the Gradle invocation.
- Confirm that Gradle wrote the managed-device HTML report.
$ find app/build/reports/androidTests/managedDevice -name index.html -print
app/build/reports/androidTests/managedDevice/pixel2api30/index.html
The Android Gradle Plugin prints the report path at the end of the test task. Use the printed path when flavors, variants, or device groups add extra directories.
- Confirm that the managed-device result directory contains JUnit XML for CI.
$ find app/build/outputs/androidTest-results/managedDevice -name 'TEST-*.xml' -print
app/build/outputs/androidTest-results/managedDevice/pixel2api30/TEST-pixel2api30.xml
Archive both app/build/reports/androidTests/managedDevice and app/build/outputs/androidTest-results/managedDevice when the CI system needs a human report and machine-readable test results.
Related: How to generate a JUnit report from Espresso tests

Mohd Shakir Zakaria is a cloud architect with deep roots in software development and open-source advocacy. Certified in AWS, Red Hat, VMware, ITIL, and Linux, he specializes in designing and managing robust cloud and on-premises infrastructures.


