Espresso instrumentation runs leave structured test results that CI systems can parse without reading the console log. The Android Gradle connected-test task writes JUnit-style XML under the app module's build output, so dashboards and artifact uploaders can find the same pass, failure, error, skip, and duration data after each device run.
The connected task must run against an attached device or emulator because the AndroidJUnitRunner installs the APKs and executes the test package on Android. A normal debug run also writes a human-readable HTML report, but the machine-readable report used by CI lives in the connected Android test result output.
Keep the report path tied to the module, variant, and device run that produced it. Product flavors, custom build variants, and managed-device tasks can add different directory names, so verify the actual XML file before wiring the path into a pipeline.
Steps to generate a JUnit report from Espresso tests:
- Run the connected Espresso test task for the app module and variant.
$ ./gradlew \
  connectedAndroidTest
Starting 3 tests on Pixel_8_API_35
LoginTest > validLogin PASSED
LoginTest > badPassword PASSED
SettingsTest > opens PASSED

BUILD SUCCESSFUL in 42s
Use connectedAndroidTest for the default connected test task, or a variant-specific task such as :app:connectedDebugAndroidTest when the project exposes one. Android's command-line testing workflow writes connected reports under the module build directory after the run completes.
- Open the connected test result directory for the variant.
$ cd app/build/outputs
$ cd androidTest-results
$ cd connected/debug
For a different module or variant, keep the same result root and replace app or debug with the module and variant used by the Gradle task.
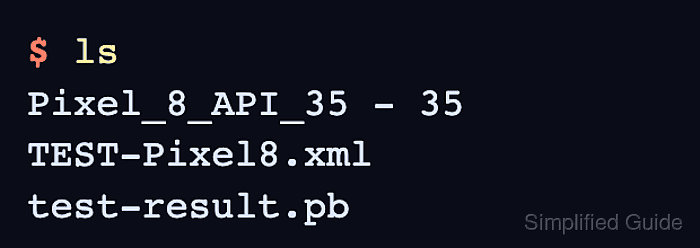
- List the generated result files.
$ ls
Pixel_8_API_35 - 35
TEST-Pixel8.xml
test-result.pb
The XML filename can include the device name, API level, module, or shard details. Use the file that starts with TEST- when a CI reporter asks for JUnit XML.
- Inspect the XML report before publishing the path.
$ cat TEST-Pixel8.xml
<?xml version='1.0' encoding='UTF-8' ?>
<testsuite
    name="LoginTest"
    tests="3"
    failures="0"
    errors="0"
    skipped="0"
    time="8.412">
  <testcase
      classname="LoginTest"
      name="validLogin"
      time="3.102" />
  <testcase
      classname="LoginTest"
      name="badPassword"
      time="2.271" />
  <testcase
      classname="SettingsTest"
      name="opens"
      time="3.039" />
</testsuite>
Look for testsuite and testcase entries, not only a zero exit status. The test-result.pb file is an Android result artifact and is not the portable JUnit XML file most CI report uploaders expect.
Tool: JUnit Test Report Analyzer - Use the connected XML glob in the CI test-report or artifact step.
connected/**/*.xml
Use this glob relative to the module's Android test result root when flavors, variants, or device folders vary between jobs. Use TEST-*.xml in the exact variant directory when the pipeline should accept only one known variant.
- Confirm the final report pattern matches at least one JUnit XML file.
$ ls TEST-*.xml
TEST-Pixel8.xml
A CI test-report step should fail or warn when this check finds no files, because a green Gradle job without an uploaded XML artifact leaves the dashboard blind to individual Espresso test cases.

Mohd Shakir Zakaria is a cloud architect with deep roots in software development and open-source advocacy. Certified in AWS, Red Hat, VMware, ITIL, and Linux, he specializes in designing and managing robust cloud and on-premises infrastructures.


