How to test a release build with Espresso
Release builds can expose Android UI test failures that a debug run never sees. Minification, resource shrinking, manifest placeholders, signing, and release-only configuration can change how an Espresso test reaches screens before a version is shipped.
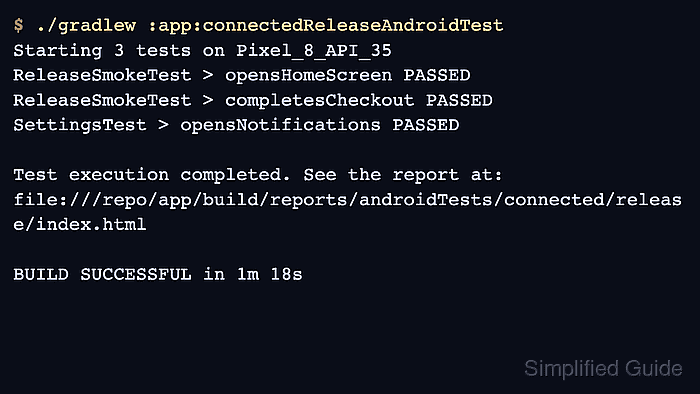
The Android Gradle Plugin normally builds connected instrumentation tests against the debug build type. Setting testBuildType to release moves the connected test target to the release variant, so Gradle installs the release app APK with its matching androidTest APK on the device.
Use a signing setup intended for internal test devices or CI instead of exposing production keystore secrets on a developer machine. A connected release test still needs a real emulator or device, and any production-only services should point at safe test accounts before the run starts.
Steps to test a release build with Espresso:
- Confirm the app module already builds Espresso instrumentation tests.
The module should have AndroidJUnitRunner and androidTestImplementation dependencies before the release variant is selected for testing.
Related: How to configure an Android project for Espresso - Open the app module Gradle build file.
$ $EDITOR app/build.gradle.kts
The examples use Kotlin DSL in app/build.gradle.kts. Put the same settings in the app module when the project uses Groovy.
- Set the instrumentation test build type to release.
- build.gradle.kts
android {
    testBuildType = "release"
}
In Groovy DSL, use testBuildType "release" inside the module-level android block.
- Confirm that the release build type uses a signing config that the test device can install.
- build.gradle.kts
android {
    buildTypes {
        release {
            signingConfig = signingConfigs.getByName("release")
        }
    }
}
Keep keystore files and passwords out of the repo. Use existing CI secrets, a local uncommitted keystore, or an internal release-test signing config when production signing material is restricted.
- Check that Gradle exposes the release connected test task.
$ ./gradlew :app:connectedReleaseAndroidTest --dry-run
:app:preBuild SKIPPED
:app:preReleaseBuild SKIPPED
:app:connectedReleaseAndroidTest SKIPPED

BUILD SUCCESSFUL in 2s
For product flavors, include the flavor name in the task, such as :app:connectedPaidReleaseAndroidTest.
- Connect the emulator or device that will run the release instrumentation test.
$ adb devices
List of devices attached
emulator-5554	device
- Run the release connected Android test task.
$ ./gradlew :app:connectedReleaseAndroidTest
> Task :app:connectedReleaseAndroidTest
Starting 3 tests on Pixel_8_API_35
com.example.checkout.ReleaseSmokeTest > opensHomeScreen PASSED
com.example.checkout.ReleaseSmokeTest > completesCheckout PASSED
com.example.checkout.SettingsTest > opensNotifications PASSED

Test execution completed. See the report at:
file:///repo/app/build/reports/androidTests/connected/release/index.html

BUILD SUCCESSFUL in 1m 18s
If the release app points at production-only hosts, use test accounts and server-side safeguards intended for instrumentation traffic before running it on shared devices.
- Confirm the release HTML report path was written.
$ ls app/build/reports/androidTests/connected/release/index.html
app/build/reports/androidTests/connected/release/index.html
- Confirm that the release JUnit XML result exists for CI upload.
$ ls app/build/outputs/androidTest-results/connected/release
Pixel_8_API_35 - 35
TEST-Pixel8.xml
test-result.pb
Archive the connected/release report and result directories when CI needs both human-readable and JUnit XML evidence.
Related: How to generate a JUnit report from Espresso tests