A one-file Python script starts to hurt when the command needs options, repeatable installs, or handoff to another shell. Bootstrapping the CLI as a package gives the project a source layout, package metadata, and a console command that can be tested from the same path another user will run.
The project below uses the src layout, a virtual environment, and pyproject.toml metadata read by modern Python packaging tools. The [project.scripts] entry maps the command name to a Python function, so pip creates the executable wrapper when the package is installed.
Keep the virtual environment disposable and keep project code outside it. The editable install is for local development, and the final proof is the generated command under .venv/bin printing output from the package module rather than a loose script in the current directory.
Related: How to create a virtual environment in Python
Related: How to build a Python wheel
Related: How to install a local Python wheel with pip
Steps to bootstrap a Python CLI tool project:
- Create the project directory.
$ mkdir acme-tasks
- Enter the project directory.
$ cd acme-tasks
- Create a virtual environment for local development.
$ python3 -m venv .venv
If Debian or Ubuntu reports that ensurepip is unavailable, install the matching python3-venv package before rerunning this command. Related: How to create a virtual environment in Python
- Activate the virtual environment.
$ source .venv/bin/activate
- Create the import package directory under src.
(.venv) $ mkdir -p src/acme_tasks
The src layout requires installing the project before running the command, which helps catch packaging mistakes before a wheel or handoff build.
- Add the project metadata and console script entry point.
- pyproject.toml
[build-system]
requires = ["setuptools >= 77.0.3"]
build-backend = "setuptools.build_meta"

[project]
name = "acme-tasks"
version = "0.1.0"
description = "Small command-line task reporter."
requires-python = ">=3.11"

[project.scripts]
acme-tasks = "acme_tasks.cli:main"
The distribution name uses a hyphen, while the import package uses an underscore because Python import names cannot contain hyphens.
- Add the package initializer.
- src/acme_tasks/__init__.py
__version__ = "0.1.0"
- Add the CLI module.
- src/acme_tasks/cli.py
import argparse


def main() -> int:
    parser = argparse.ArgumentParser(prog="acme-tasks")
    parser.add_argument("task", help="Task name to report")
    parser.add_argument(
        "--priority",
        default="normal",
        choices=["low", "normal", "high"],
        help="Priority label to print with the task",
    )
    args = parser.parse_args()
    print(f"{args.priority}: {args.task}")
    return 0


if __name__ == "__main__":
    raise SystemExit(main())
The main() function takes no wrapper arguments, so the generated console script can call it directly while argparse reads command-line values from sys.argv.
- Install the project in editable mode.
(.venv) $ python -m pip install --editable .
Obtaining file:///home/ops/acme-tasks
  Installing build dependencies: started
  Installing build dependencies: finished with status 'done'
##### snipped #####
Successfully built acme-tasks
Installing collected packages: acme-tasks
Successfully installed acme-tasks-0.1.0
Editable mode keeps the installed command pointed at the working source tree, so later edits under src/acme_tasks are picked up without reinstalling a wheel.
- Confirm that the shell resolves the generated command from the virtual environment.
(.venv) $ command -v acme-tasks
/home/ops/acme-tasks/.venv/bin/acme-tasks
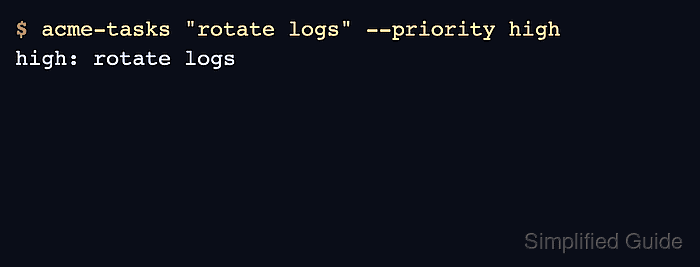
- Run the generated command with one argument and one option.
(.venv) $ acme-tasks "rotate logs" --priority high
high: rotate logs

Mohd Shakir Zakaria is a cloud architect with deep roots in software development and open-source advocacy. Certified in AWS, Red Hat, VMware, ITIL, and Linux, he specializes in designing and managing robust cloud and on-premises infrastructures.


