Open WebUI separates its browser interface from the model provider that supplies chat responses. Its PyPI package runs that interface as a Python server on Linux, with application dependencies contained in a virtual environment.
A compatible Python interpreter matters more than the distribution's default Python version. Python 3.12 works with the package, and uv can provide it without replacing the system interpreter. A Linux shell, curl, and uv installed from Astral's official distribution are prerequisites.
The virtual environment holds replaceable application files, while an explicit DATA_DIR keeps accounts, settings, and uploads outside it. The server also needs the same secret key after a restart. Keeping both the data directory and the generated key in a fixed location preserves the instance even if its virtual environment is later rebuilt.
Steps to install Open WebUI with pip:
- Install Python 3.12 through uv.
$ uv python install 3.12
The package supports Python 3.11 and 3.12 in release 0.13.3. A newer system Python, such as Python 3.14 on Ubuntu 26.04, cannot install this release.
- Create a Python 3.12 virtual environment with pip.
$ uv venv --python 3.12 --seed ~/open-webui/venv
The --seed option installs pip in the new environment.
- Activate the virtual environment in the current shell.
$ source ~/open-webui/venv/bin/activate
- Install the CPU-only PyTorch build on a machine without an NVIDIA GPU.
$ pip install torch --index-url https://download.pytorch.org/whl/cpu
This avoids the several gigabytes of CUDA dependencies that a plain installation can otherwise download on Linux. On an NVIDIA GPU machine that needs CUDA, skip this CPU-only step.
- Install Open WebUI from PyPI.
$ pip install open-webui==0.13.3
The installation still downloads large dependencies and can take several minutes. The application and its CPU dependencies occupy several gigabytes. The pin fixes the Open WebUI release and its declared Python range; it does not freeze every dependency version.
- Create a private data directory outside the virtual environment.
$ mkdir -p -m 700 ~/open-webui/data
- Change to the fixed startup directory.
$ cd ~/open-webui
Without an explicit WEBUI_SECRET_KEY, the server generates .webui_secret_key in its startup directory, separately from DATA_DIR. Starting from another directory can generate a different key and invalidate sessions or encrypted settings. The data directory and the original key both belong in a backup.
- Start Open WebUI on the loopback interface.
The first person to create an account becomes the administrator. The default listener uses all network interfaces; --host 127.0.0.1 keeps port 8080 local while the account is created. Public access also needs an access policy and HTTPS.
$ DATA_DIR="$HOME/open-webui/data" open-webui serve --host 127.0.0.1
The server stays in the foreground. First startup can take longer while data and model caches are initialized. A remote server needs an SSH local forward to reach this loopback listener from a workstation browser.
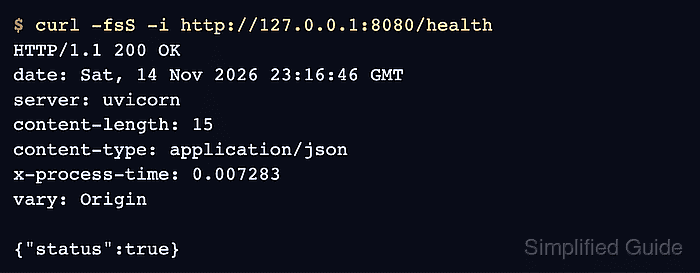
Related: How to forward a local port with SSH - Check the health endpoint from a second shell on the same machine. Example output:
$ curl -fsS -i http://127.0.0.1:8080/health
HTTP/1.1 200 OK
##### snipped #####
{"status":true}
A connection error means the server is not listening yet; the startup terminal contains its logs. An HTTP 200 response proves the web server is responding, while account access still needs the browser check.
- Open http://localhost:8080 in a browser on the same machine.
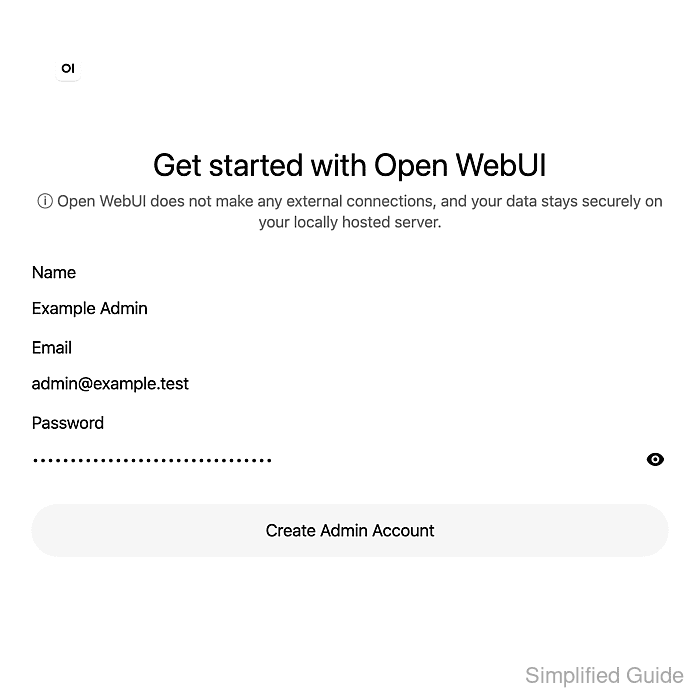
- Click Get started.
- Enter your administrator name, email address, and a unique password.
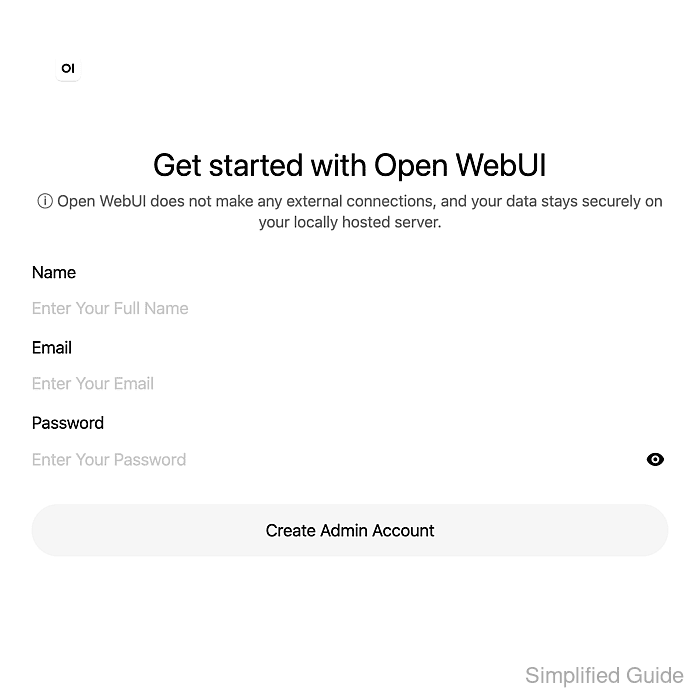
- Click Create Admin Account.
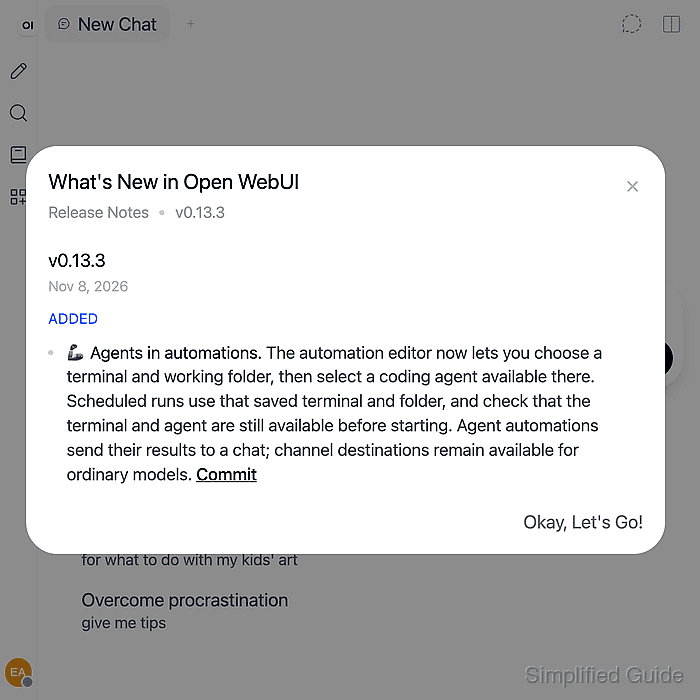
- Dismiss the release notes if the dialog appears.
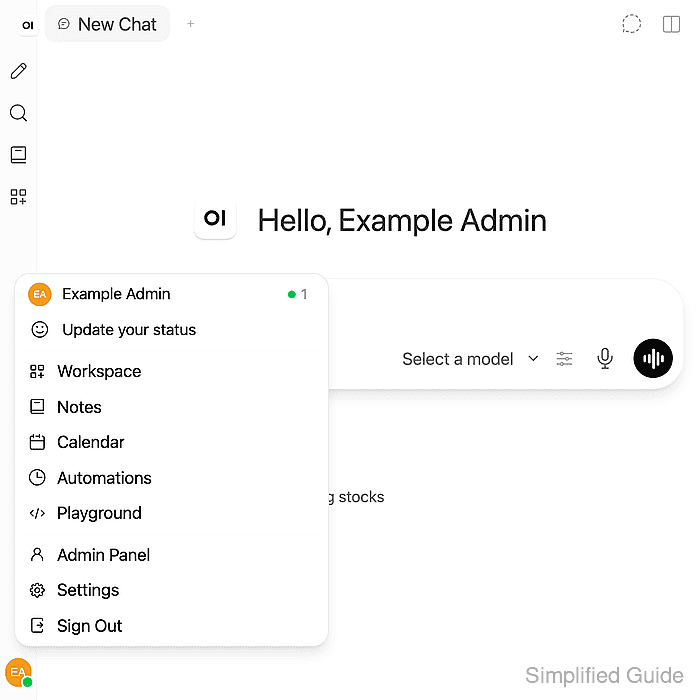
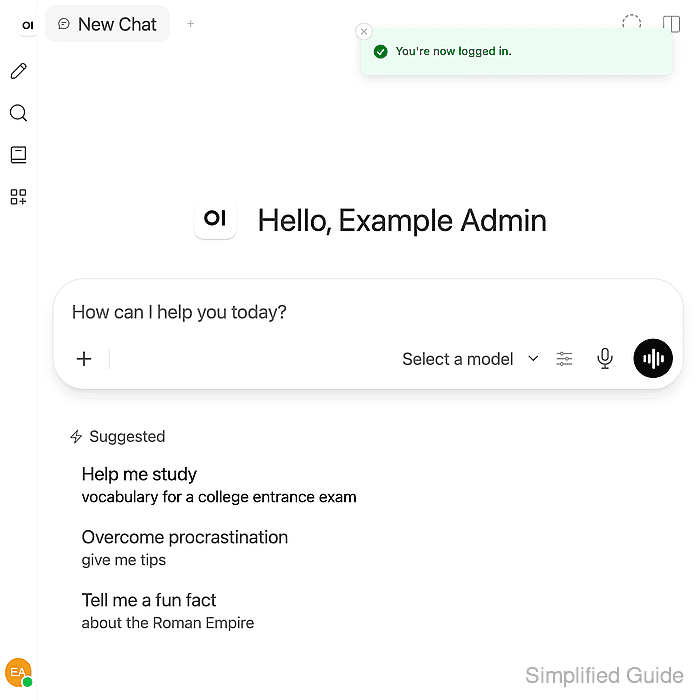
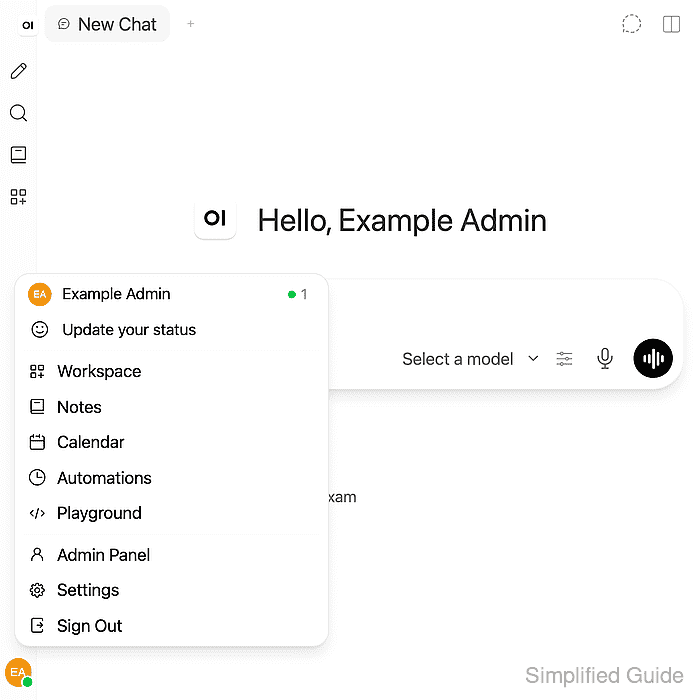
- Open the user menu using the account avatar at the lower left.
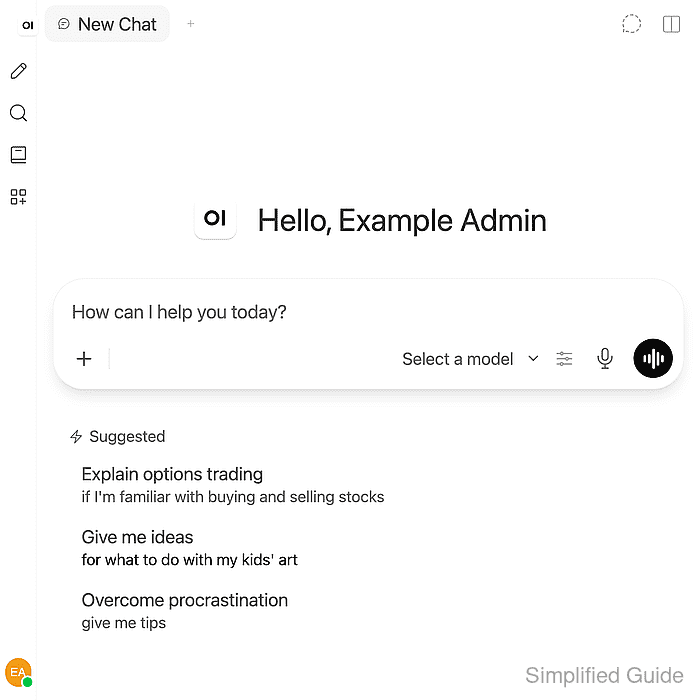
The workspace greets the signed-in account. An empty model selector is expected until a model provider is connected.
- Select Settings from the user menu.
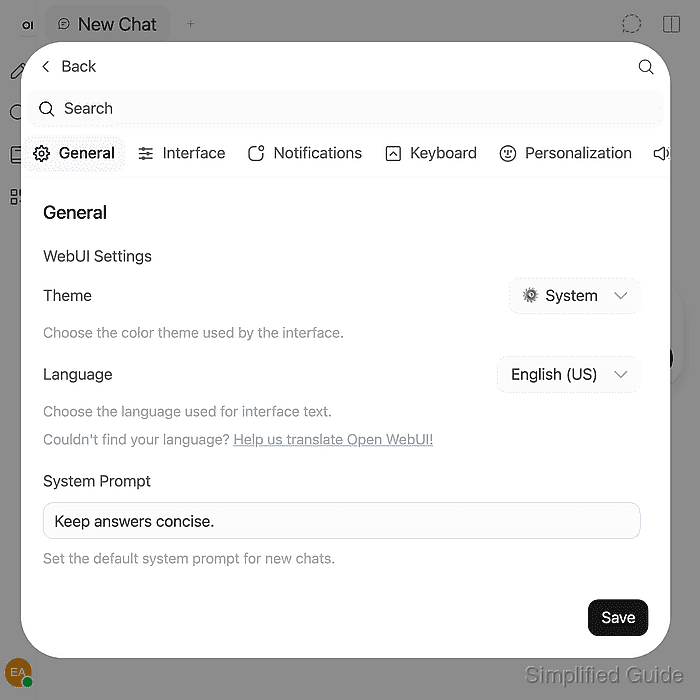
- Enter Keep answers concise. in System Prompt under General.
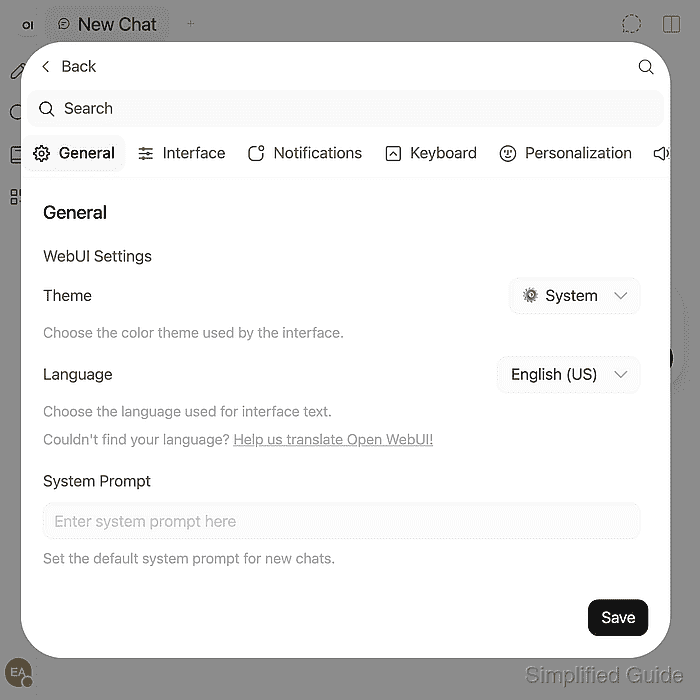
This saved preference provides a visible value to check after the server restart; no model connection is needed to save it.
- Save the preference with Save.
- Stop the server with Ctrl+C in its original terminal.
The web interface is unavailable until the server starts again; the data directory and secret file remain on disk.
- Restart the server from the same directory with the same data path.
$ DATA_DIR="$HOME/open-webui/data" open-webui serve --host 127.0.0.1
The original shell still has the virtual environment active and its working directory is ~/open-webui. In a new shell, activation and the change to that directory are required again. This foreground process does not start automatically after an operating-system reboot.
- Confirm that the restarted server responds to the health request. Example output:
$ curl -fsS -i http://127.0.0.1:8080/health
HTTP/1.1 200 OK
##### snipped #####
{"status":true}
- Open http://localhost:8080 in a private browser window.
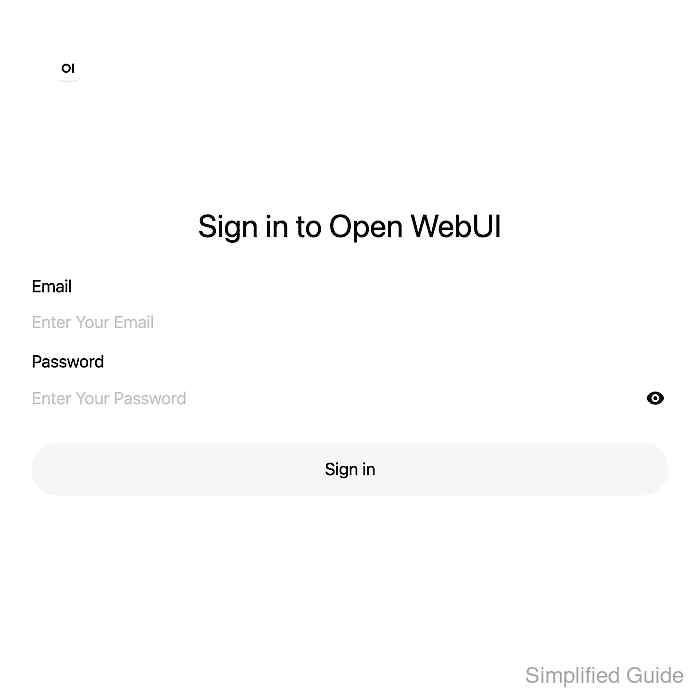
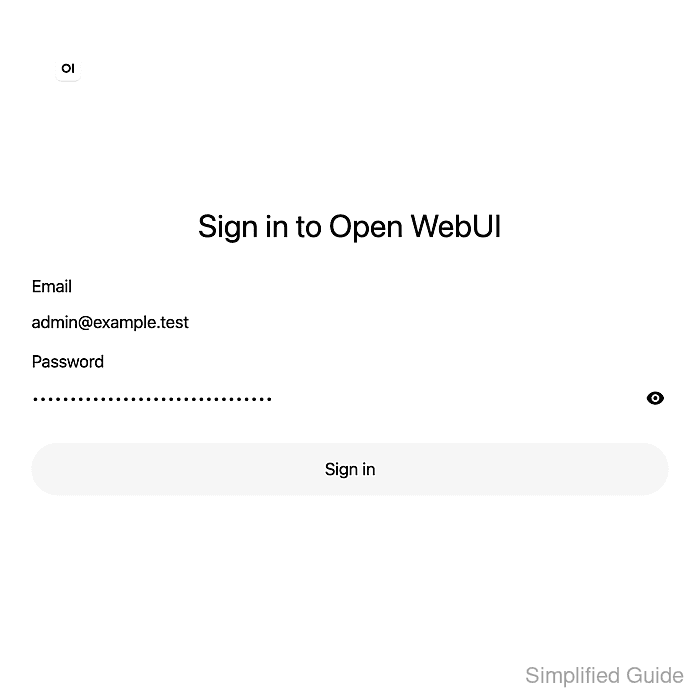
A private window requires a fresh sign-in instead of reusing the original browser session. The existing instance should show Sign in to Open WebUI, rather than the first-run administrator form.
- Enter the administrator email address and password created earlier.
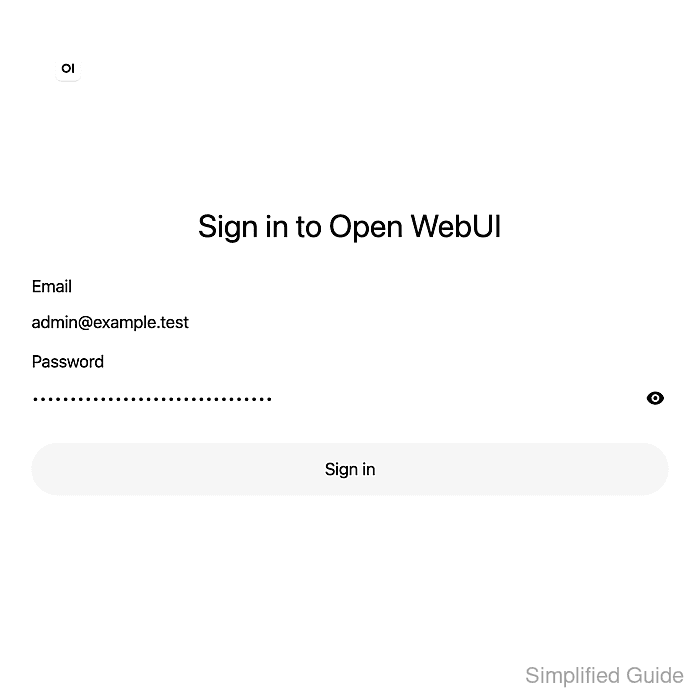
- Click Sign in.
- Open the user menu from the signed-in workspace.
- Select Settings from the user menu.
- Confirm that System Prompt under General retains the text saved before the restart.
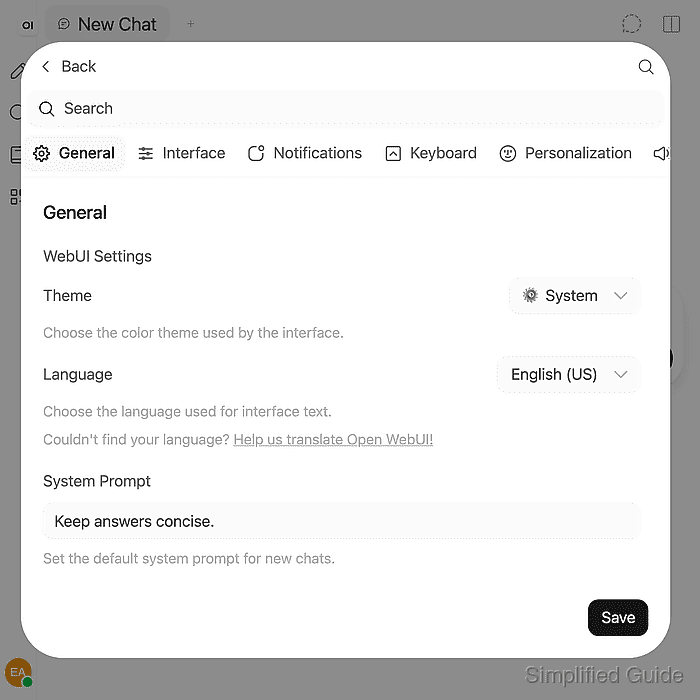
The existing administrator can sign in and the saved preference remains after the restart. A first-run account form or a missing value indicates that the server is using different data or that the preference was not saved.