Ollama for Windows runs as a native user application and exposes the ollama command in Command Prompt, PowerShell, or another terminal after installation. The local API is served on http://localhost:11434 like other platforms.
The current Windows requirements are Windows 10 22H2 or newer, with driver requirements for NVIDIA and AMD acceleration. The default installer does not require Administrator rights and installs into the user's profile.
Use the normal OllamaSetup.exe installer unless an application needs the standalone CLI zip for a custom service layout.
Related: How to check the Ollama version
Related: How to set the Ollama model directory
Related: How to check Ollama GPU support
Steps to install Ollama on Windows:
- Download OllamaSetup.exe from the official Ollama download page.
$ start https://ollama.com/download
- Run the installer as the target Windows user.
$ .\OllamaSetup.exeUse OllamaSetup.exe /DIR=“D:\Apps\Ollama” only when a custom install directory is required.
- Open a new PowerShell window after the installer finishes.
$ powershell - Check the Ollama version.
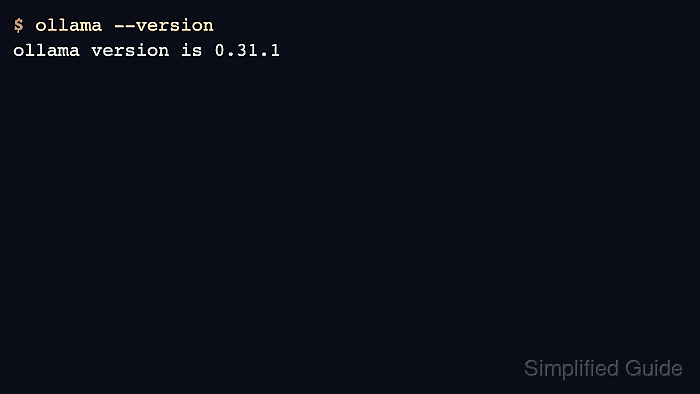
$ ollama --version ollama version is 0.31.1 - Check the local API from PowerShell.
$ (Invoke-WebRequest -Method POST -Body '{"model":"gpt-oss:20b","prompt":"Return OK.","stream":false}' -Uri http://localhost:11434/api/generate).Content
{"response":"OK","done":true}
- Open logs if the tray app starts but the CLI cannot connect.
$ explorer %LOCALAPPDATA%\Ollama

Mohd Shakir Zakaria is a cloud architect with deep roots in software development and open-source advocacy. Certified in AWS, Red Hat, VMware, ITIL, and Linux, he specializes in designing and managing robust cloud and on-premises infrastructures.


