Jupyter Notebook runs through Jupyter Server in Notebook 7, so browser traffic is encrypted only when the server process has a certificate and private key configured. HTTPS matters when notebooks are opened across a network, through a tunnel, or from a browser profile that should not send tokens and session cookies over plain HTTP.
The persistent TLS settings live in jupyter_server_config.py as ServerApp.certfile and ServerApp.keyfile. A local test can use a self-signed certificate on 127.0.0.1:8899, while a public hostname should use a CA-issued certificate chain and matching private key to avoid browser trust warnings.
HTTPS does not replace Notebook authentication. Token authentication remains enabled unless a password is configured, and public access still needs separate bind-address, firewall, and single-user exposure decisions before the server listens beyond localhost.
Steps to enable HTTPS for Jupyter Notebook:
- Generate the Jupyter Server config file if it does not already exist.
$ jupyter server --generate-config
Writing default config to: '/home/analyst/.jupyter/jupyter_server_config.py'
Notebook 7 reads Jupyter Server settings for TLS because the Notebook application is served by Jupyter Server.
Related: How to generate a Jupyter Notebook configuration file - Create a private directory for the certificate and key files.
$ mkdir -p ~/.jupyter/ssl
- Generate a self-signed certificate for local HTTPS testing.
$ openssl req \
  -x509 \
  -nodes \
  -days 365 \
  -newkey rsa:2048 \
  -keyout ~/.jupyter/ssl/jupyter.key \
  -out ~/.jupyter/ssl/jupyter.crt \
  -subj "/CN=127.0.0.1" \
  -addext "subjectAltName=IP:127.0.0.1,DNS:localhost"
.....+...+++++++++++++++++++++++++++++++++++++++*...
##### snipped #####
-----
Browsers warn on self-signed certificates. Use a CA-issued certificate for a public hostname instead of asking users to accept an untrusted certificate.
- Restrict the private key file to the current user.
$ chmod 600 ~/.jupyter/ssl/jupyter.key
- Open the Jupyter Server config file.
$ vi ~/.jupyter/jupyter_server_config.py
- Add the HTTPS settings to the config file.
from pathlib import Path

_tls_dir = Path.home() / ".jupyter" / "ssl"

c.ServerApp.certfile = str(_tls_dir / "jupyter.crt")
c.ServerApp.keyfile = str(_tls_dir / "jupyter.key")
c.ServerApp.ip = "127.0.0.1"
c.ServerApp.open_browser = False
c.ServerApp.port = 8899
Use 0.0.0.0 or a specific server address only when remote access is intentionally configured and protected.
- Check that Jupyter Server loads the TLS settings.
$ jupyter server --show-config
Loaded config files:
  /home/analyst/.jupyter/jupyter_server_config.py

ServerApp
  .certfile = '/home/analyst/.jupyter/ssl/jupyter.crt'
  .keyfile = '/home/analyst/.jupyter/ssl/jupyter.key'
  .ip = '127.0.0.1'
  .open_browser = False
  .port = 8899
- Start Jupyter Server without opening a browser automatically.
$ jupyter server --no-browser
[JupyterServerApp] Serving notebooks from local directory: /srv/notebooks
[JupyterServerApp] Jupyter Server 2.20.0 is running at:
[JupyterServerApp] https://127.0.0.1:8899/tree?token=sample-token
The token in startup output is an authentication secret. Keep real token URLs out of shared tickets, screenshots, and shell transcripts.
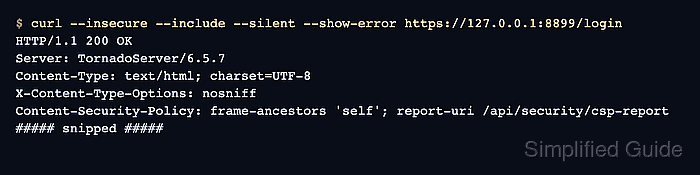
- Verify that the login page answers over HTTPS.
$ curl --insecure --include --silent --show-error https://127.0.0.1:8899/login
HTTP/1.1 200 OK
Server: TornadoServer/6.5.7
Content-Type: text/html; charset=UTF-8
X-Content-Type-Options: nosniff
Content-Security-Policy: frame-ancestors 'self'; report-uri /api/security/csp-report
##### snipped #####
Use --insecure only for a self-signed local certificate. Omit it when the server presents a certificate trusted by the client.

Mohd Shakir Zakaria is a cloud architect with deep roots in software development and open-source advocacy. Certified in AWS, Red Hat, VMware, ITIL, and Linux, he specializes in designing and managing robust cloud and on-premises infrastructures.


