S3 buckets are private by default to protect data from unintended access. To make an S3 bucket public, you must modify its permissions and configure the appropriate Bucket policy. This is necessary if you want to share files or host content, such as a static website, publicly.
Making a bucket public involves creating or selecting an existing S3 bucket, then adjusting its permissions to allow public access. This includes disabling the default block public access settings, which prevent any public access by default. Once these settings are modified, the bucket is accessible to anyone with the proper URL.
After enabling public access, it’s essential to define a clear Bucket policy to control what can be accessed. This policy determines which objects within the bucket are publicly accessible and specifies the actions allowed. Properly configuring this ensures that only intended content is available to the public, while other data remains secure.
Steps to create public AWS S3 bucket:
- Create a private S3 bucket if you don't already have one.
Related: How to create private AWS S3 bucket
- Go to S3 section in your AWS Console.
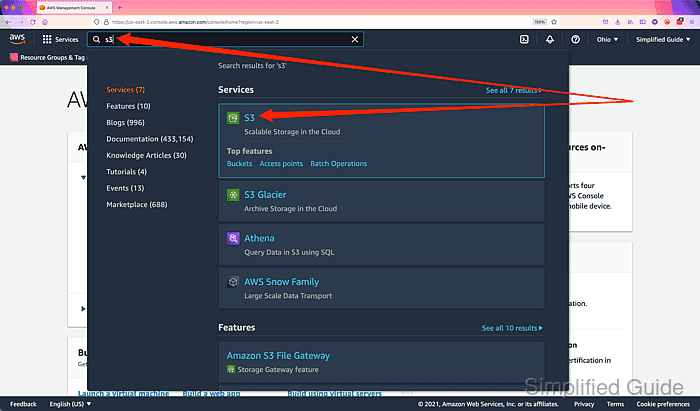
Related: AWS S3 Management Console
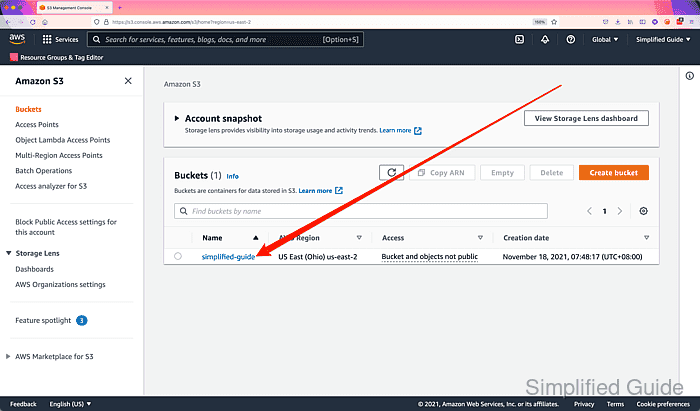
- Click on the private S3 bucket that you want to make public.
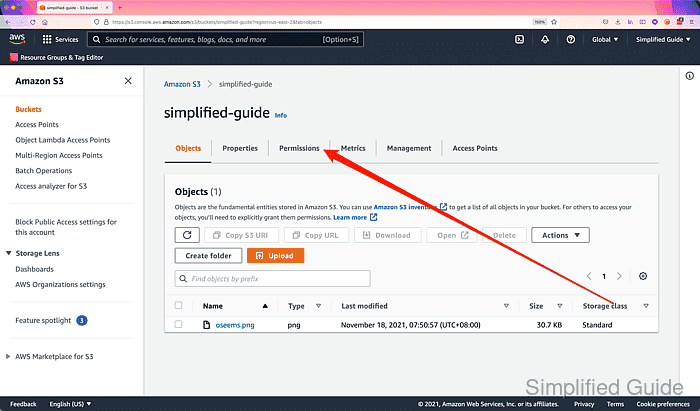
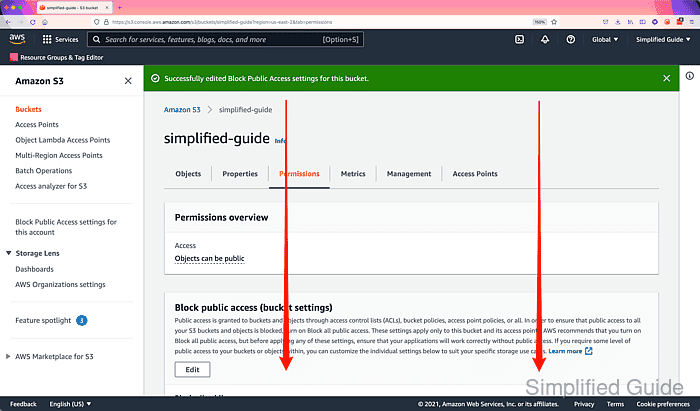
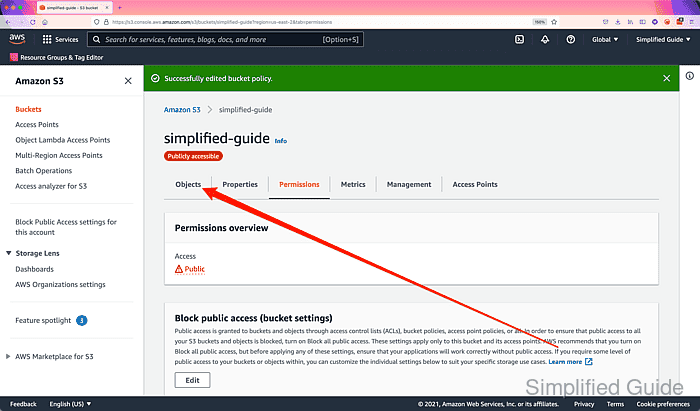
- Click on the Permissions tab of your S3 bucket.
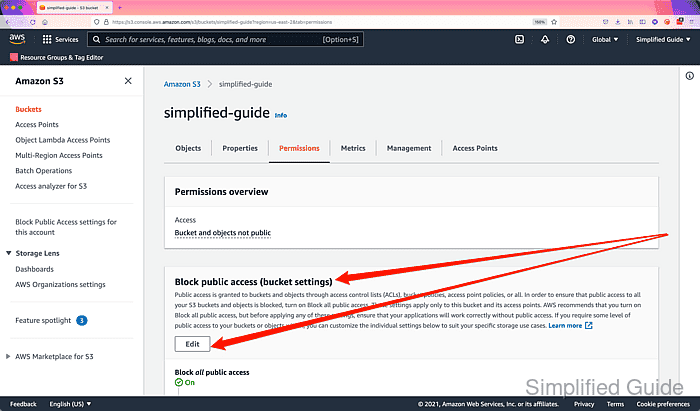
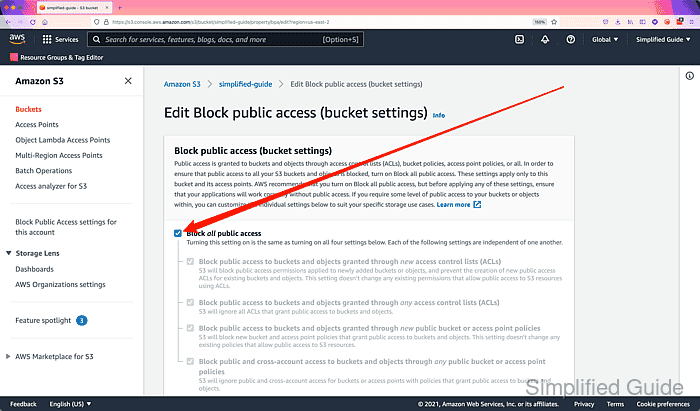
- Go to Block public access section and click on Edit.
- Click to uncheck the Block all public access checkbox.
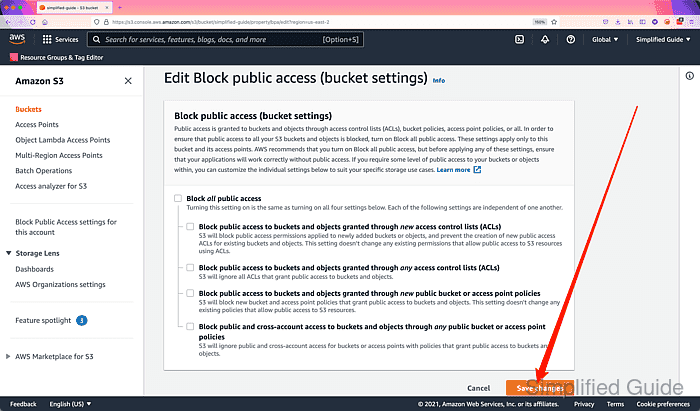
- Click on the Save changes button.
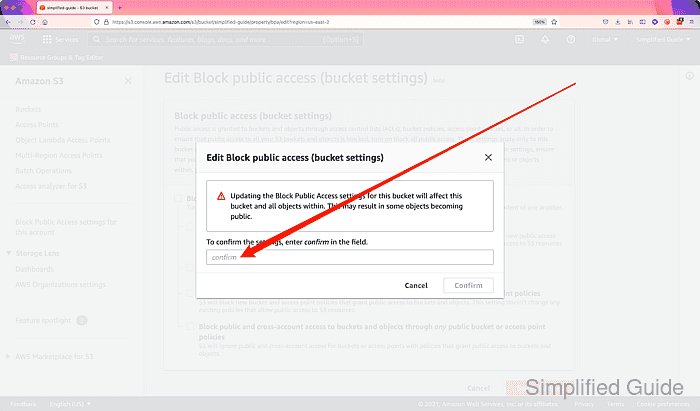
- Type confirm in the textbox to confirm your action.
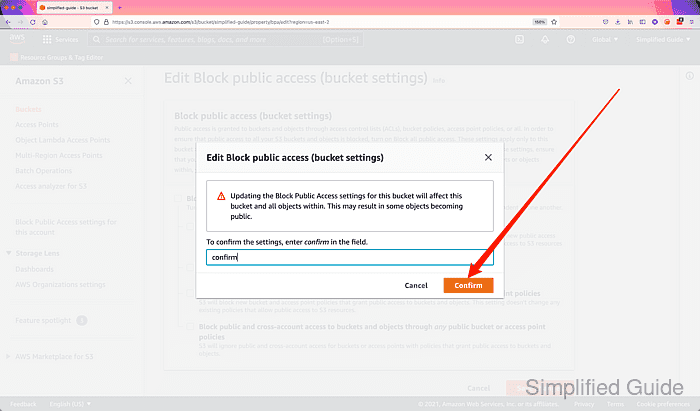
- Click on the Confirm button.
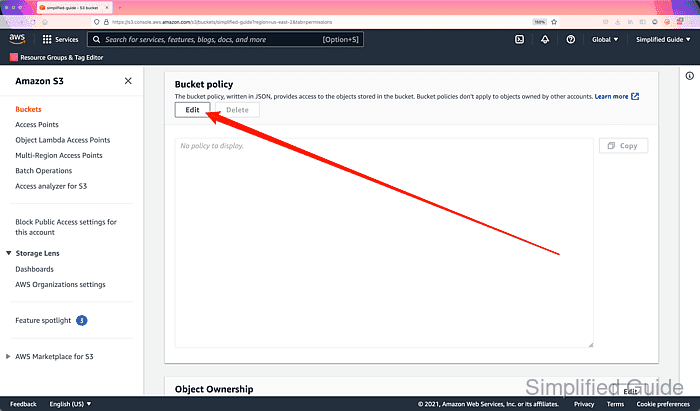
- Scroll down to the Bucket policy section.
- Click on the Edit button.
- Enter and review the policy to make your S3 bucket public or use the Policy generator.
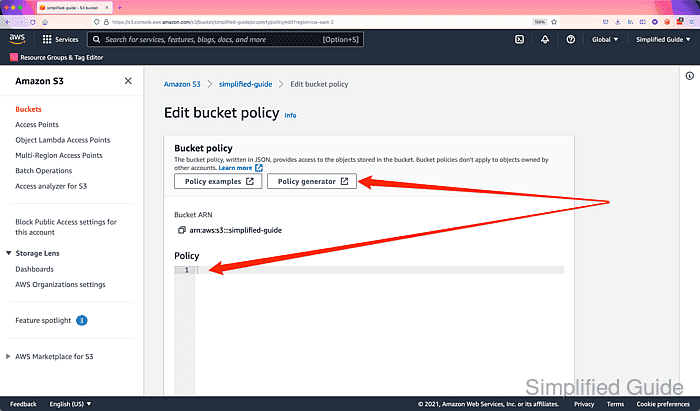
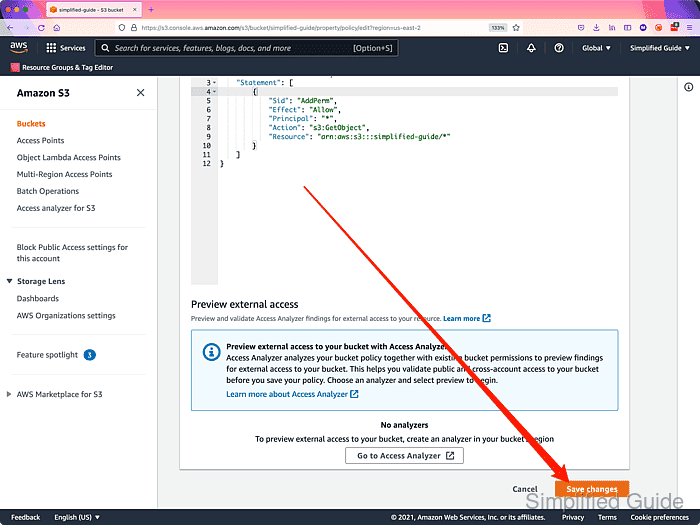
{
  "Version":"2012-10-17",
  "Statement":[
    {
      "Sid":"AddPerm",
      "Effect":"Allow",
      "Principal": "*",
      "Action":["s3:GetObject"],
      "Resource":["arn:aws:s3:::simplified-guide/*"]
    }
  ]
}
Replace simplified-guide with your own bucket name.
- Click on the Save changes button.
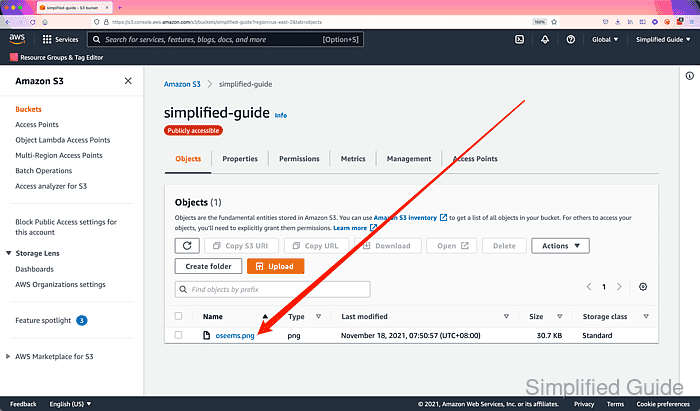
- Go to the Objects tab.
- Click on an object.
- Click on the link on the Object URL section.
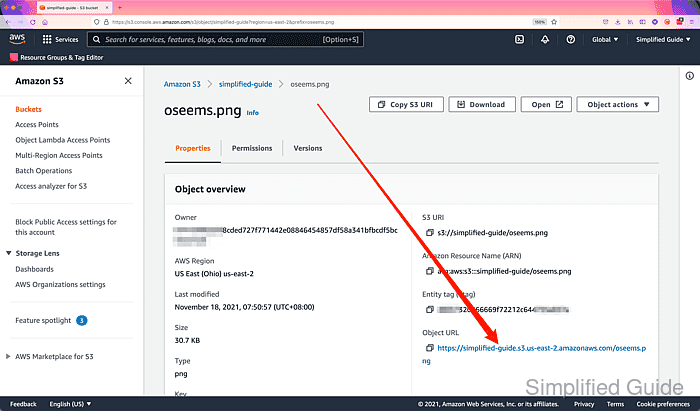
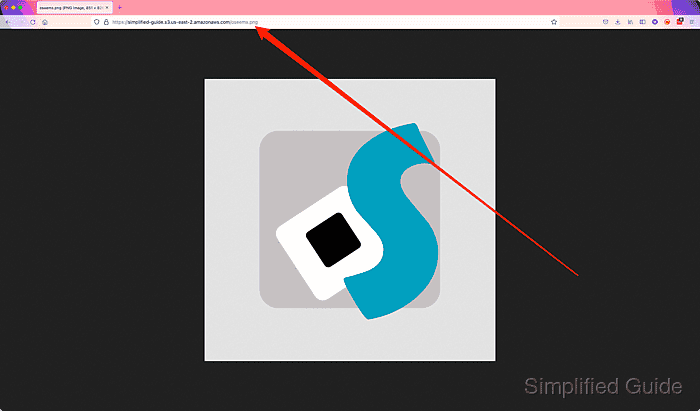
- View the object using the publicly accessible URL.

Mohd Shakir Zakaria is a cloud architect with deep roots in software development and open-source advocacy. Certified in AWS, Red Hat, VMware, ITIL, and Linux, he specializes in designing and managing robust cloud and on-premises infrastructures.


