A local language model can answer workspace messages without a cloud LLM account. In an AnythingLLM Docker installation, the native Ollama provider connects workspace chat to a model running on an Ollama server.
The Ollama address must be reachable from the AnythingLLM container, rather than only from your browser or Docker host. A user-defined Docker network provides name resolution between the two containers without requiring another published port.
Start at AnythingLLM's home screen with both containers running on the same Docker host and a chat model already downloaded into Ollama. The system LLM preference applies to workspaces without a provider override; document embeddings have a separate provider setting.
Steps to set the Ollama provider in AnythingLLM with Docker:
- Create a Docker network for AnythingLLM and Ollama.
$ docker network create anythingllm-ollama
The commands use containers named anythingllm and ollama on the same Docker host. Different installation names need matching substitutions. If both containers already share a user-defined network, its existing connection can serve the same purpose.
Containers on this network can reach each other's listening ports, including Ollama's unauthenticated API. Only trusted containers belong on it; adding this network does not restrict ports already published by either installation.
- Connect the Ollama container to the network.
$ docker network connect --alias ollama anythingllm-ollama ollama
The network alias ollama gives AnythingLLM a stable server name. A container already attached to this network does not need another connection.
- Connect the AnythingLLM container to the network.
$ docker network connect anythingllm-ollama anythingllm
- List the models installed in the Ollama container.
$ docker exec ollama ollama list
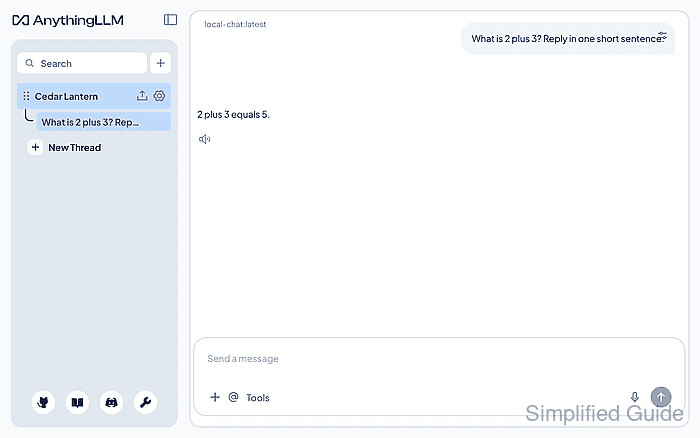
The NAME column supplies the exact model name and tag for the provider selection. The screenshots use an installed model named local-chat:latest; your downloaded model can have another name. An empty list means a model still needs to be downloaded.
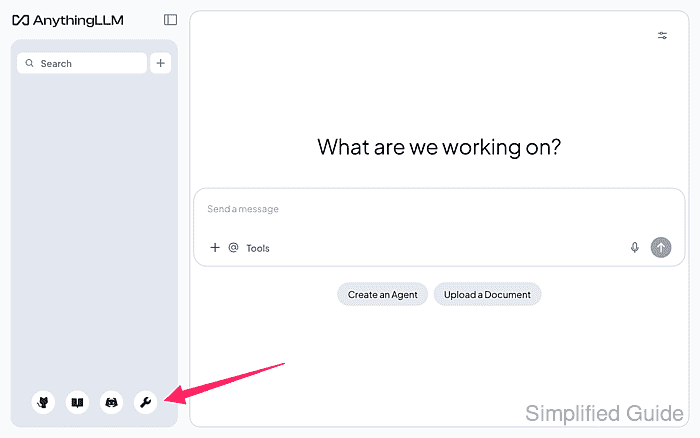
Related: How to pull an Ollama model - Open AnythingLLM's settings with the wrench icon at the bottom of the sidebar.
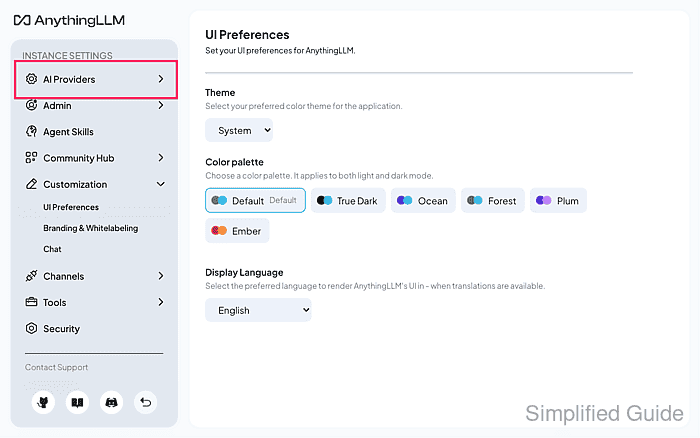
- Expand AI Providers in the settings sidebar.
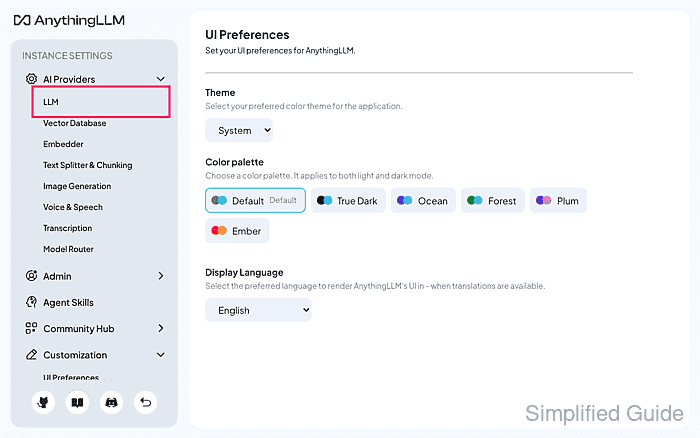
- Open LLM under AI Providers.
- Select Ollama from LLM Provider.
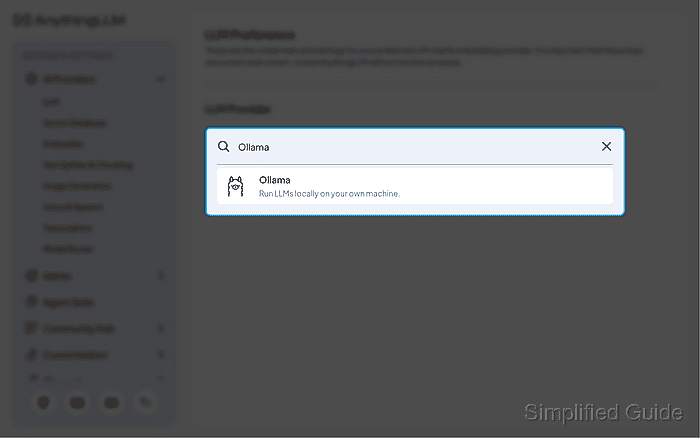
The provider search can filter the list by Ollama. This is the native Ollama connection, with its own model and server controls.
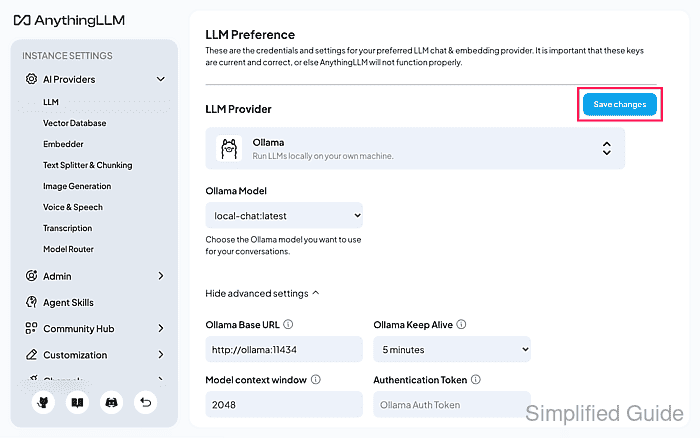
- Set Ollama Base URL to
http://ollama:11434.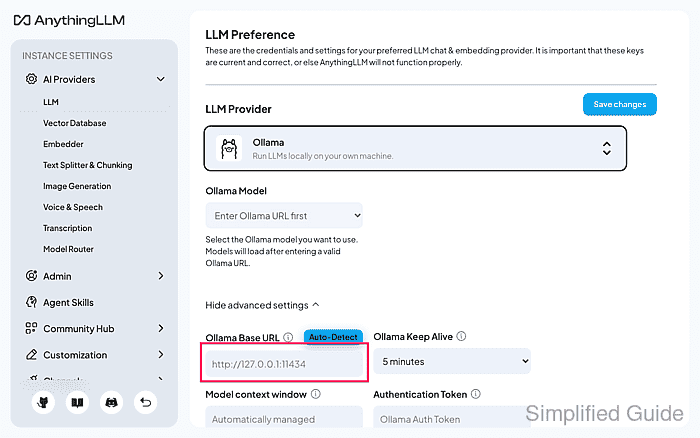
The advanced controls open automatically when no URL is configured; Show advanced settings reveals them if collapsed. The field commits when it loses focus, such as when you press Tab, and AnythingLLM then loads the model list. Here ollama is the Docker network alias, while localhost would refer to the AnythingLLM container itself. The native provider uses the server root, without /v1 or /api/chat. The standard local Ollama server needs no Authentication Token.
- Select your installed chat model from Ollama Model.
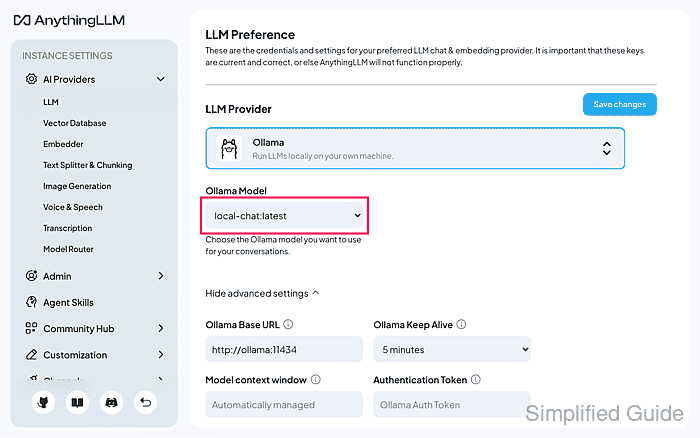
The model list comes from the server at the configured URL. A missing model or a list that never loads points to that server's model store or connectivity, rather than a completed connection.
- Set Model context window to
2048for the initial chat test.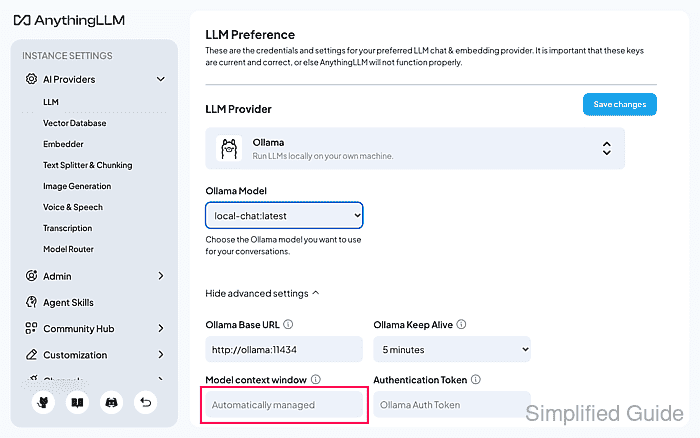
This limits the conversation context to 2,048 tokens for a small initial test. Larger contexts consume more memory; the value must fit both the selected model and the available memory.
Saving the system provider also changes the LLM used by existing workspaces that inherit the system default. A previous provider can be restored from this same settings page.
- Click Save changes to store the Ollama provider settings.
- Reload the saved LLM settings page.
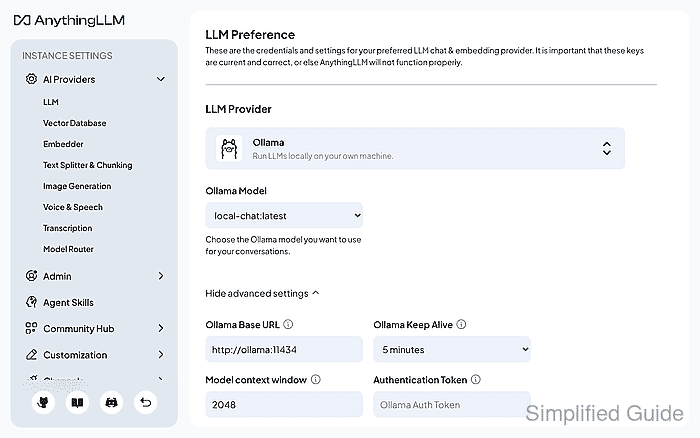
Ollama and its saved URL, model, and context window should remain selected. A reverted selection means the settings were not saved. The advanced controls may be collapsed again after reload.
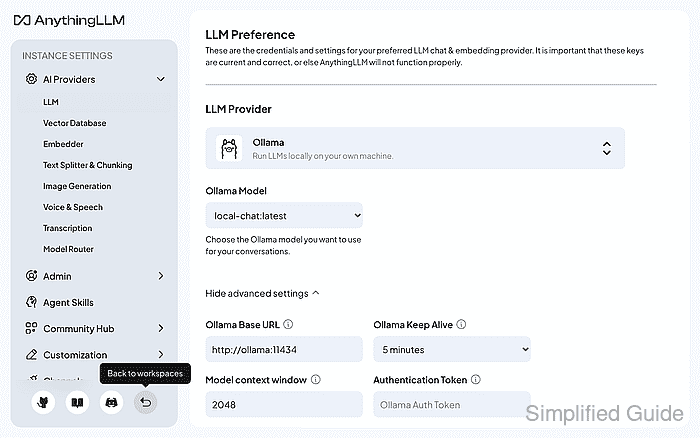
- Return to workspaces with the back arrow at the bottom of the settings sidebar.
- Click the + button beside the workspace search box.
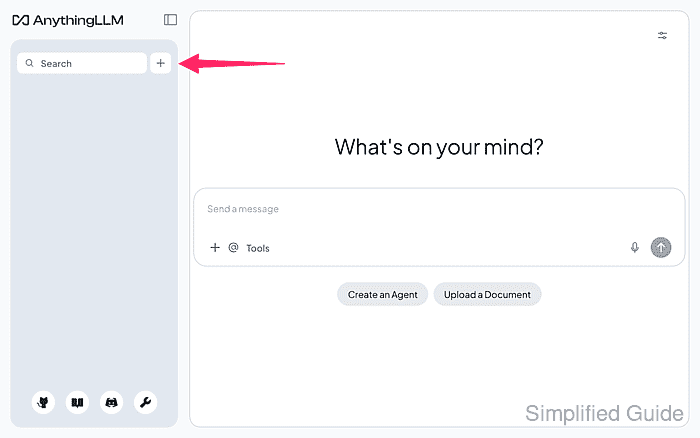
A new workspace uses the system provider, avoiding an older workspace's model override during the connection test.
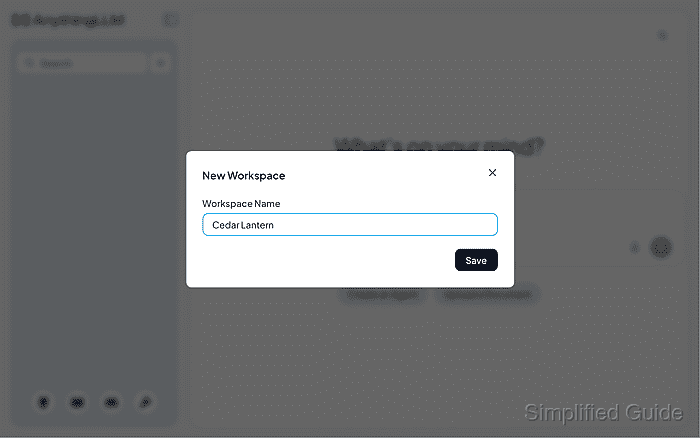
- Enter
Cedar Lanternas the Workspace Name.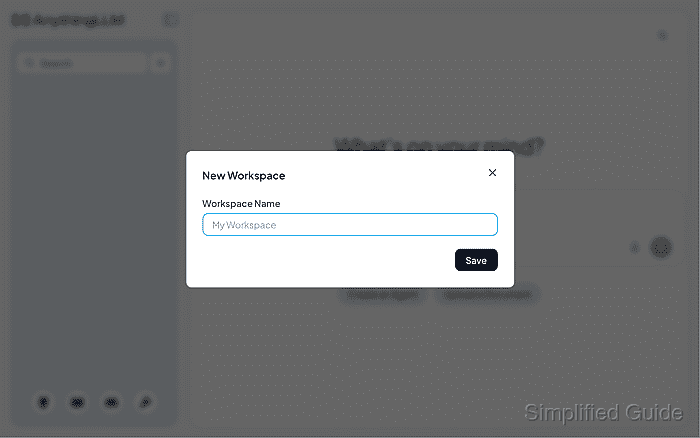
The name can be any unused workspace name.
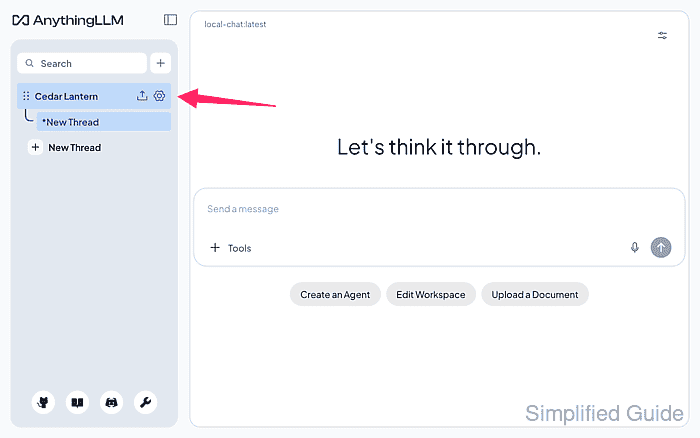
- Click Save to create the workspace.
- Open the new workspace's settings with its sidebar gear icon.
- Open the Chat Settings tab.
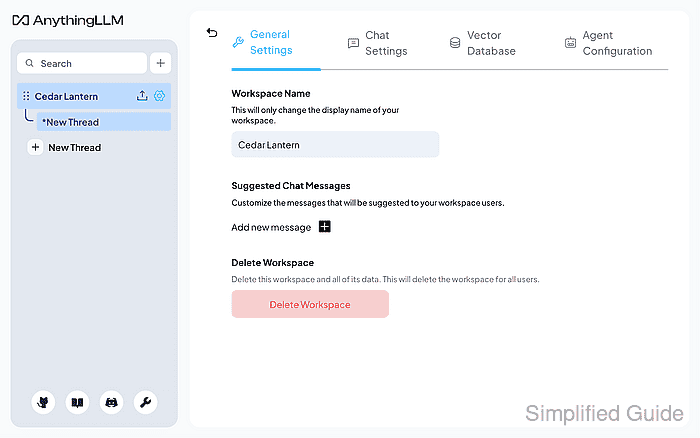
- Select Chat under Chat mode.
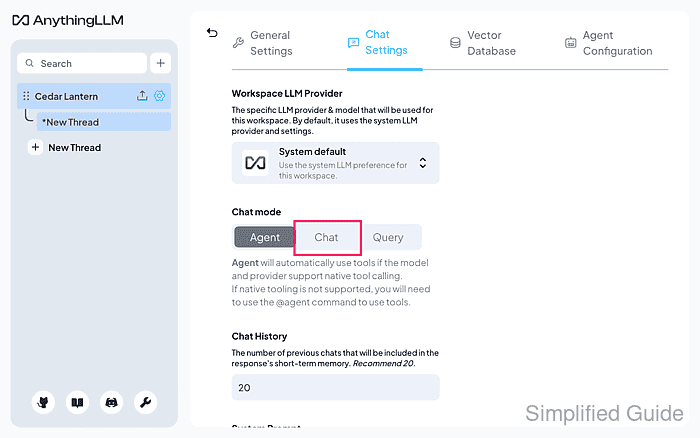
Workspace LLM Provider remains System default for this new workspace. Chat mode saves automatically and tests ordinary generation without requiring agent tools or indexed documents.
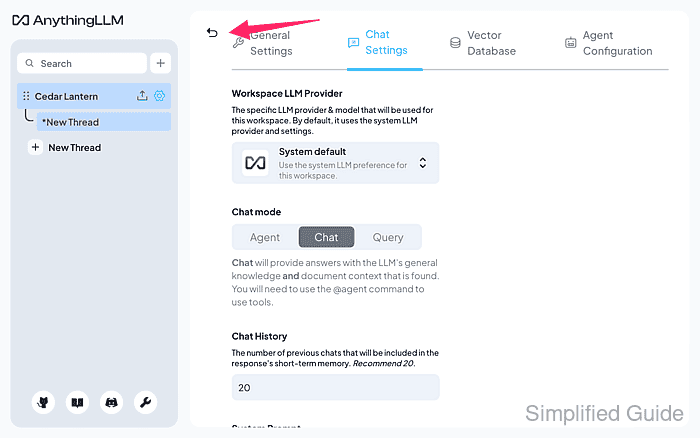
- Return to the workspace chat with the back arrow above the settings tabs.
- Enter
What is 2 plus 3? Reply in one short sentence.in the message box.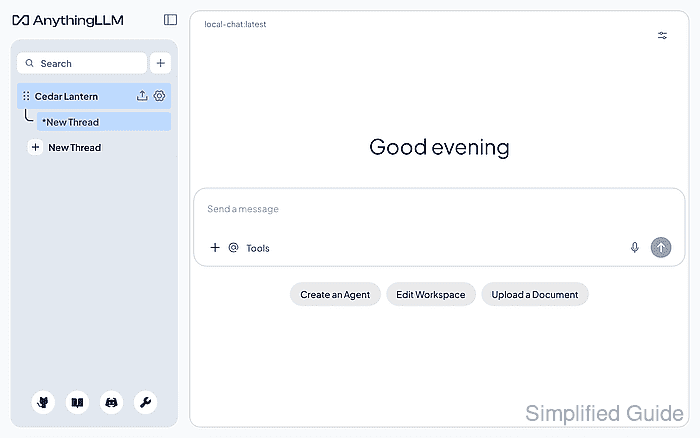
- Send the prompt with the upward-arrow button.
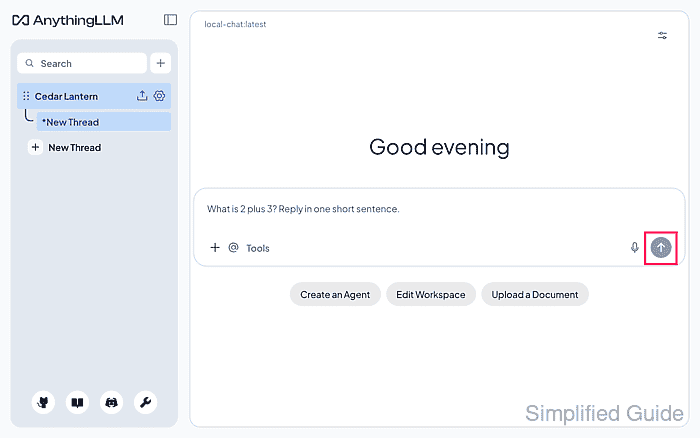
- Confirm that the workspace displays a completed model reply.
The reply should express that the answer is 5, though wording can vary. The model name at the top identifies the workspace's selected model. A connection error, missing-model error, or reply that never completes means chat through the provider is not working yet.