A self-hosted AnythingLLM instance puts its workspace and document interface in your browser. On a Linux host, Docker runs the application from Mintplex Labs' published image without a separate Node.js installation.

AnythingLLM stores its database, documents, and settings outside the container when persistent storage is mounted. Keeping that directory and its environment file preserves application data when the container is replaced; the image alone does not contain your saved work.
Use a Bash shell on a host with Docker Engine running and permission to manage containers. The installation ends at the application's welcome screen; choosing a model provider and configuring chat are separate tasks. Docker access is root-equivalent on a standard Linux installation, so it belongs only to trusted users.
Steps to run AnythingLLM with Docker:
- Pull the stable AnythingLLM image from Docker Hub.
$ docker pull mintplexlabs/anythingllm:1.19.0
The image is published by Mintplex Labs for AMD64 and ARM64. The release tag is 1.19.0, without a leading v; latest follows ongoing development. If Docker is not installed, its official Ubuntu instructions cover the engine and repository setup.
Related: Install Docker Engine on Ubuntu - Set the storage path for the new AnythingLLM instance.
$ export STORAGE_LOCATION="$HOME/anythingllm"
This path must be a fresh directory for this installation, with enough free space for documents and application data. The commands use the same shell throughout. An existing AnythingLLM data directory belongs to its existing instance.
- Create the private AnythingLLM storage directory.
$ mkdir -m 700 -p "$STORAGE_LOCATION"
- Create the empty environment file inside the storage directory.
$ touch "$STORAGE_LOCATION/.env"
The separate file mount lets AnythingLLM retain settings written to /app/server/.env. The file may later contain provider credentials, so the private storage directory must remain protected.
- Assign ownership of the new storage directory to UID/GID
1000:1000.This changes ownership of everything inside the selected directory. It applies only to the new AnythingLLM directory, never your home directory or unrelated data.
$ sudo chown -R 1000:1000 "$STORAGE_LOCATION"
The published image runs as UID/GID 1000:1000. Ownership must match even when your Linux account has another UID. With mode 700, a different host user needs sudo to administer these files; world-writable permissions would expose the database and credentials.
- Start the AnythingLLM container with its storage and environment file mounted.
-p 3001:3001 publishes the application on every host interface. The initial setup has no password protection, so the host must be on a trusted network with untrusted access blocked before startup. Internet exposure needs authentication and HTTPS configured separately.
$ docker run -d \
  --name anythingllm \
  --cpus 2 --memory 4g \
  -p 3001:3001 \
  -v "$STORAGE_LOCATION:/app/server/storage" \
  -v "$STORAGE_LOCATION/.env:/app/server/.env" \
  -e STORAGE_DIR="/app/server/storage" \
  mintplexlabs/anythingllm:1.19.0
Docker prints the new container ID. -d leaves it running in the background, and STORAGE_DIR points the application at the mounted data. The two-CPU and 4 GiB limits bound the application container; model inference can require additional resources. Basic application startup uses Docker's default capabilities.
- Confirm the AnythingLLM container is running.
$ docker ps --filter 'name=^/anythingllm$' \
  --format '{{.Image}} {{.State}}'
mintplexlabs/anythingllm:1.19.0 running
running confirms the container process, while the application may still be initializing. A name conflict means a container named anythingllm already exists; removing it without checking its data can lose work. If startup fails, the application logs provide the error.
Related: How to view Docker logs for AnythingLLM - Verify that AnythingLLM's welcome screen loads at
http://localhost:3001in your browser.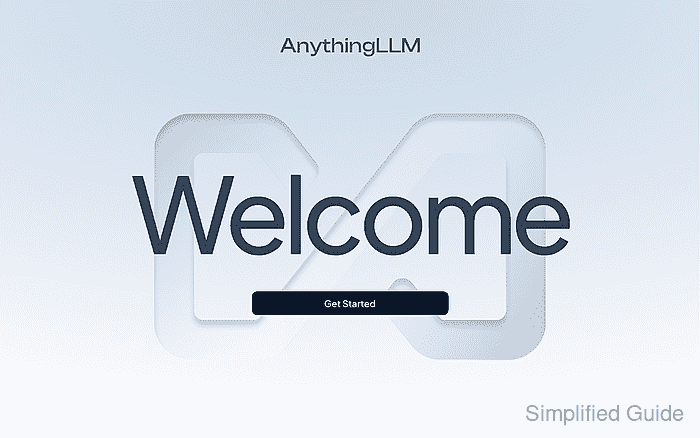
The welcome screen confirms the installed web interface is reachable. A refused connection or an error page does not complete the installation. For a Docker host on another machine, the address uses that host's IP or DNS name instead of localhost. Chat requires a model provider after installation.