How to install Jupyter Notebook on Ubuntu
Jupyter Notebook runs as a local web application for editing and executing .ipynb documents in a browser. On Ubuntu, a Python virtual environment keeps Notebook's Python packages separate from operating-system packages and avoids changing the system Python installation.
Project Jupyter publishes the current Notebook application through PyPI, while Ubuntu supplies the Python runtime and virtual-environment support. The repository package named jupyter-notebook can lag behind the current Notebook 7 application, so installing notebook inside a dedicated venv keeps the installation closer to upstream behavior without bypassing APT for system dependencies.
The completed setup should make jupyter notebook available only while the venv is active, report a Notebook version, and start a local server with a tokenized URL on 127.0.0.1. Bind the first test to localhost so a new install does not expose Notebook to the network before password, TLS, or tunneling settings are configured.
Steps to install Jupyter Notebook on Ubuntu:
- Open a terminal with sudo privileges.
- Refresh the APT package index.
$ sudo apt update
- Install Python virtual-environment support.
$ sudo apt install --assume-yes python3-venv
The package provides the standard-library venv module used to create an isolated Python environment for Notebook.
- Create a virtual environment for Jupyter Notebook.
$ python3 -m venv ~/jupyter-notebook
- Activate the virtual environment.
$ source ~/jupyter-notebook/bin/activate
The shell prompt may change while the environment is active. Run later python, pip, and jupyter commands from the same activated shell.
- Upgrade pip inside the virtual environment.
$ python -m pip install --upgrade pip
Requirement already satisfied: pip in ./jupyter-notebook/lib/python3.14/site-packages
##### snipped #####
Successfully installed pip-26.1.2
- Install Jupyter Notebook from PyPI.
$ python -m pip install notebook
Collecting notebook
##### snipped #####
Successfully installed notebook-7.6.0
The exact Notebook version changes as Project Jupyter releases updates. Keep this command inside the active virtual environment so the package installs under ~/jupyter-notebook instead of the system Python path.
- Confirm the installed Notebook command.
$ jupyter notebook --version
7.6.0
- Start Jupyter Notebook on localhost without opening a browser.
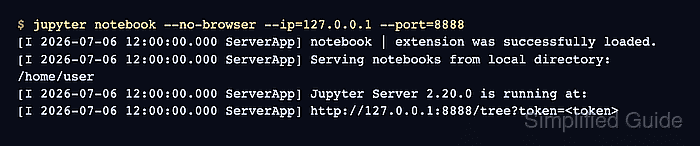
$ jupyter notebook --no-browser --ip=127.0.0.1 --port=8888
[I 2026-07-06 12:00:00.000 ServerApp] jupyter_lsp | extension was successfully linked.
[I 2026-07-06 12:00:00.000 ServerApp] notebook | extension was successfully loaded.
[I 2026-07-06 12:00:00.000 ServerApp] Serving notebooks from local directory: /home/user
[I 2026-07-06 12:00:00.000 ServerApp] Jupyter Server 2.20.0 is running at:
[I 2026-07-06 12:00:00.000 ServerApp] http://127.0.0.1:8888/tree?token=<token>
[I 2026-07-06 12:00:00.000 ServerApp]     http://127.0.0.1:8888/tree?token=<token>
Leave this terminal running while testing. The tokenized URL opens the local Notebook session, and the token should not be shared.
- Activate the same virtual environment in a second terminal.
$ source ~/jupyter-notebook/bin/activate
- List the running Jupyter server.
$ jupyter server list
Currently running servers:
http://127.0.0.1:8888/?token=<token> :: /home/user
- Stop the test server.
$ jupyter server stop 8888
Shutting down server on 8888...
The original Notebook terminal exits after the stop request completes.
Related: How to stop a running Jupyter Server