How to start the JMeter GUI
Apache JMeter uses its desktop GUI for assembling test plans, adding samplers, and checking request behavior before the plan is ready for a repeatable run. Opening the GUI from the installed launcher confirms that the Java runtime, JMeter startup script, and default test-plan workspace can start on the desktop session.
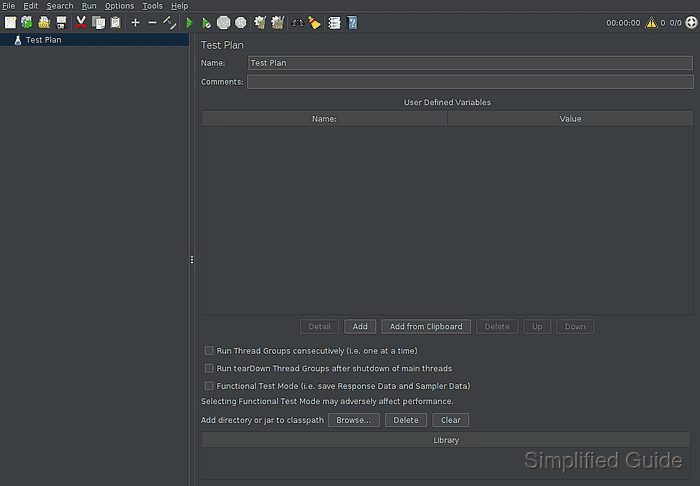
The jmeter launcher starts the Swing interface and keeps the Java process attached to the terminal that started it. The startup banner warns against GUI-mode load testing; that warning is expected when the window opens and points larger runs toward non-GUI mode.
A ready JMeter window shows the Apache JMeter title, the toolbar, and a Test Plan node selected in the tree. Startup has failed when the terminal prints a Java error, the window never appears, or the editable Test Plan panel is missing.
Steps to start the JMeter GUI:
- Open a terminal in the desktop session where JMeter is installed.
- Start the JMeter GUI from the launcher.
$ jmeter
================================================================================
Don't use GUI mode for load testing !, only for Test creation and Test debugging.
For load testing, use CLI Mode (was NON GUI):
   jmeter -n -t [jmx file] -l [results file] -e -o [Path to web report folder]
##### snipped #####
================================================================================
Keep this terminal session open while the GUI is running. Closing the terminal or interrupting the process can close the JMeter window.
- Confirm that the Apache JMeter window opens with Test Plan selected and editable.
- Build or debug the test plan in the GUI, then save the .jmx file before running load tests in non-GUI mode.
Use GUI mode for test creation and debugging only; run load tests from the CLI after the plan is ready.