Teams often repeat the same chat instructions when triaging tickets, summarizing meetings, or formatting handoffs. Open WebUI prompt commands turn those repeated instructions into slash-triggered templates, so a user can insert the same structure from the chat composer without hunting through old conversations.
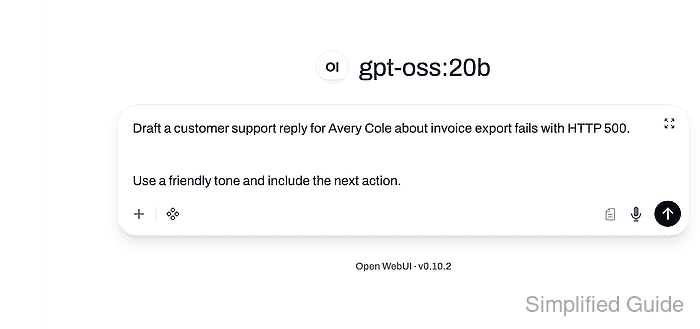
Prompt commands live in Workspace → Prompts. A prompt has a readable name, a command string such as support_reply, template content, optional tags, access grants, and a production version that appears in the slash menu as /support_reply.
Input variables make the command behave like a short form before the prompt reaches the composer. Mark required fields with :required and keep public commands limited to templates users should see in every slash menu, because inactive or private prompts stay out of that shared command space.
Steps to create an Open WebUI prompt command:
- Sign in to Open WebUI with an account that can manage Workspace prompts.
- Open Workspace → Prompts and click New Prompt.
- Enter the prompt name, command string, and tag.
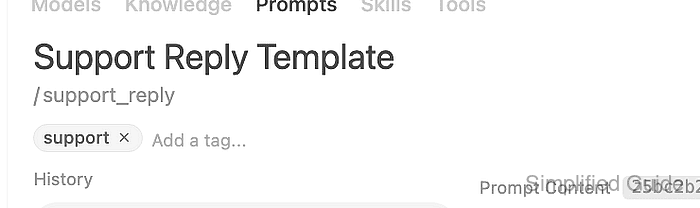
Use the command field without the leading slash when the UI shows the slash prefix separately. Short lowercase command names keep the chat menu easier to scan.
- Enter a prompt template with required customer and ticket fields plus a tone selector.
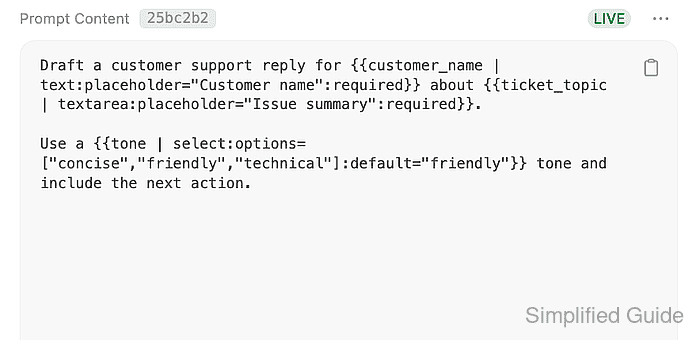
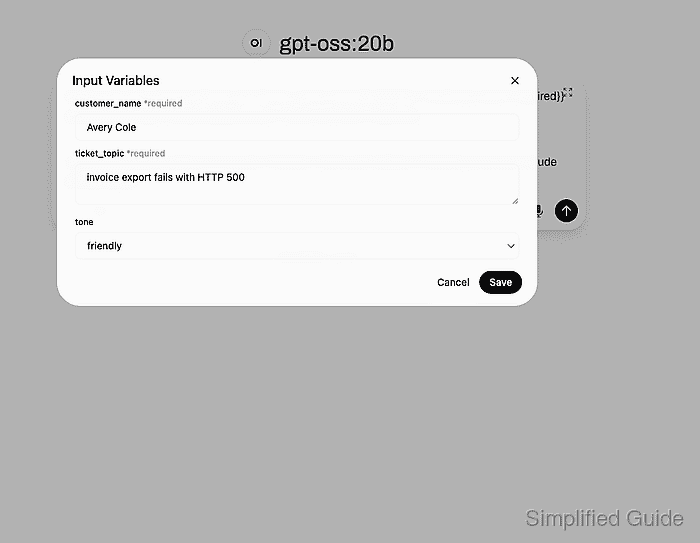
Use variables named customer_name, ticket_topic, and tone. Mark the first two variables as required and define tone as a select field with concise, friendly, and technical options.
- Set Access only when the prompt should be restricted to specific users or groups.
- Click Save and confirm that the prompt row is active under Workspace → Prompts.
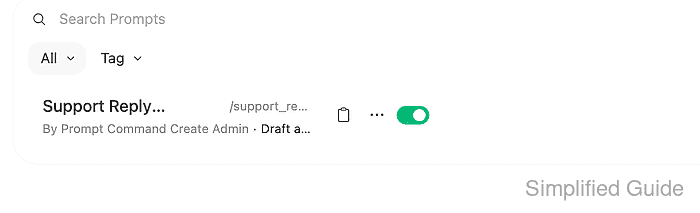
- Confirm the saved prompt through the prompt API when an API token is available.
$ curl --fail-with-body --silent --show-error "https://openwebui.example.com/api/v1/prompts/" \
  -H "Authorization: Bearer <open-webui-token>"
[
  {
    "command": "support_reply",
    "name": "Support Reply Template",
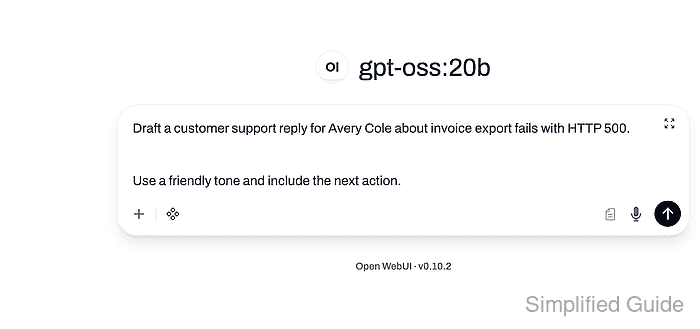
    "content": "Draft a customer support reply for <customer_name> about <ticket_topic>.\n\nUse a <tone> tone and include the next action.",
    "meta": {
      "description": "Creates a consistent first reply for support tickets."
    },
    "tags": [
      "support"
    ],
    "is_active": true
  }
]
Replace the site URL and token with values from the Open WebUI instance. If API access is disabled, use the prompt row and editor fields as the saved-state check.
Related: How to enable API keys in Open WebUI - Start a new chat, type the slash command, and select the prompt from the suggestion menu.
- Fill the input variables and click Save.
- Confirm that the prompt text appears in the chat composer with the entered values.

Mohd Shakir Zakaria is a cloud architect with deep roots in software development and open-source advocacy. Certified in AWS, Red Hat, VMware, ITIL, and Linux, he specializes in designing and managing robust cloud and on-premises infrastructures.


