A local model server can serve command-line clients without an active desktop session. LM Studio's standalone llmster daemon provides that background service on Linux, with lms controlling the daemon and its HTTP server.
The standalone installer comes from LM Studio and installs into the current user's home directory without the desktop application. Ubuntu and Debian provide the OS dependencies through APT, which requires an account with sudo access.
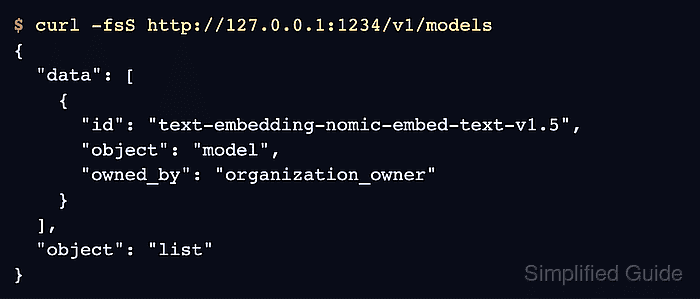
The daemon and HTTP server have separate start commands. A model-list response confirms API access, while text generation still requires a suitable language model.
Steps to run LM Studio headlessly with llmster on Linux:
- Refresh the APT package index.
$ sudo apt update
- Install the download tools and libatomic dependency.
$ sudo apt install --assume-yes curl ca-certificates libatomic1 less
libatomic1 supplies the library required by the installer, and less displays the downloaded script. Only the OS package commands need sudo.
Related: How to install cURL on Ubuntu - Download the official llmster installer.
$ curl -fsSL https://lmstudio.ai/install.sh -o llmster-install.sh
- Review the downloaded installer before executing it.
$ less llmster-install.sh
The q key closes less. The installer executes vendor code, downloads the platform's package, and updates the current user's shell profiles. The source is maintained at LM Studio's headless installation documentation.
- Install llmster under the current user's account.
$ TMPDIR="$HOME" PATH="$PATH:/usr/sbin:/sbin" bash llmster-install.sh
TMPDIR places the multi-gigabyte download and unpacked files on the home filesystem instead of a potentially small, memory-backed /tmp. The temporary PATH addition lets the installer find ldconfig on Ubuntu and Debian. The installer checks the archive's checksum and installs lms under ~/.lmstudio/bin. A missing libgomp warning concerns model runtimes; the daemon and API can start without loading a model.
- Remove the downloaded installer script.
$ rm llmster-install.sh
- Add lms to the current shell's command path.
$ export PATH="$HOME/.lmstudio/bin:$PATH"
The installer also configures future shells; this export makes lms available immediately in the existing session.
- Start the standalone llmster daemon.
$ lms daemon up
- Confirm that llmster is running. Example output:
$ lms daemon status
llmster v0.0.27+1 is running (PID: 2011)
The version and process ID vary by installation.
- Start the HTTP server on the loopback interface.
$ lms server start --bind 127.0.0.1 --port 1234
Binding to 127.0.0.1 limits access to clients on this machine. A listener on 0.0.0.0 would expose the API to other machines, so remote access needs separate authentication and network controls. Port 1234 is used by the API request below.
- Check that the HTTP server is running on port 1234. Example output:
$ lms server status
The server is running on port 1234.
- Request the local API's model list. Example output:
$ curl -fsS http://127.0.0.1:1234/v1/models
{
  "data": [
    {
      "id": "text-embedding-nomic-embed-text-v1.5",
      "object": "model",
      "owned_by": "organization_owner"
    }
  ],
  "object": "list"
}
The bundled embedding model may appear on a fresh installation. An empty data array is also a valid list response. A connection error means the HTTP server is not reachable at that address; it is not an empty model list.