Installing GlusterFS on Ubuntu prepares a storage node to join a trusted pool and serve brick directories for later volume creation. The server package provides the glusterd management daemon and the gluster command-line client, so the install is not complete until the daemon is running and the client can query it.
Current Ubuntu repositories provide the glusterfs-server package through APT. The package pulls in the common libraries, server daemon, client tools, FUSE support, and storage utilities needed before a node can participate in a GlusterFS cluster.
Keep every node in the same pool on the same GlusterFS major version. Use an external PPA only when the chosen release supports the exact Ubuntu version on every node; stale PPA entries can leave the package manager with unsatisfied dependencies or no release file.
Steps to install GlusterFS on Ubuntu:
- Open a terminal with sudo privileges.
- Refresh the package index.
$ sudo apt update
- Install the GlusterFS server package.
$ sudo apt install glusterfs-server
Reading package lists... Done
Building dependency tree... Done
Reading state information... Done
The following NEW packages will be installed:
  glusterfs-cli glusterfs-client glusterfs-common glusterfs-server
##### snipped #####
Setting up glusterfs-server (11.2-2) ...
The exact version changes by Ubuntu release and enabled repository. The package should install glusterfs-cli, glusterfs-client, glusterfs-common, and glusterfs-server together.
- Enable glusterd at boot and start it now.
$ sudo systemctl enable --now glusterd
Created symlink /etc/systemd/system/multi-user.target.wants/glusterd.service -> /usr/lib/systemd/system/glusterd.service.
If the package already started glusterd during installation, this command still makes the boot state explicit.
- Confirm that glusterd is active.
$ systemctl is-active glusterd
active
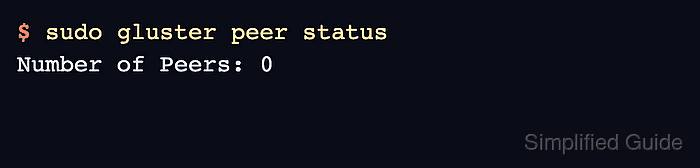
- Confirm that the gluster client can query the local daemon.
$ sudo gluster peer status
Number of Peers: 0
A new standalone node normally shows zero peers until another server is added to the trusted pool.
- If UFW is active, allow GlusterFS management ports from the storage subnet.
$ sudo ufw allow from 192.0.2.0/24 to any port 24007:24008 proto tcp
Rules updated
Replace 192.0.2.0/24 with the trusted storage network or peer IP range. Do not expose GlusterFS management ports to untrusted networks.
Tool: CIDR Allowlist Risk Checker - If the node will host bricks behind UFW, allow the brick port range from the storage subnet.
$ sudo ufw allow from 192.0.2.0/24 to any port 49152:49251 proto tcp
Rules updated
GlusterFS uses one brick port per brick, with newer releases selecting ports within the configured glusterd base-port and max-port range. Open only the range needed for the planned brick count.
- Create the trusted storage pool when all nodes are installed and reachable.

Mohd Shakir Zakaria is a cloud architect with deep roots in software development and open-source advocacy. Certified in AWS, Red Hat, VMware, ITIL, and Linux, he specializes in designing and managing robust cloud and on-premises infrastructures.


