Planned maintenance can produce the same monitoring alerts as an unexpected outage. A scheduled downtime in Checkmk identifies the maintenance window and suppresses problem notifications for the affected host or service while that window is active.
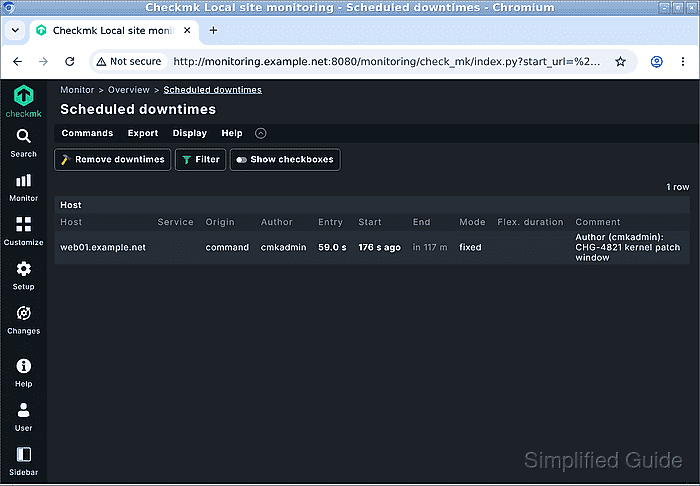
A host downtime covers the host and all its services, so it fits a reboot or whole-server maintenance. A service downtime limits the suppression to one check. Checks continue to run during downtime, and their results remain visible even though the planned outage is excluded from the usual problem overview.
One-time downtimes are available in Checkmk Community as well as the commercial editions. Each downtime requires a maintenance comment and a start and end time; the displayed server time zone determines the window. An existing monitored host and a signed-in account with permission to schedule its downtime are the starting requirements.
Steps to schedule Checkmk downtime:
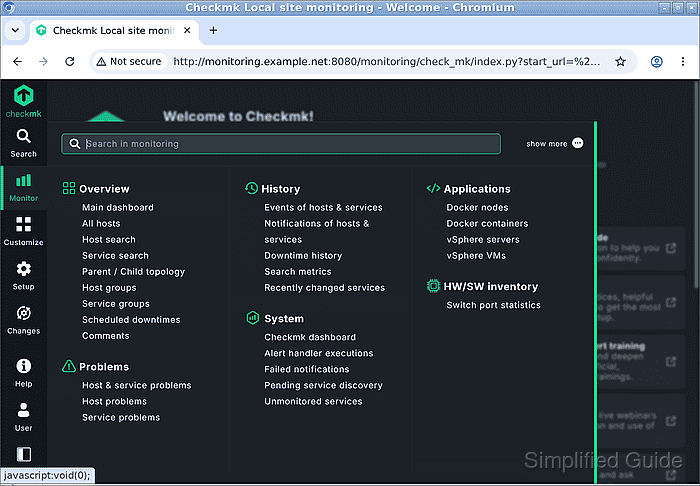
- Open Monitor in the navigation bar.
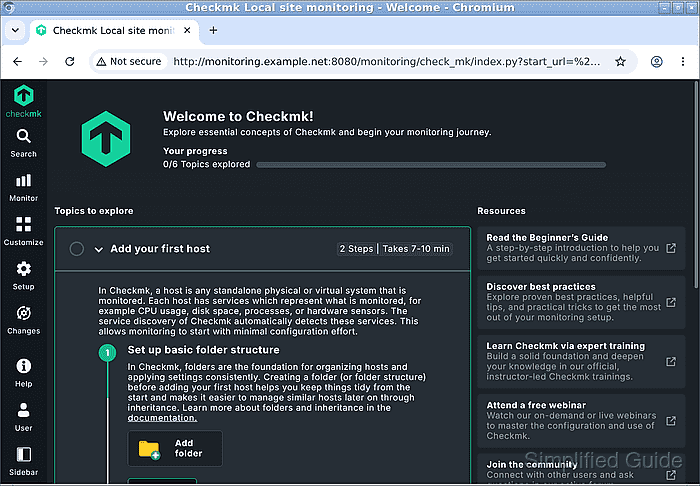
- Select All hosts under Overview.
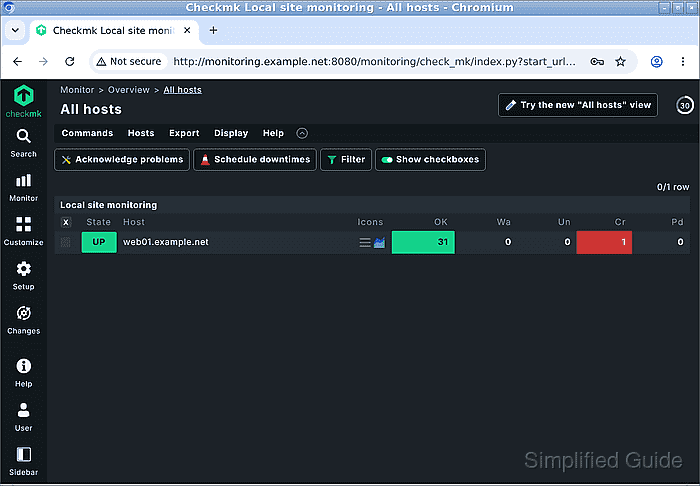
- Click Show checkboxes above the host table.
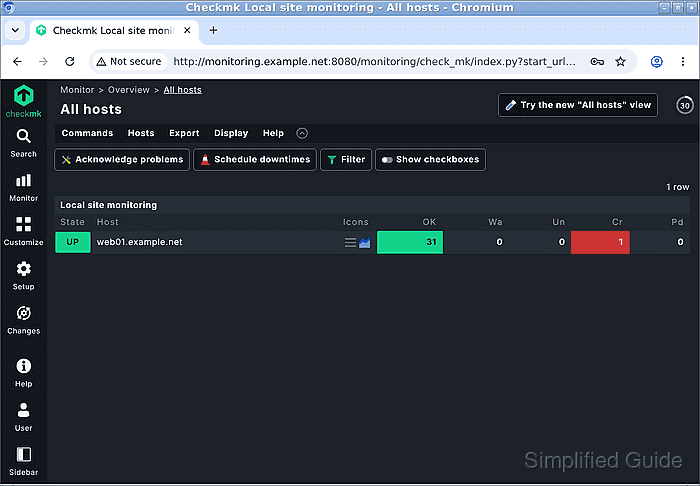
The Filter control can narrow a long host list before selection.
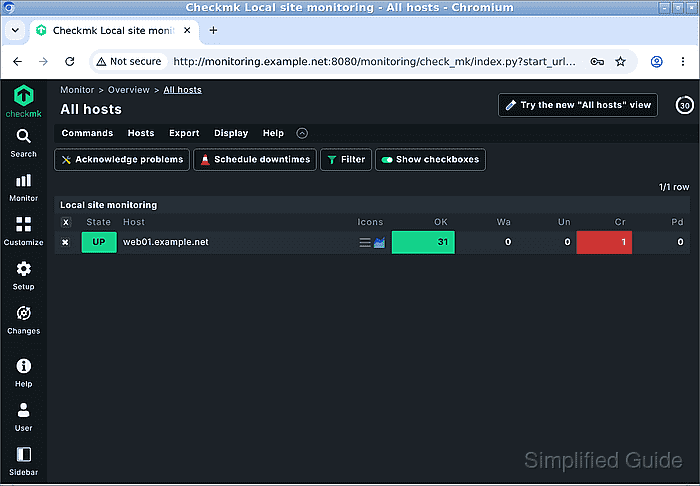
- Select the checkbox beside the host that needs maintenance.
A host downtime suppresses problem notifications for every service on that host as well. Only the intended maintenance target should be selected.
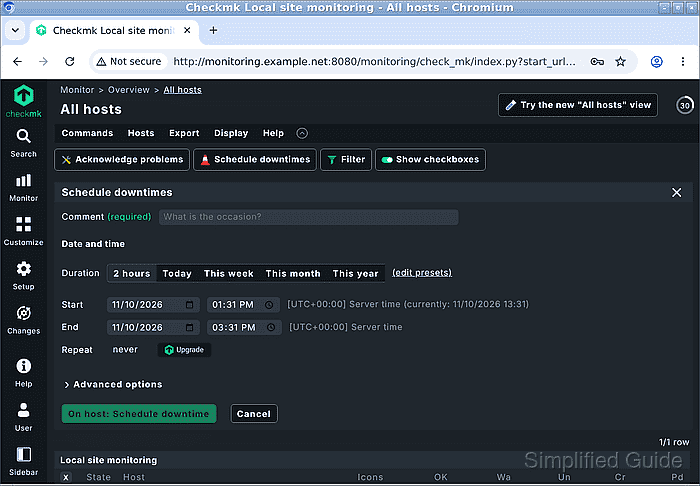
- Click Schedule downtimes.
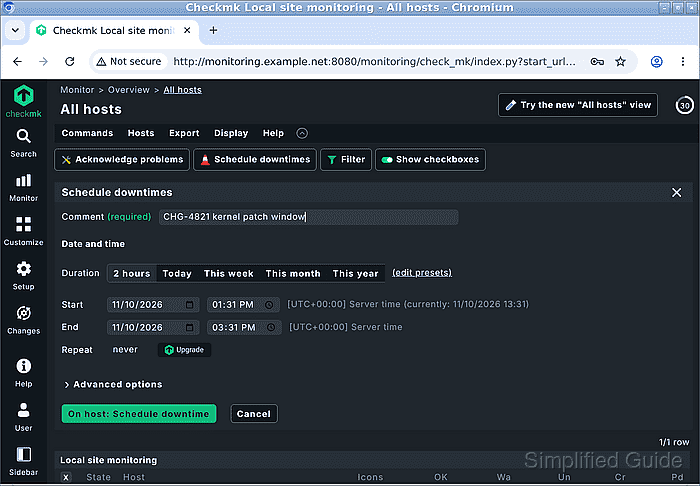
- Enter the maintenance reason in Comment.
A change reference such as CHG-4821 kernel patch window helps other operators identify the work. A ticket URL in the comment becomes a clickable link.
- Choose 2 hours under Duration for a two-hour window starting now.
For a future window or a different duration, the Start and End fields accept explicit dates and times in the server time zone shown beside them. The default Repeat value is never; recurring downtimes require a commercial edition.
- Click On host: Schedule downtime.
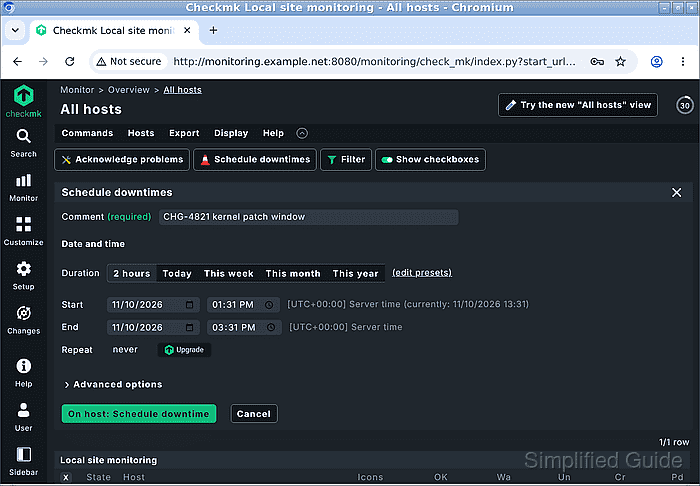
With Advanced options unchanged, this is a fixed window. A flexible downtime instead waits for a problem state within its allowed start window.
- Confirm the downtime with the yellow button.
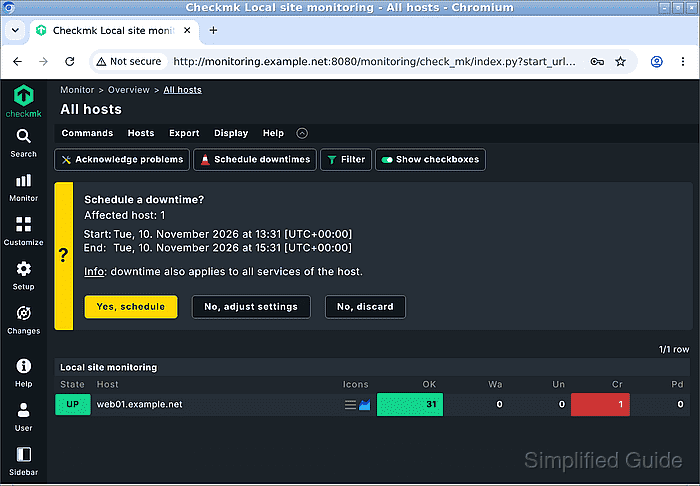
The Yes, schedule button applies the displayed host count and time range. If either is wrong, No, adjust settings returns to the form without scheduling the downtime.
- Open Monitor again.
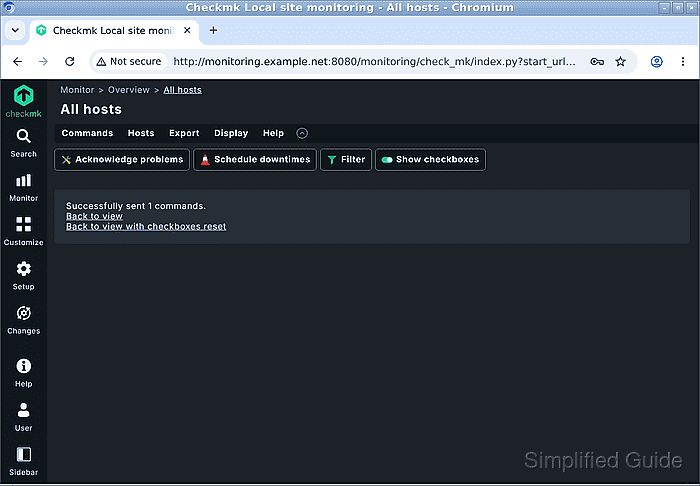
- Select Scheduled downtimes under Overview.
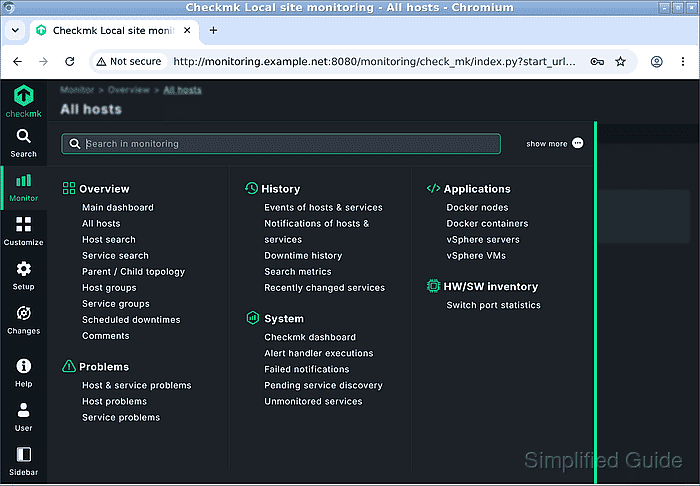
- Reload the Scheduled downtimes view.
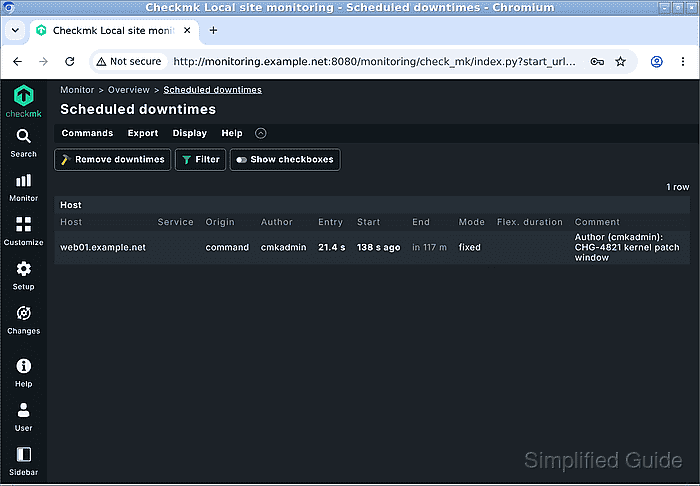
- Confirm that the host's row retains the maintenance comment, fixed mode, and intended Start and End window.
A blank Service column identifies the host-level entry. Times may appear relative to now, as in a start a few minutes ago and an end just under two hours away. An incorrect window can be cancelled with Remove downtimes in this view.