Installing AWS CLI on Windows adds the aws command to Command Prompt and PowerShell so identity checks, profile-based work, and repeatable service calls can run from the shell instead of the web console.
Current AWS guidance for Windows is the 64-bit AWS CLI version 2 MSI installer from the official AWS download URL. The same package is used for a fresh install or an in-place update, and the normal setup wizard is the simplest interactive path on a workstation.
Administrator rights are required to install the software, and AWS CLI versions 1 and 2 use the same aws command name. Open a new shell after setup finishes so PATH is refreshed before the first version check, and inspect the active executable if an older aws-cli/1.x line still appears.
Steps to install AWS CLI on Windows:
- Download the current 64-bit AWS CLI v2 installer from the official AWS download URL.
https://awscli.amazonaws.com/AWSCLIV2.msi
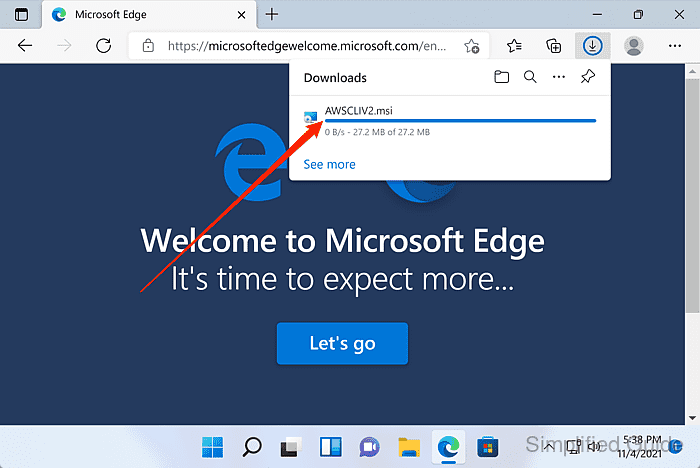
AWS publishes Windows updates through the same MSI URL, so downloading a fresh copy is also the normal update path.
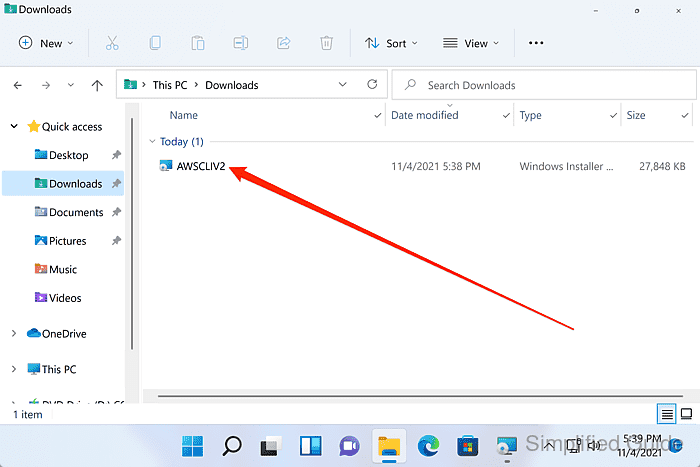
- Open the downloaded AWSCLIV2.msi file from Downloads to start the setup wizard.
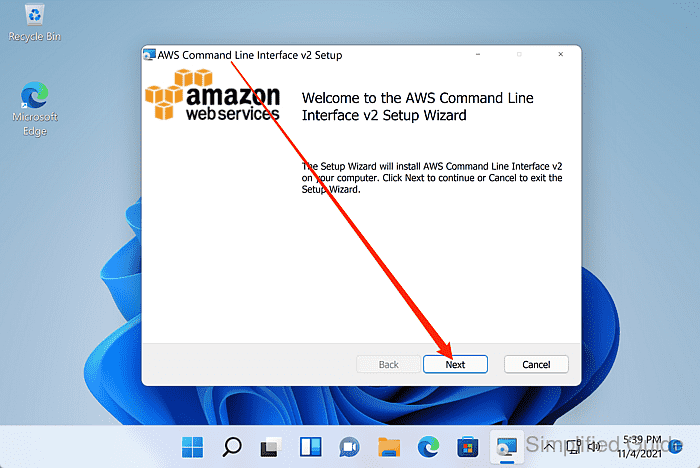
- Review the welcome screen and click Next.
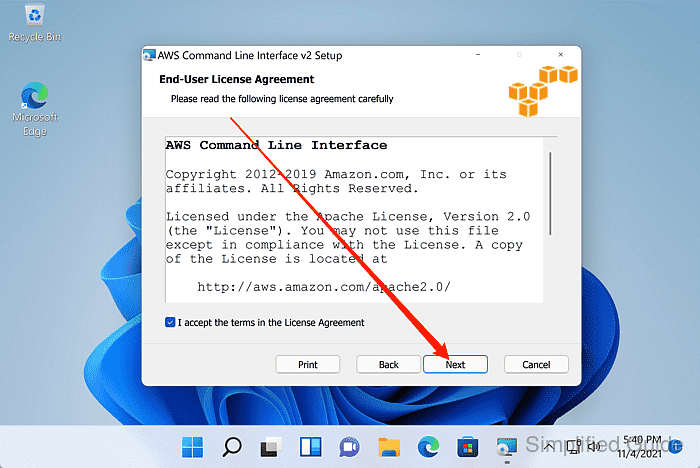
- Select I accept the terms in the License Agreement and click Next.
- Leave the default setup options in place and click Next.
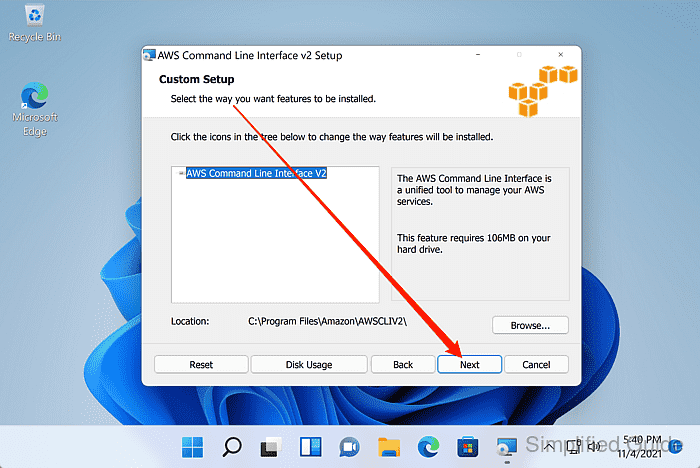
The wizard path is the normal interactive install flow. For managed rollout or silent deployment, AWS also documents launching the downloaded package with msiexec.exe /i AWSCLIV2.msi.
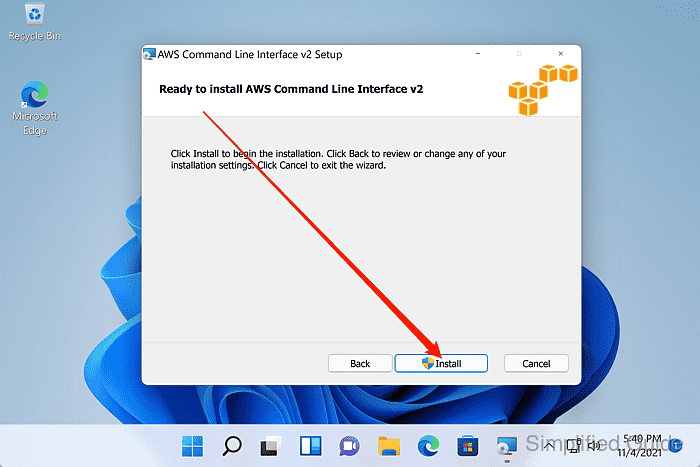
- Click Install to start copying the AWS CLI files.
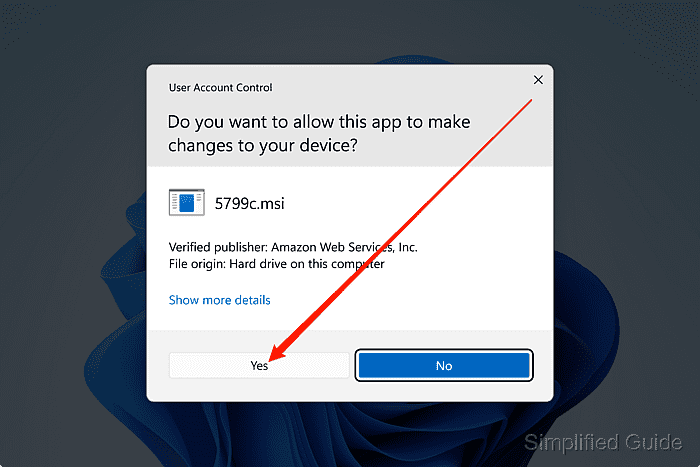
Approve the User Account Control prompt if Windows asks for administrator permission.
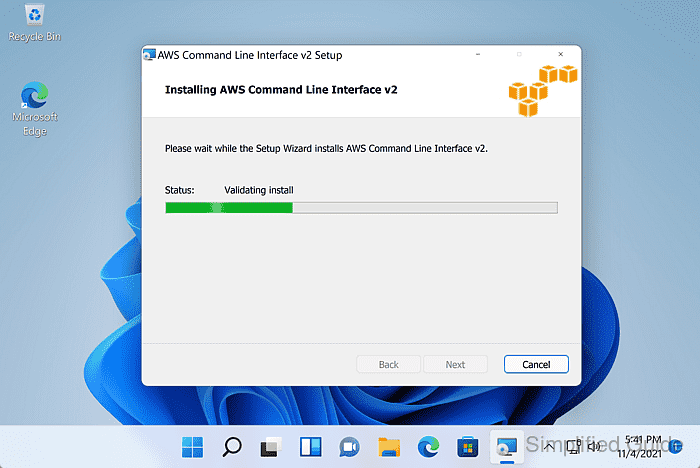
- Wait for the installer to finish copying files.
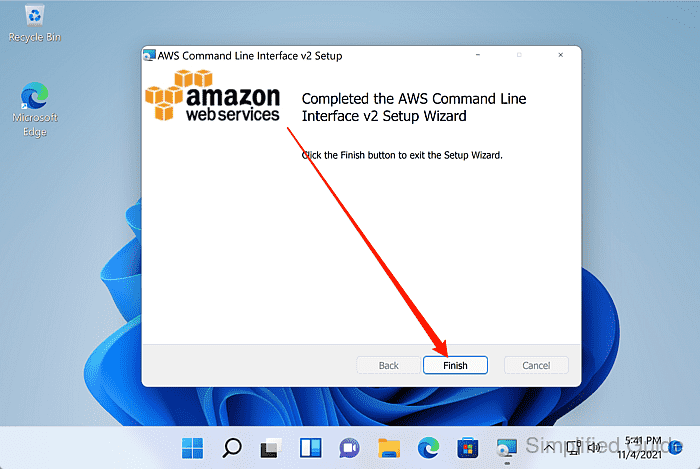
- Click Finish to close the setup wizard.
- Open a new Command Prompt window and confirm that the installed command reports AWS CLI v2.
C:\> aws --version
aws-cli/2.34.32 Python/3.14.4 Windows/11 exe/AMD64 prompt/off
The exact version, bundled Python runtime, and Windows build text change over time. The decisive result is that the line starts with aws-cli/2 instead of returning a command-not-found error or an older aws-cli/1.x install.
If the wrong binary still answers, close the shell again and inspect the active path with where aws in Command Prompt or Get-Command aws in PowerShell. Related: How to check AWS CLI version
- Run a signed request after credentials are configured to confirm that the new install can reach AWS with the intended identity.
C:\> aws sts get-caller-identity --query Account --output text
123456789012
Use aws configure sso and aws sso login --profile my-profile, or another approved credential method, before this check on a new workstation. A successful result is a 12-digit AWS account number for the target identity. Related: How to log in to AWS CLI with IAM Identity Center
Related: How to check the current caller identity in AWS CLI

Mohd Shakir Zakaria is a cloud architect with deep roots in software development and open-source advocacy. Certified in AWS, Red Hat, VMware, ITIL, and Linux, he specializes in designing and managing robust cloud and on-premises infrastructures.


