Installing Apache from the distribution packages gives Ubuntu or Debian hosts a supported web server for static sites, reverse proxies, and application front ends. Using the packaged build keeps security updates, log paths, service management, and helper commands aligned with the operating system.
On both distributions, the web server is delivered by the apache2 package and managed by the systemd unit apache2.service. The packaged layout keeps global settings in /etc/apache2/apache2.conf, the default site as 000-default.conf under /etc/apache2/sites-available, enabled sites in /etc/apache2/sites-enabled, and follow-on helpers such as a2enmod and a2ensite for module and site management.
A completed install should pass apache2ctl configtest, show the apache2 service active in systemd, and return 200 OK from http://127.0.0.1/. On many hosts the package post-install step starts Apache automatically, while the common AH00558 warning only means a global ServerName is not set yet. Remote clients also need port 80 allowed through the active firewall before they can reach the default page.
Steps to install Apache on Ubuntu or Debian:
- Open a terminal with sudo privileges.
- Refresh the package index.
$ sudo apt update
- Install the Apache package.
$ sudo apt install apache2
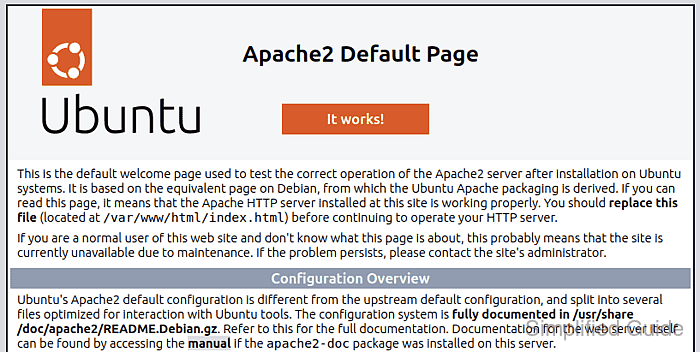
The package also installs apache2ctl, a2enmod, and a2ensite, keeps the default site as 000-default.conf under /etc/apache2/sites-available, and serves the packaged landing page from /var/www/html.
- Test the packaged configuration before changing anything.
$ sudo apache2ctl configtest
AH00558: apache2: Could not reliably determine the server's fully qualified domain name, using 192.0.2.10. Set the 'ServerName' directive globally to suppress this message
Syntax OK
The AH00558 line is a hostname warning, not an install failure. Syntax OK confirms the packaged configuration parsed successfully.
- Enable Apache at boot and start it now.
$ sudo systemctl enable --now apache2
If the package already started the service during installation, this command still makes the boot state explicit.
- Confirm the service is active in systemd.
$ sudo systemctl is-active apache2
active
If the unit is not active, inspect sudo journalctl -u apache2 and /var/log/apache2/error.log before retrying.
- Verify the default site responds on localhost.
$ curl --head http://127.0.0.1/
HTTP/1.1 200 OK
##### snipped #####
A 200 OK response proves the default virtual host is listening on port 80 and serving content from the packaged web root.
- If the host uses UFW, allow inbound HTTP traffic for remote clients.
$ sudo ufw allow Apache
Current Ubuntu packages install the Apache, Apache Secure, and Apache Full UFW profiles. On Debian or on hosts that use nftables, iptables, or cloud firewalls instead of UFW, apply the equivalent rule in the active firewall stack.

Mohd Shakir Zakaria is a cloud architect with deep roots in software development and open-source advocacy. Certified in AWS, Red Hat, VMware, ITIL, and Linux, he specializes in designing and managing robust cloud and on-premises infrastructures.


