Installing Apache on openSUSE or SUSE Linux Enterprise Server (SLES) gives the host a packaged HTTP server that matches SUSE's systemd unit, configuration tree, and default web root. A first pass should prove the stock service can parse its configuration and answer http://127.0.0.1/ before any virtual host, reverse proxy, or TLS changes are added.
On supported openSUSE Leap and SLES 15 systems, the apache2 package provides the Apache HTTP Server service unit (apache2.service) and the default configuration tree under /etc/apache2. The packaged instance reads /etc/sysconfig/apache2 and uses /etc/apache2/httpd.conf when APACHE_HTTPD_CONF is not set, while the default DocumentRoot is /srv/www/htdocs and per-site virtual hosts normally live under /etc/apache2/vhosts.d.
The install is complete when httpd -t ends with Syntax OK, apache2.service is active, and curl --head http://127.0.0.1/ returns HTTP/1.1 200 OK. If remote clients need access, open the http service only in the firewalld zone assigned to the server interface; add https later after TLS is configured.
Steps to install Apache on openSUSE or SLES:
- Open a terminal with sudo privileges.
- Refresh the zypper repositories.
$ sudo zypper refresh
Retrieving repository 'Main Repository' metadata ...........................................[done]
Retrieving repository 'Main Update Repository' metadata ....................................[done]
All repositories have been refreshed.
- Install the packaged Apache server.
$ sudo zypper install apache2
Loading repository data...
Reading installed packages...
Resolving package dependencies...

The following NEW package is going to be installed:
  apache2

1 new package to install.
- Enable apache2.service at boot and start it now.
$ sudo systemctl enable --now apache2.service
Created symlink /etc/systemd/system/multi-user.target.wants/apache2.service -> /usr/lib/systemd/system/apache2.service.
- Check the Apache configuration before you make further changes.
$ sudo httpd -t
AH00558: httpd: Could not reliably determine the server's fully qualified domain name, using 192.0.2.10. Set the 'ServerName' directive globally to suppress this message
Syntax OK
If you see AH00558 together with Syntax OK, the service can still start; set a global ServerName later if you want to remove that warning.
- Confirm the service is running under systemd.
$ systemctl is-active apache2.service
active
If the unit does not return active, inspect sudo journalctl --unit=apache2.service --no-pager --lines=20 and /var/log/apache2/error_log before changing the configuration further.
- Request the default site locally.
$ curl --head http://127.0.0.1/
HTTP/1.1 200 OK
Date: Thu, 09 Apr 2026 06:20:18 GMT
Server: Apache
Content-Type: text/html;charset=UTF-8
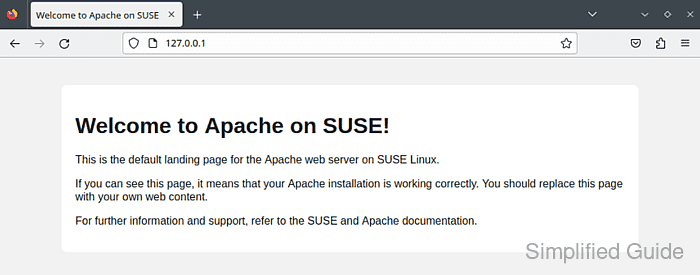
In a browser, http://localhost/ should show the packaged test page until you replace it with your own site content. The default DocumentRoot remains /srv/www/htdocs.
- Allow inbound HTTP in the firewalld zone that serves your clients.
$ sudo firewall-cmd --zone=public --permanent --add-service=http
success
Use the zone that is actually bound to the server's network interface. Opening the wrong zone can leave the service unreachable or expose it on an interface you did not intend.
These commands assume firewalld is managing the host firewall. If your server uses a different firewall workflow, allow TCP port 80 there instead.
- Reload firewalld to apply the permanent rule.
$ sudo firewall-cmd --reload
success
- Verify that the zone now allows the http service.
$ sudo firewall-cmd --zone=public --list-services
cockpit dhcpv6-client http ssh
Add https only after you configure TLS for Apache.

Mohd Shakir Zakaria is a cloud architect with deep roots in software development and open-source advocacy. Certified in AWS, Red Hat, VMware, ITIL, and Linux, he specializes in designing and managing robust cloud and on-premises infrastructures.


