Table of Contents
How to import Virtual Machine to VirtualBox
VirtualBox can import virtual machine appliances that have been exported to the Open Virtualization Format (OVF), either from a folder (ovf) or an archive file (ova). Open Virtualization Format is a widely supported standard, used by virtualization platforms such as VMware and QEMU. This allows virtual machines to be transferred across different hypervisors.
During the import process, settings for the virtual machine can be adjusted. These settings can be based on the configurations from the original environment where the virtual machine was created or tailored to the new host machine.
Importing a virtual machine in VirtualBox ensures that all system and disk settings are maintained. You can also choose whether to convert the disk format to VirtualBox’s native VDI format, allowing for full compatibility.
Steps to import a virtual machine appliance to VirtualBox:
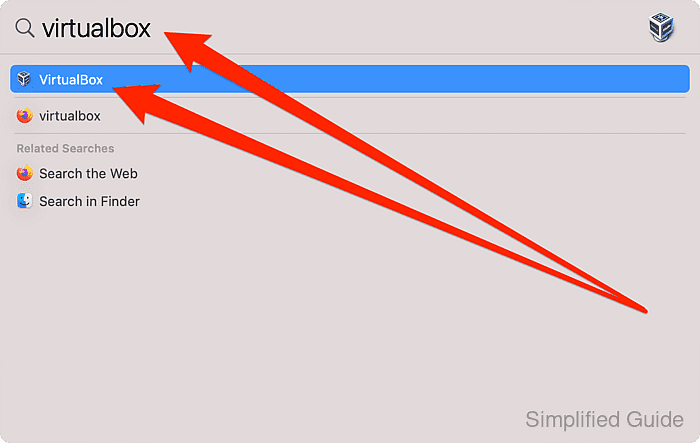
- Launch VirtualBox.
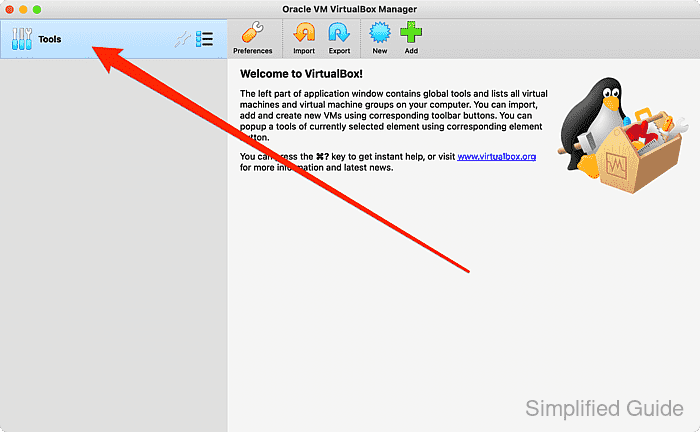
- Click on Tools.
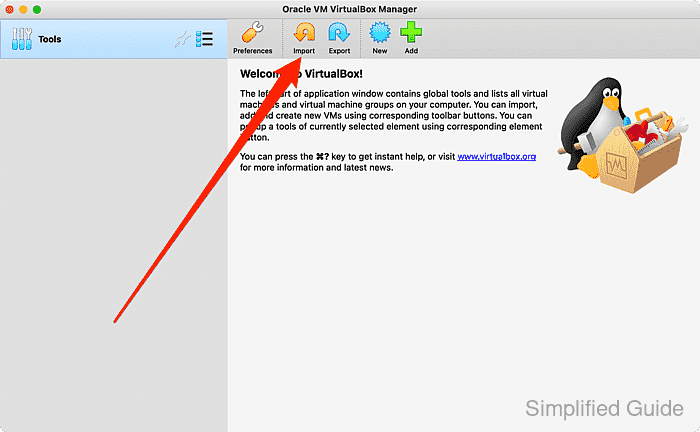
- Click on the Import button.
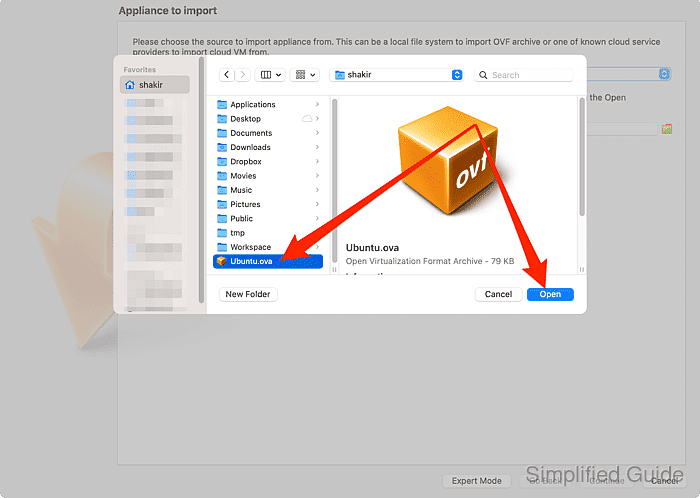
- Click on the folder icon to open a file select dialog.
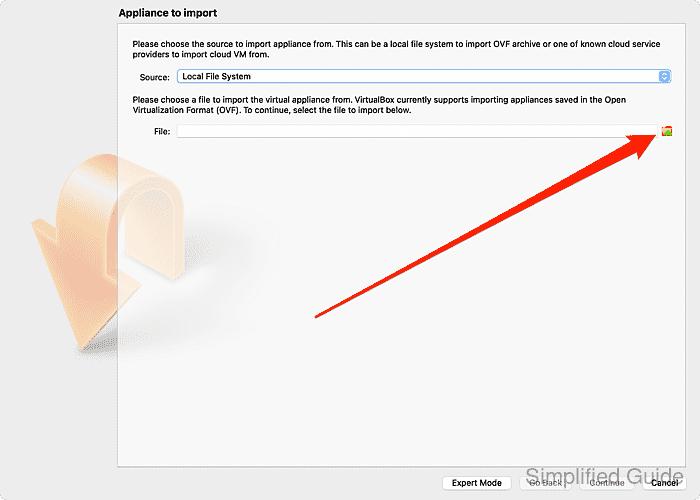
- Select VM appliance with ova or ovf extension and click on Open.
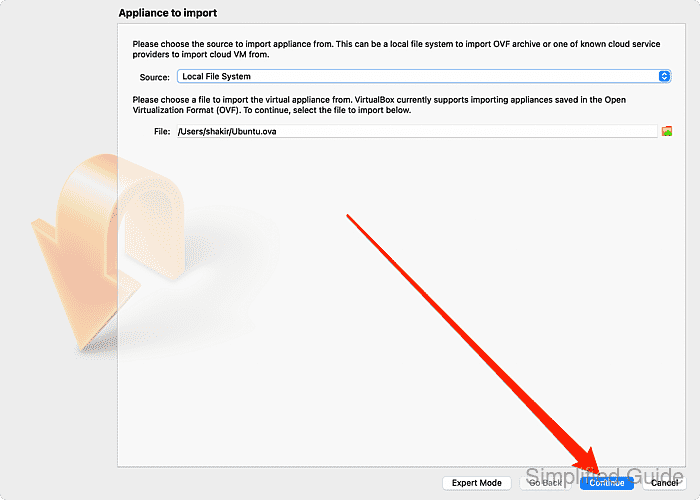
- Click on the Continue button.
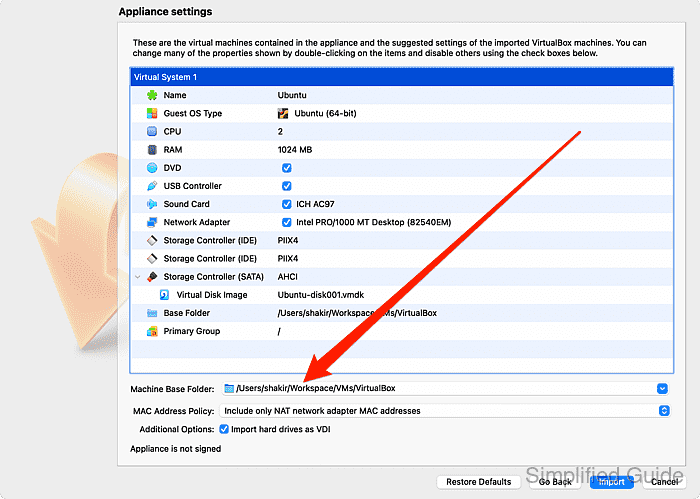
- Double click on the VM settings that you want to change.
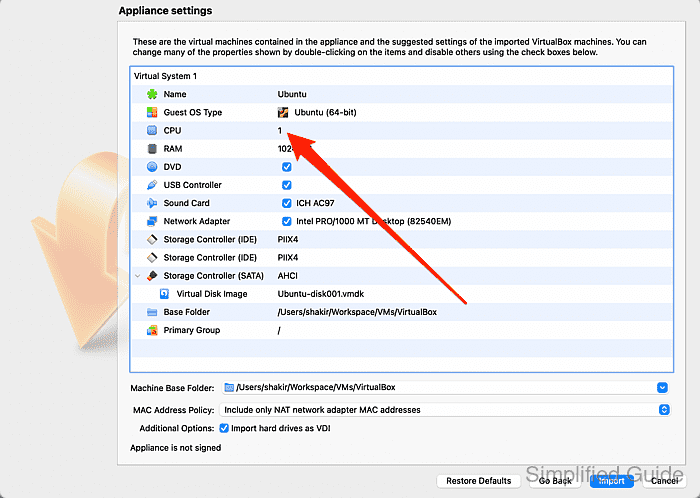
- Set a new value to change.
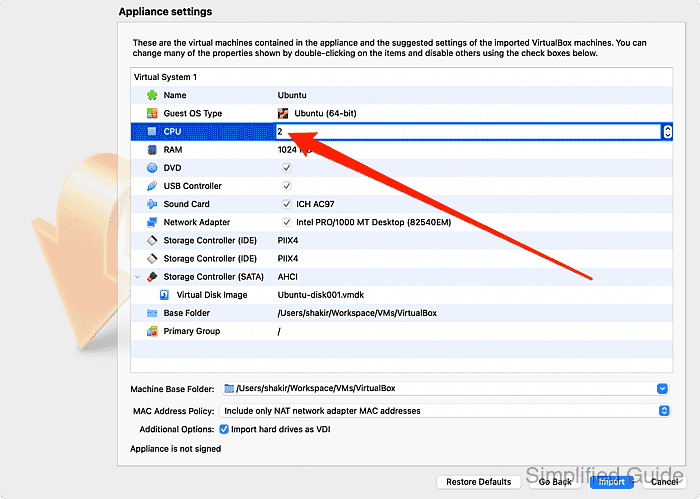
- Change the location to import the VM to if required.
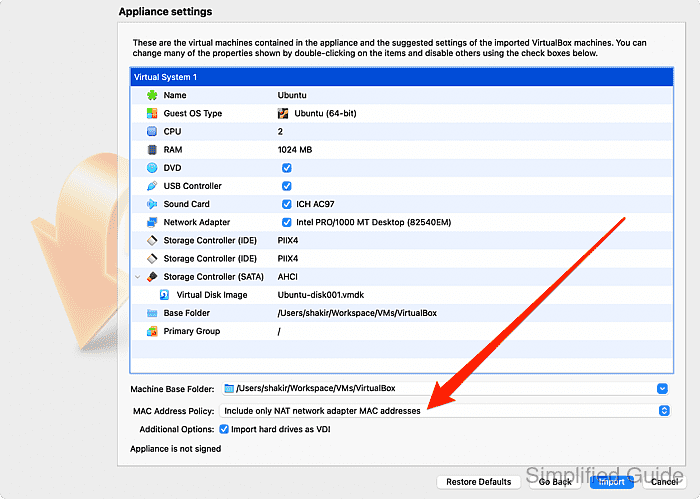
- Change change MAC address policy if required.
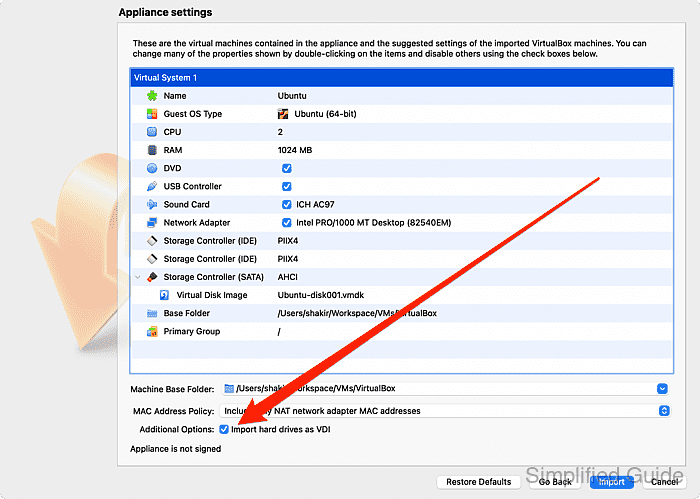
- Uncheck if you don't want to force the VM's disk to be converted to VirtualBox's VDI format.
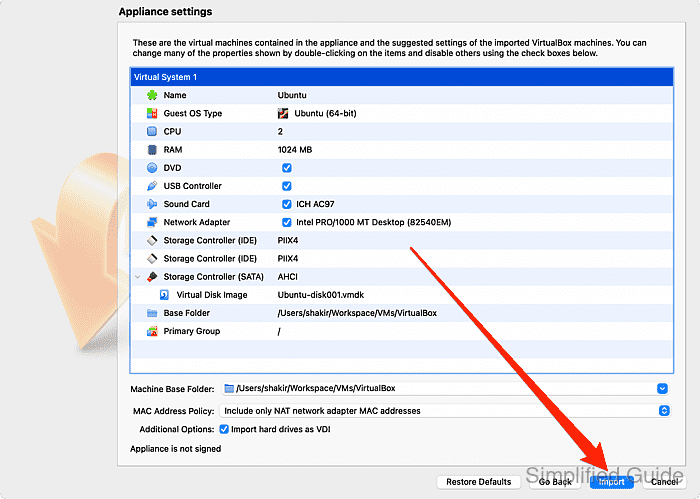
- Click on Import to start importing the VM appliance to VirtualBox.
CLI method to import a virtual machine in VirtualBox:
You can also import a virtual machine using the command line interface with VBoxManage. Below is a step-by-step guide to import a VM from an .ova or .ovf file:
- List available virtual machines. This will display all virtual machines currently registered in VirtualBox.
VBoxManage list vms "Ubuntu-VM" {a-unique-uuid} "Windows-VM" {another-unique-uuid} - Import the virtual machine. Use this command to import the VM from an .ova or .ovf file.
VBoxManage import ~/Downloads/YourVM.ova

0%...10%...20%...30%...40%...50%...60%...70%...80%...90%...100%
Successfully imported 'YourVM'
- Verify the import. This will confirm that the virtual machine has been successfully imported and registered in VirtualBox.
VBoxManage list vms
"Ubuntu-VM" {a-unique-uuid}
"Windows-VM" {another-unique-uuid}
"YourVM" {imported-unique-uuid}