How to add external storage in Nextcloud
External storage in Nextcloud lets the Files app expose a server directory, object bucket, or network share beside a user's normal files. It is useful when a team already keeps project material outside the main Nextcloud data directory but still wants access through sharing, WebDAV, and desktop sync.
The External Storage Support app owns the mount table. The web administration page and the occ files_external commands write the same mount configuration, so an administrator with shell access can add a mount during a maintenance window without relying on an active browser session.
A Local backend keeps the concrete path low-credential because a server directory outside the Nextcloud data directory can appear as /Projects for the intended users. The same files_external:create, files_external:applicable, and files_external:verify sequence applies to S3, SFTP, SMB/CIFS, or WebDAV after replacing the backend and configuration keys with the values reported by files_external:backends.
Related: How to install a Nextcloud app
Related: How to run Nextcloud occ commands
Related: How to scan files with Nextcloud occ
Steps to add local external storage in Nextcloud with occ:
- Open a shell on the Nextcloud server and move to the web root.
$ cd /var/www/nextcloud
Use the directory that contains occ if the installation is not under /var/www/nextcloud.
Related: How to run Nextcloud occ commands - Confirm occ can read the installed instance.
$ sudo -E -u www-data php occ status
  - installed: true
##### snipped #####
  - maintenance: false
##### snipped #####
www-data is the web-server user on Debian and Ubuntu package-style installs. Use the account that owns the Nextcloud files on your server.
- Enable the External Storage Support app.
$ sudo -E -u www-data php occ app:enable files_external
files_external enabled
If the app is already enabled, continue with the mount configuration.
Related: How to install a Nextcloud app - Create the server directory for the local backend.
$ sudo install -d -o www-data -g www-data -m 0750 /srv/nextcloud-external/projects
Local external storage gives Nextcloud access to a real server path. Use a dedicated directory outside the Nextcloud data directory and avoid mounting broad paths such as /home, /var, or /etc.
- Check the external storage backend names before choosing another backend.
$ sudo -E -u www-data php occ files_external:backends storage --output=json_pretty
{
    "local": {
        "name": "Local"
    },
    "amazons3": {
        "name": "Amazon S3"
    },
##### snipped #####
}
Use the backend identifier and configuration key names reported by your server. The Local backend uses local with the directory path supplied as datadir.
- Create the external storage mount.
$ sudo -E -u www-data php occ files_external:create \
  /Projects local null::null \
  --config datadir=/srv/nextcloud-external/projects
Storage created with id 1
Keep the mount ID from the output. Later commands use the shown 1 ID.
- Limit the mount to an existing group.
$ sudo -E -u www-data php occ files_external:applicable 1 --add-group editors
A mount with no user or group assignment is available to all users. Replace editors with the group that should see /Projects.
Related: How to create a Nextcloud group - Verify that Nextcloud can connect to the mount.
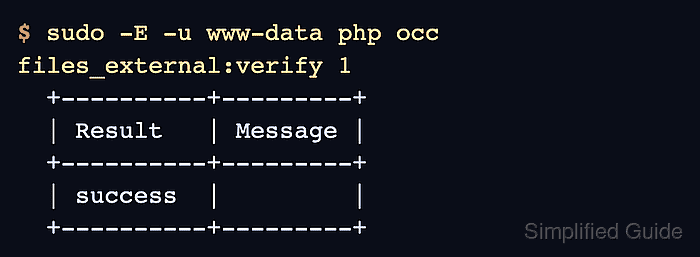
$ sudo -E -u www-data php occ files_external:verify 1
  +----------+---------+
  | Result   | Message |
  +----------+---------+
  | success  |         |
  +----------+---------+
- List the saved mount.
$ sudo -E -u www-data php occ files_external:list
+----+-------------+---------+------------+--------+--------+---------+
| ID | Mount Point | Storage | Auth. Type | Config | Status | Users   |
+----+-------------+---------+------------+--------+--------+---------+
| 1  | /Projects   | local   | null::null | valid  | ok     | editors |
+----+-------------+---------+------------+--------+--------+---------+
- Create a small local test file.
$ printf 'Nextcloud external storage test\n' > /tmp/nc-external-test.txt
- Upload the test file through the Nextcloud file layer.
$ sudo -E -u www-data php occ files:put \
  /tmp/nc-external-test.txt \
  /ada/files/Projects/nc-external-test.txt
Replace ada with a user who belongs to the group allowed on the mount.
- Read the file back from the mounted folder.
$ sudo -E -u www-data php occ files:get /ada/files/Projects/nc-external-test.txt
Nextcloud external storage test
- Remove the test file from Nextcloud after the mount is proven.
$ sudo -E -u www-data php occ files:delete /ada/files/Projects/nc-external-test.txt
- Remove the local temporary file.
$ rm /tmp/nc-external-test.txt