How to recover a missing disk partition table entry in Linux
A missing partition table entry can make Linux show a disk as empty even when the filesystem data is still on the media. Recovering the entry restores the partition boundary in the disk map, which is safer than file-by-file recovery when the lost partition can still be identified.

TestDisk scans a whole disk such as /dev/sdb or /dev/nvme1n1 for old partition boundaries and filesystem signatures. It lets you inspect the directory listing before writing the recovered partition table, so the disk name, partition size, start position, and visible files all need to match the lost volume.
Work from live Ubuntu media when the affected disk might otherwise stay mounted or active. If the missing volume lives inside LUKS, LVM, mdraid, or another storage layer, recover that layer instead of rewriting the outer disk partition table, and check disk health first when kernel logs already show read errors.
Related: How to check disk errors in Linux
Related: How to mount a disk or partition in Linux
Steps to recover a missing disk partition table entry with TestDisk in Linux:
- Start a live Ubuntu session from installation media.
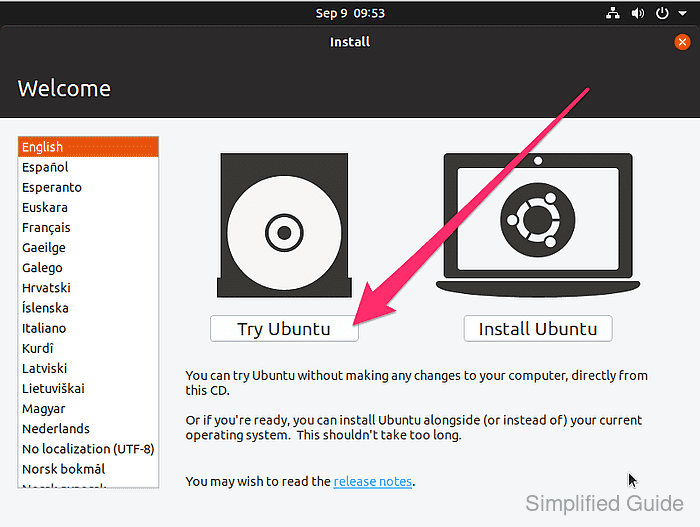
Choose Try Ubuntu on the installer menu so recovery runs from temporary media instead of the disk being repaired.
- Open a terminal in the live session.

If the graphical desktop is unavailable, switch to a text console such as <ctrl> + <alt> + <f2>.
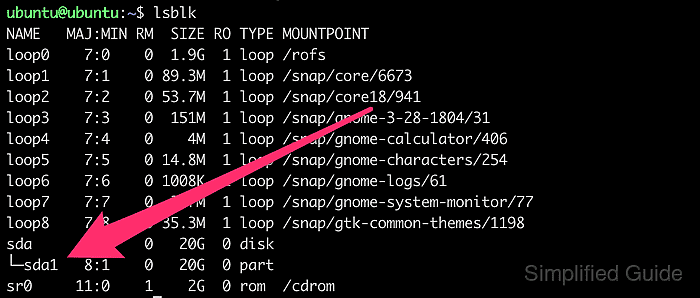
- Identify the whole disk that contains the missing partition entry.
$ lsblk -o NAME,SIZE,TYPE,FSTYPE,MOUNTPOINTS
NAME      SIZE TYPE FSTYPE      MOUNTPOINTS
sda       476G disk
├─sda1      1G part vfat        /boot/efi
├─sda2      2G part ext4        /boot
└─sda3    473G part LVM2_member
sdb       931G disk
Run TestDisk against the whole disk such as /dev/sdb, not a partition such as /dev/sdb1.
- Check whether any partition from the affected disk is mounted.
$ lsblk -o NAME,MOUNTPOINTS /dev/sdb
NAME MOUNTPOINTS
sdb
`-sdb1 /mnt/data
- Unmount every mounted partition from the affected disk.
$ sudo umount /dev/sdb1
Do not mount or write to the affected partition during recovery because new metadata can overwrite the filesystem being restored.
Related: How to unmount a disk in Linux
- Refresh the package index in the live session.
$ sudo apt update
- Install the testdisk package.
$ sudo apt install testdisk
The Ubuntu distribution package is named testdisk. Connect the live session to a network first if the package is not already cached on the installation media.
- Start TestDisk on the whole disk device.
$ sudo testdisk /dev/sdb
- Select Create to save a recovery log, or No Log if the live session is disposable.
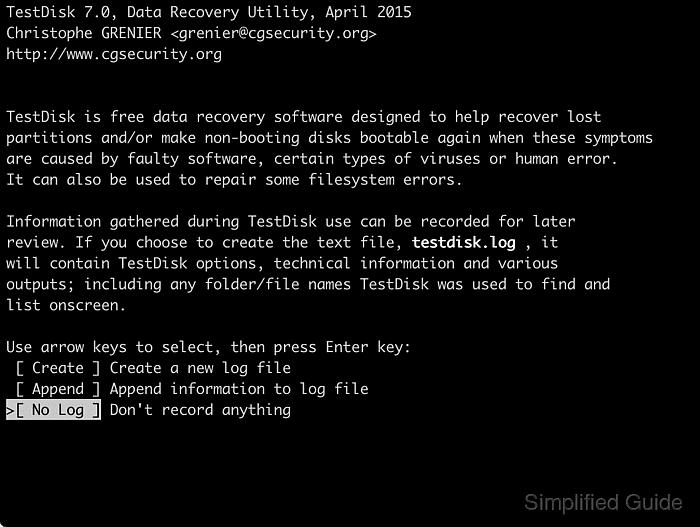
A saved log helps compare what TestDisk detected before any partition table write.
- Select the disk with the missing partition and press [ENTER].
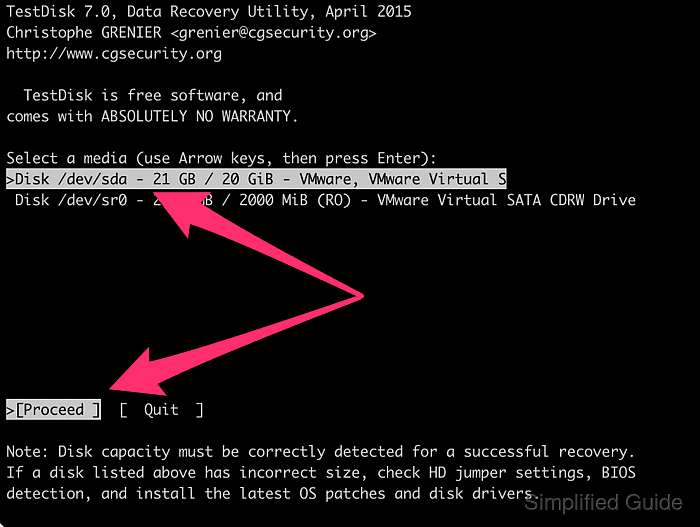
- Accept the detected partition table type.
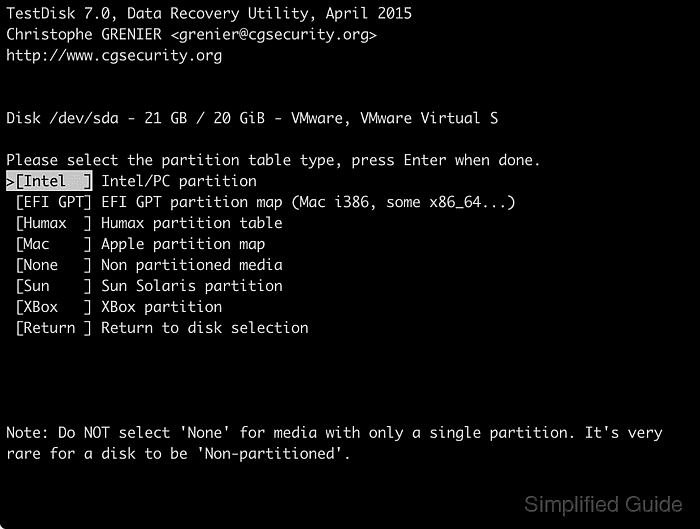
Intel is typical for MBR disks, while EFI GPT is typical on UEFI systems. Choose another type only when the disk was created that way.
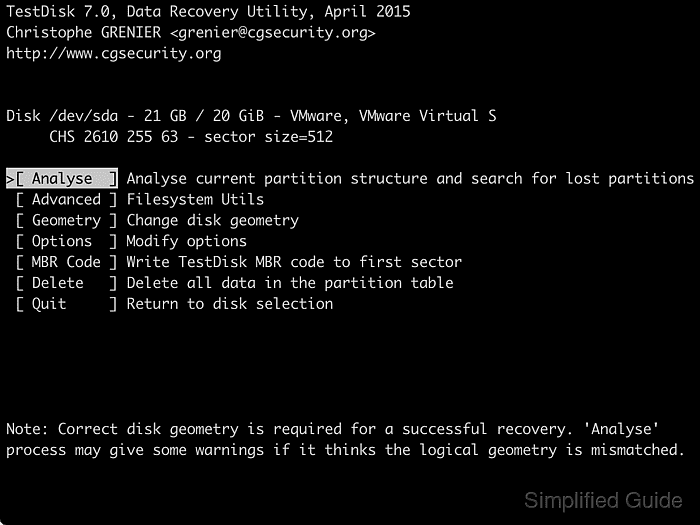
- Select Analyse to inspect the partition map.
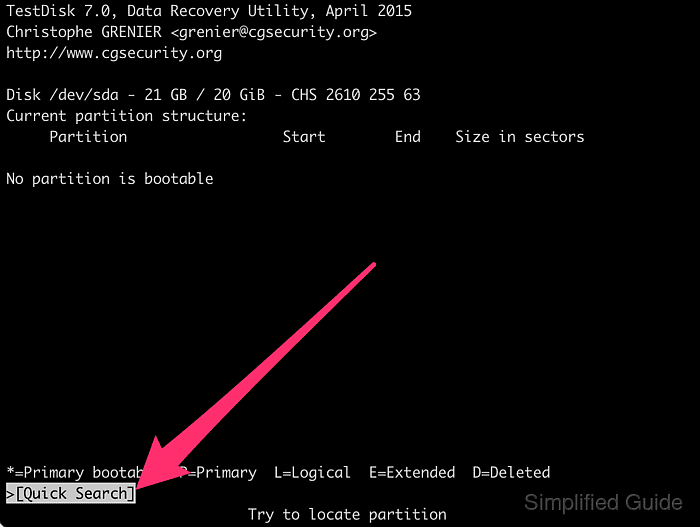
- Confirm Quick Search to scan for lost partitions.
- Highlight a found partition and press P to list its files.
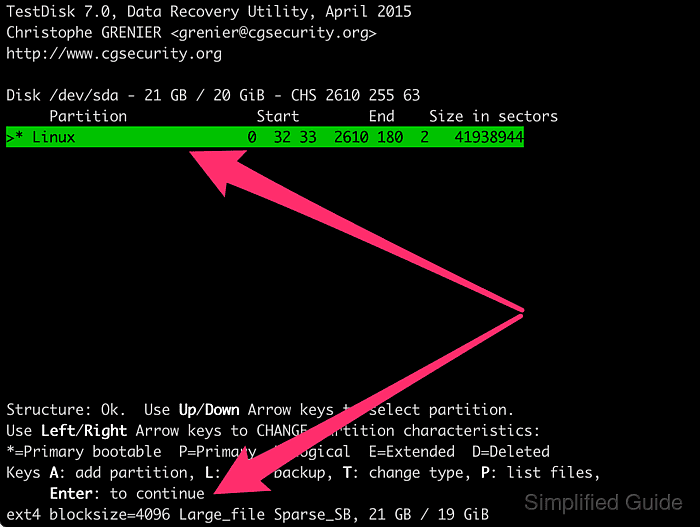
Continue only when the directory names and files match the lost volume.
- Press Q to return from the file listing to the partition list.
- Run Deeper Search when Quick Search does not find the missing partition or the reported boundaries are wrong.
Deeper Search can take a long time on large disks, so prevent the live session from sleeping until the scan finishes.
- Change the recovered partition from D to P, L, or * when TestDisk still marks it as deleted.
Ordinary data partitions are usually P or L. Use only one bootable * partition on a disk that must boot an operating system.
- Choose Write to save the recovered partition layout.
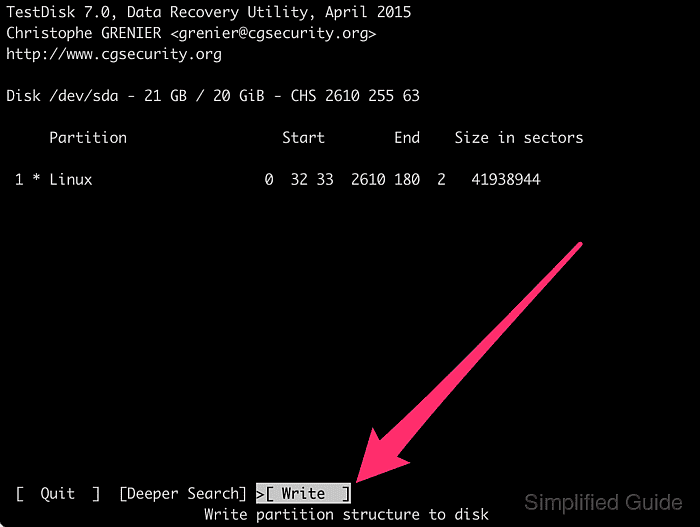
Write the change only after the partition boundaries and file listing match the lost volume because a wrong layout can hide the real filesystem and make later recovery harder.
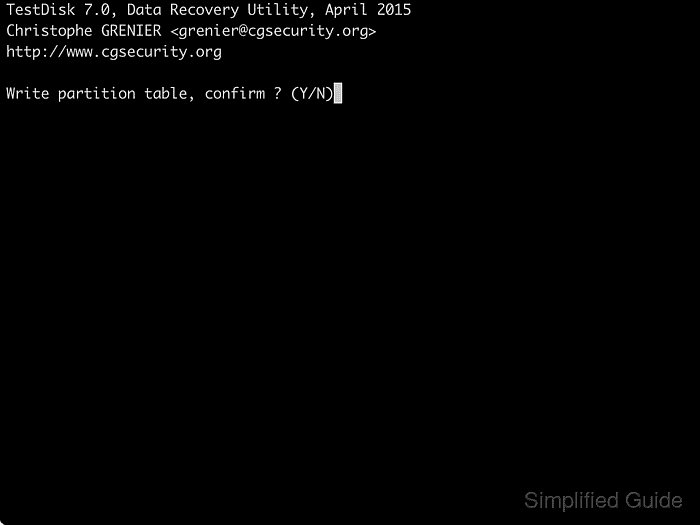
- Press Y to confirm the partition table update.
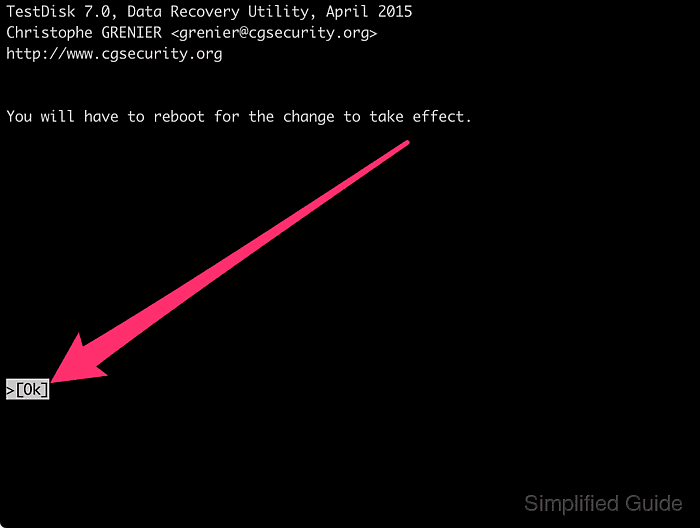
- Press [ENTER] on Ok after the success message.
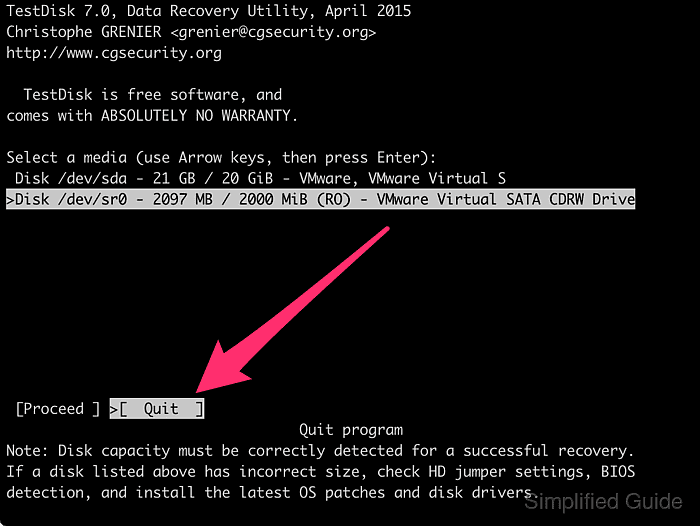
- Select Quit to return to the disk selection screen.
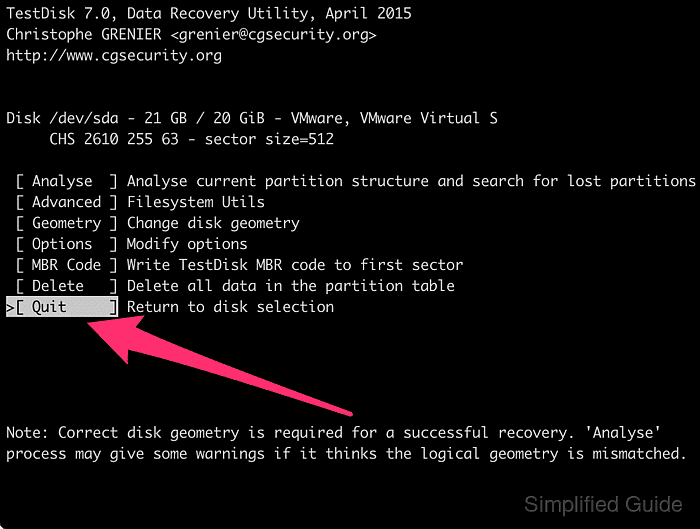
- Select Quit again to exit TestDisk.
- Restart the live session, or disconnect and reconnect a non-system removable disk, so the kernel reloads the restored partition table.
TestDisk reports You have to reboot for the change to take effect. after a successful partition table write.
- Verify that the partition entry is visible again before mounting the filesystem.
$ lsblk -o NAME,SIZE,TYPE,FSTYPE,MOUNTPOINTS /dev/sdb
NAME      SIZE TYPE FSTYPE MOUNTPOINTS
sdb       931G disk
`-sdb1    931G part ext4