How to create a Grafana notification policy
Creating a Grafana notification policy routes matching alert instances to a specific contact point instead of sending every alert through the default policy. Use one when teams, services, severities, or environments need different notification destinations.

Grafana Alerting evaluates notification policies as a tree. The default policy handles alerts that do not match a child route, while child routes use alert labels such as team, service, severity, or environment to choose a more specific contact point.
The label used in the route must exist on the alert rule or alert instance. A route that matches team=platform can send platform alerts to an on-call webhook while inheriting the default grouping and timing settings.
Related: How to create a Grafana alert contact point
Related: How to create a Grafana alert rule
Related: How to create a Grafana alert silence
Steps to create a Grafana notification policy:
- Open Alerting → Notification configuration in Grafana and select Notification policies.
Some Grafana Cloud menus show Alerts & IRM before Alerting. Keep the default Grafana Alertmanager unless the alerts and contact points belong to an external Alertmanager.
- Click Add route under Default policy.
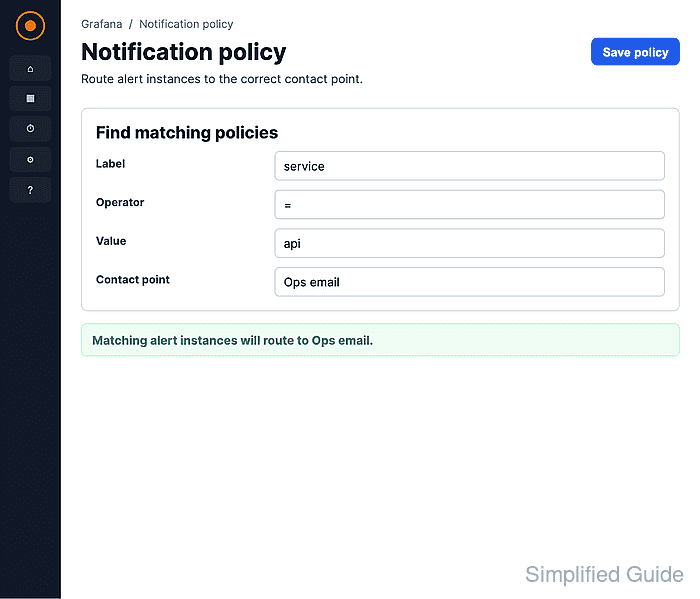
- Enter the label matcher that should route the alert instances.

The label name must match an alert label exactly. Multiple matchers use AND logic; choose = for an exact route such as team=platform.
- Select the contact point that should receive matching alerts.
The contact point must belong to the same Alertmanager as the notification policy.
- Leave Continue matching subsequent sibling nodes off unless another sibling route should also handle the same alert.
- Keep Override grouping and Override general timings off when the route should inherit the default policy settings.
Enable overrides only when this route needs different grouping labels, group wait, group interval, or repeat interval values.
- Click Add route.
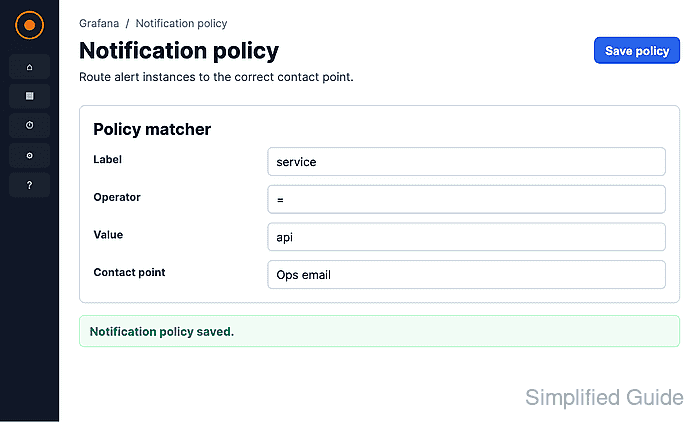
- Search for the matcher in Search by matchers and confirm the route appears under Default policy with the expected contact point.