How to configure a Logstash JDBC input
A Logstash JDBC input polls a relational database and turns returned rows into pipeline events. It fits application tables, audit records, and operational datasets that need to enter a Logstash pipeline on a schedule while the database remains the source of truth.
The jdbc input plugin needs a vendor JDBC driver jar, a JDBC URL, credentials, a SQL statement, and a checkpoint column. A PostgreSQL pipeline can keep the SQL in a separate file and track a numeric Unix timestamp derived from updated_at so :sql_last_value resumes from the newest row processed by the previous poll.
Logstash does not include database JDBC drivers. Keep the driver jar, SQL file, password file, and checkpoint path readable by the logstash service user, and create the checkpoint parent directory before the pipeline starts because last_run_metadata_path points to a file.
Steps to configure a JDBC input in Logstash:
- Create a directory for JDBC driver jars.
$ sudo install -d -m 0755 /usr/share/logstash/vendor/jdbc
- Copy the database JDBC driver into the driver directory.
$ sudo install -m 0644 postgresql-42.7.7.jar /usr/share/logstash/vendor/jdbc/postgresql.jar
Replace the jar name, jdbc_driver_class, and jdbc_connection_string with the values for MySQL, MariaDB, SQL Server, Oracle, or another JDBC source.
- Create directories for the SQL statement, password file, and JDBC checkpoint.
$ sudo install -o root -g logstash -m 0750 -d /etc/logstash/sql /etc/logstash/secrets /var/lib/logstash/jdbc_last_run
- Save the database password in a file readable by the logstash group.
$ sudoedit /etc/logstash/secrets/jdbc-orders.pwd
db-reader-password
Use the Logstash keystore instead when the service already relies on keystore-backed substitutions.
Related: How to create a Logstash keystore
Related: How to add a secret to a Logstash keystore - Restrict the password file permissions.
$ sudo chown root:logstash /etc/logstash/secrets/jdbc-orders.pwd
$ sudo chmod 0640 /etc/logstash/secrets/jdbc-orders.pwd
- Create the incremental SQL statement file.
$ sudoedit /etc/logstash/sql/orders-incremental.sql
SELECT
  id,
  customer_email,
  updated_at,
  EXTRACT(EPOCH FROM updated_at)::bigint AS updated_at_unix
FROM orders
WHERE EXTRACT(EPOCH FROM updated_at)::bigint > :sql_last_value
ORDER BY updated_at ASC, id ASC;
The numeric updated_at_unix value keeps the checkpoint independent of database timestamp formatting.
Tool: SQL Formatter - Create the JDBC pipeline configuration file.
$ sudoedit /etc/logstash/conf.d/30-jdbc-orders.conf
input {
  jdbc {
    id => "jdbc_orders"
    jdbc_driver_library => "/usr/share/logstash/vendor/jdbc/postgresql.jar"
    jdbc_driver_class => "org.postgresql.Driver"
    jdbc_connection_string => "jdbc:postgresql://db.example.net:5432/app"
    jdbc_user => "logstash"
    jdbc_password_filepath => "/etc/logstash/secrets/jdbc-orders.pwd"
    period => "1m"
    statement_filepath => "/etc/logstash/sql/orders-incremental.sql"
    use_column_value => true
    tracking_column => "updated_at_unix"
    tracking_column_type => "numeric"
    jdbc_validate_connection => true
    jdbc_validation_timeout => 50
    last_run_metadata_path => "/var/lib/logstash/jdbc_last_run/orders.yml"
  }
}

output {
  stdout {
    codec => json_lines
  }
}
Use schedule with a cron expression such as */5 * * * * UTC when the poll must align to wall-clock time. Keep period for a fixed cadence, and configure only one of schedule, period, or interval.
The stdout output proves the input emits events during the first poll. Replace it with the target destination after validation.
Related: How to configure Logstash output to Elasticsearch - Test the pipeline configuration with the packaged settings directory and a temporary data path.
$ sudo -u logstash /usr/share/logstash/bin/logstash --path.settings /etc/logstash --path.data /tmp/logstash-configtest --config.test_and_exit
Using bundled JDK: /usr/share/logstash/jdk
[2026-06-18T17:31:18,563][INFO ][logstash.runner          ] Starting Logstash {"logstash.version"=>"9.4.2"}
##### snipped #####
Configuration OK
[2026-06-18T17:31:23,104][INFO ][logstash.runner          ] Using config.test_and_exit mode. Config Validation Result: OK. Exiting Logstash
The temporary --path.data directory keeps the syntax check away from the running service state in /var/lib/logstash.
Related: How to test a Logstash pipeline configuration - Restart the Logstash service to load the JDBC pipeline.
$ sudo systemctl restart logstash
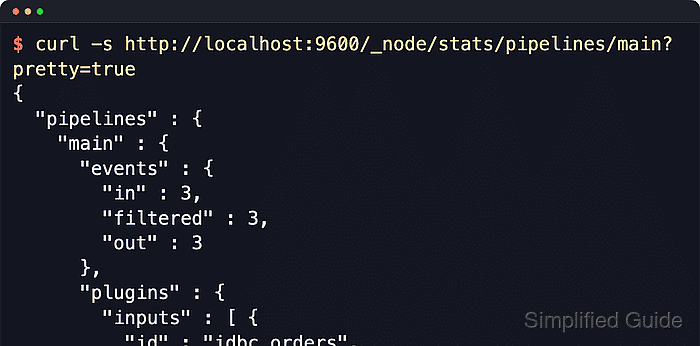
- Confirm the JDBC input is polling and that the configured plugin ID appears in pipeline stats.
$ curl -s http://localhost:9600/_node/stats/pipelines/main?pretty=true
{
  "pipelines" : {
    "main" : {
      "events" : { "in" : 3, "filtered" : 3, "out" : 3 },
      "plugins" : {
        "inputs" : [ {
          "id" : "jdbc_orders",
          "name" : "jdbc",
          "events" : { "out" : 3 }
        } ]
      }
    }
  }
}
The monitoring API binds to 127.0.0.1 by default on package installs. Query the configured address and port when /etc/logstash/logstash.yml changes the API listener.
- Confirm the checkpoint file contains the last tracked value after the first poll.
$ sudo cat /var/lib/logstash/jdbc_last_run/orders.yml
--- 1781770200
If the SQL query emits rows but the checkpoint file is missing, re-check the parent directory in last_run_metadata_path and make sure the logstash service user can write to it.