You can add a virtual hard disk to a VirtualBox virtual machine (VM) even after the VM has been created. This allows you to increase storage capacity, attach existing virtual disks, or create a new one. VirtualBox supports a range of disk formats, including VMDK, VDI, VHD, and QCOW, which are compatible with other virtualization platforms like VMware and QEMU.
New storage can be added to either an IDE or SATA controller, depending on your system’s requirements. IDE controllers are typically used for compatibility, while SATA controllers offer improved performance and support for larger disks. Choosing the correct controller is crucial for optimizing the VM’s disk performance.
This guide outlines how to add a new virtual hard disk to a VirtualBox VM, either by attaching an existing virtual disk or creating a new one. Follow the steps to increase storage, create new hard drives, or add existing ones to your virtual machine.
Steps to add storage in VirtualBox:
- Open VirtualBox.
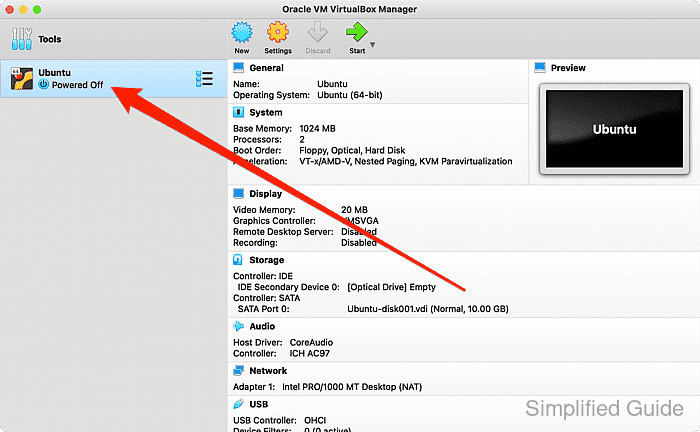
- Ensure the VM is powered off.
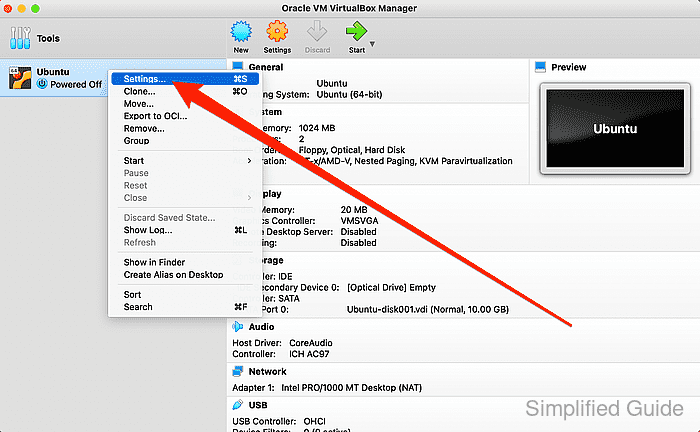
- Right-click the VM and select Settings.
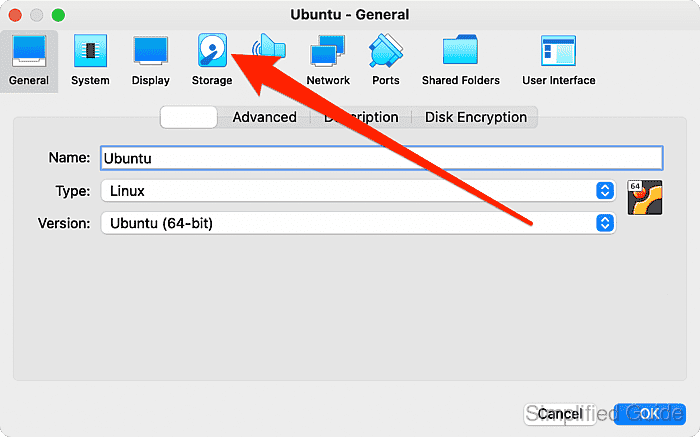
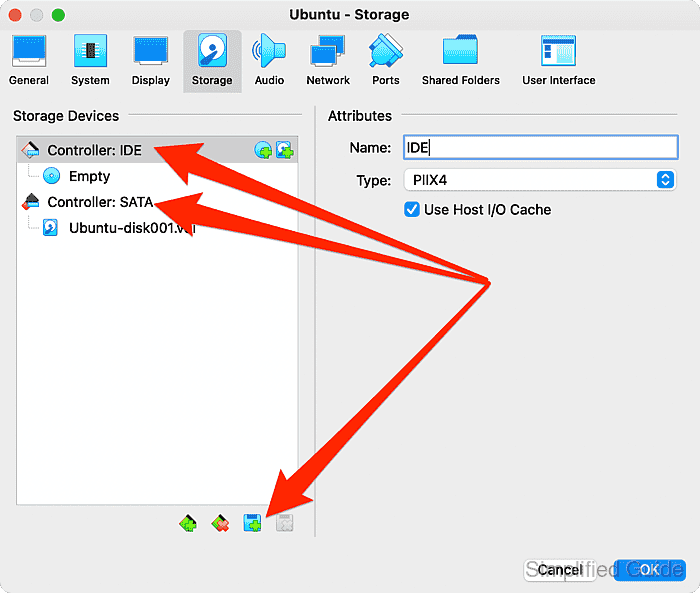
- Go to Storage tab.
- Select the controller (IDE or SATA) to attach the disk to and click the Add new storage attachment button.
- Choose Hard Disk from the list.
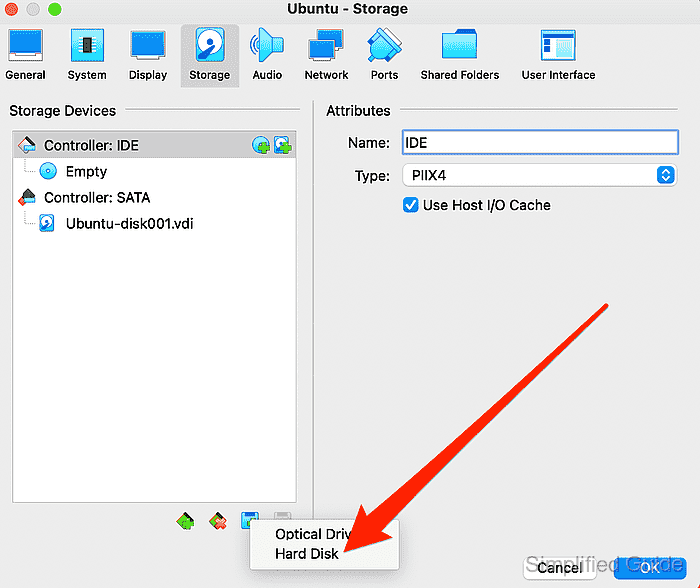
- Click Add to use an existing disk, or click Create to create a new one.

Supported formats include VMDK (.vmdk), VDI (.vdi), VHD (.vhd), Parallels (.hdd), QED (.qed), QCOW (.qcow, .qcow2), and VHDX (.vhdx).
- If adding an existing disk, select it and click Open.
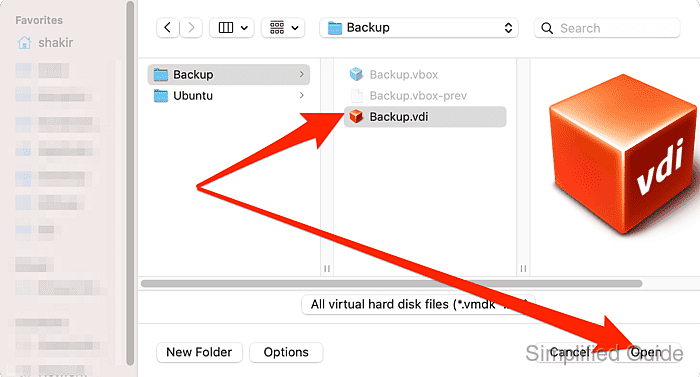
Supported format includes VMDK (.vmdk), VDI (.vdi), VHD (.vhd), Parallels (.hdd), QED (.qed), QCOW (.qcow, .qcow2) and VHDX (.vhdx)
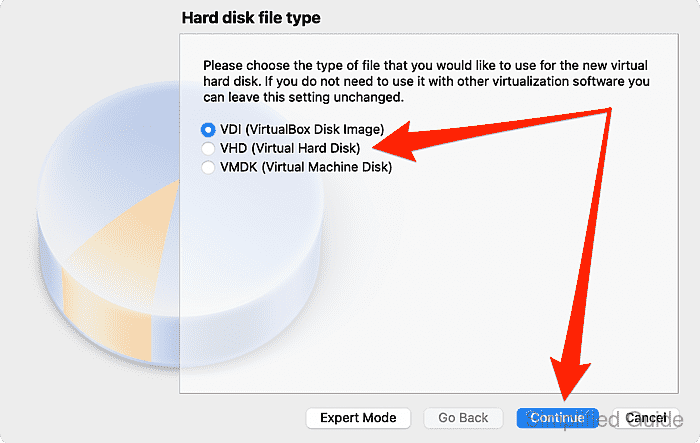
- Click Create to create new hard disk.

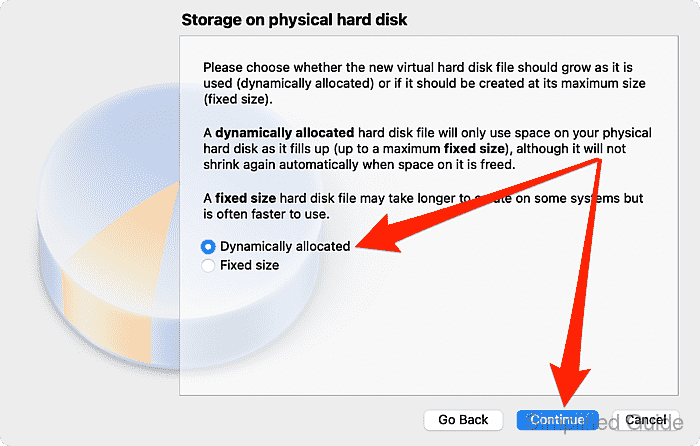
- Choose type and click Continue.
- Select the disk allocation type and click Continue.
- Set the disk size and file location, then click Create.

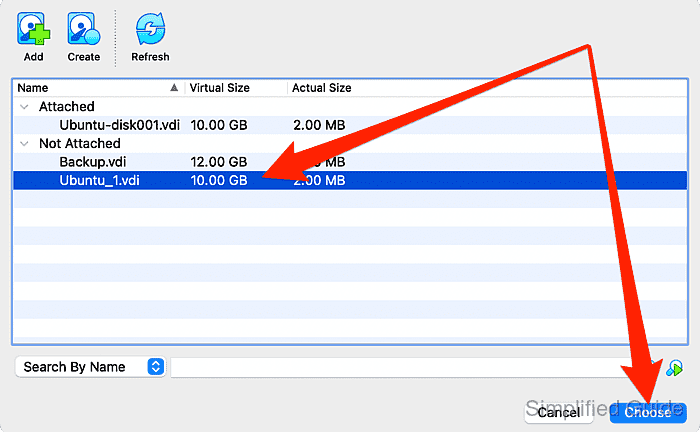
- In the Not Attached section, select the disk and click Choose.
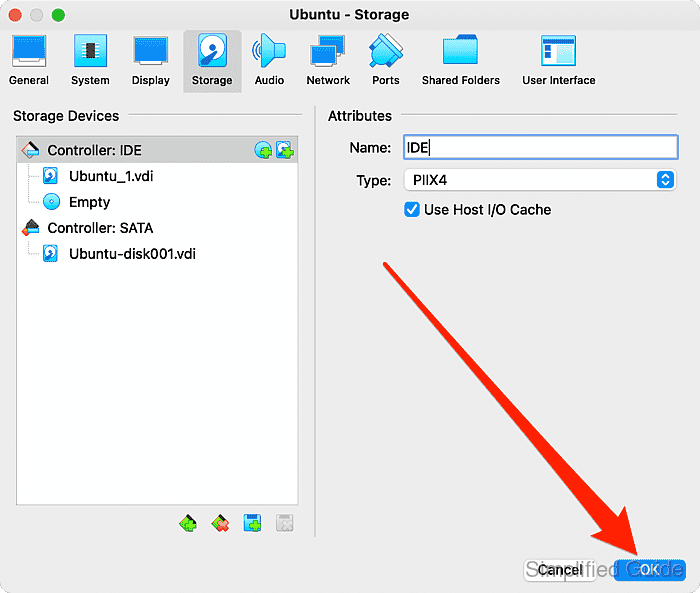
- Click OK to save changes.
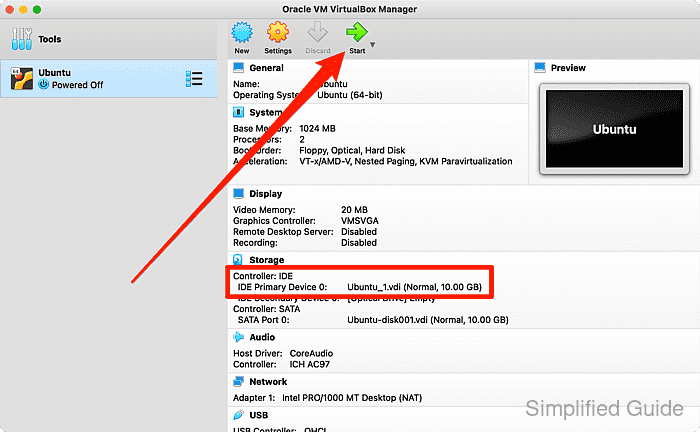
- Start the VM and configure the new disk at the operating system level.
CLI method to add a virtual hard disk in VirtualBox:
You can also add a virtual hard disk using the command line interface with VBoxManage. Below is a step-by-step guide to attach an existing virtual hard disk or create a new one:
- List available virtual machines. This will display all available VMs on your system.
VBoxManage list vms "Ubuntu VM" {uuid-1234-5678-91011-abcde} "Windows VM" {uuid-2234-5678-91011-fghij} - Attach an existing virtual hard disk. Use the correct VM name or UUID and specify the disk's path.
VBoxManage storageattach "Ubuntu VM" --storagectl "SATA Controller" --port 0 --device 0 --type hdd --medium /path/to/disk.vdi
Storage device 'SATA Controller' port 0, device 0 successfully attached.
- Create a new virtual hard disk. If you don't have an existing disk, create a new one with a specified size and format.
VBoxManage createhd --filename /path/to/newdisk.vdi --size 20480 --format VDI
Virtual disk created with 20480 MB size in VDI format.
- Attach the newly created disk. After creating the disk, attach it to the VM.
VBoxManage storageattach "Ubuntu VM" --storagectl "SATA Controller" --port 0 --device 0 --type hdd --medium /path/to/newdisk.vdi
Storage device 'SATA Controller' port 0, device 0 successfully attached.
- Verify the storage attachment. Confirm that the disk has been successfully attached to the VM.
VBoxManage showvminfo "Ubuntu VM"
Name:            Ubuntu VM
Guest OS:        Ubuntu (64-bit)
UUID:            uuid-1234-5678-91011-abcde
Storage Controllers:
    SATA Controller (0, 0): /path/to/newdisk.vdi (UUID: disk-uuid)

Mohd Shakir Zakaria is a cloud architect with deep roots in software development and open-source advocacy. Certified in AWS, Red Hat, VMware, ITIL, and Linux, he specializes in designing and managing robust cloud and on-premises infrastructures.


