Ubuntu keeps its clock in universal time and uses the time zone to work out the local time shown on the desktop and in file and log timestamps. A computer set to the wrong zone reads hours out even when its clock is accurate, and changing the system timezone puts the local time right without touching the clock.
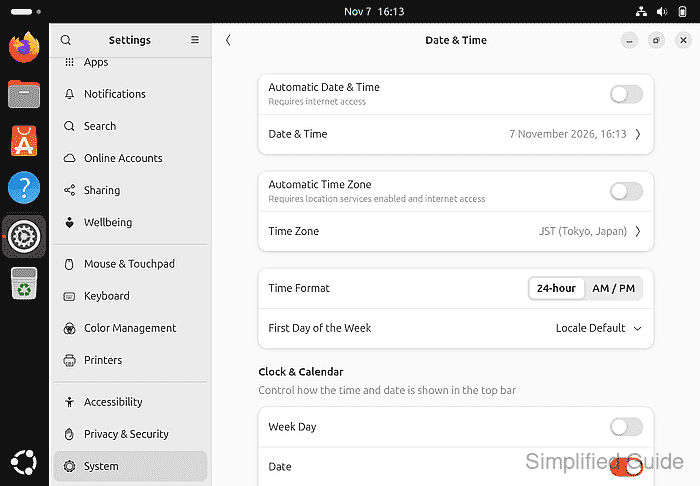
GNOME keeps this setting on the Date & Time page of Settings, where the zone is chosen by searching for a city. The new zone applies to every account on the computer as soon as the city is selected and stays after a restart, so there is nothing to save and no need to log out.
An administrator changes the zone without a password, while a standard account finds the page locked until Unlock is clicked and an administrator's password is entered. Automatic Date & Time only keeps the clock accurate, so it can stay on while the zone changes.
Steps to change system timezone in Ubuntu (GNOME):
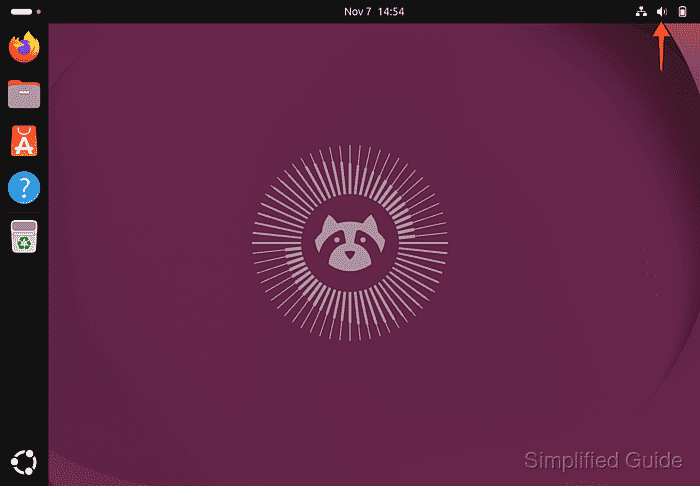
- Click the status icons at the top right of the screen to open the system menu.
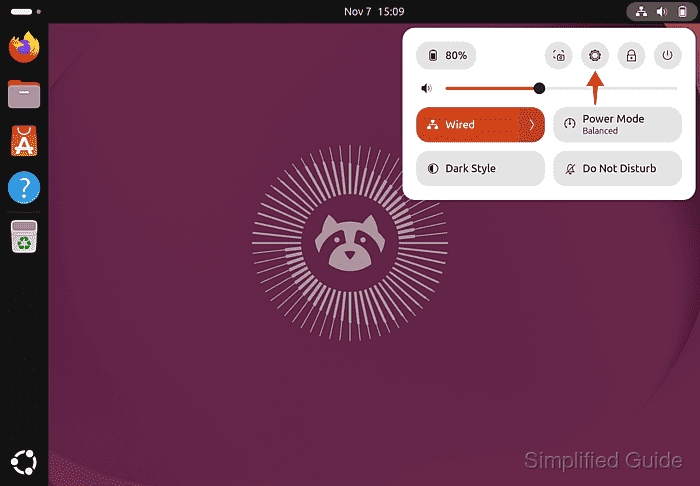
- Click the gear button in the system menu to open Settings.
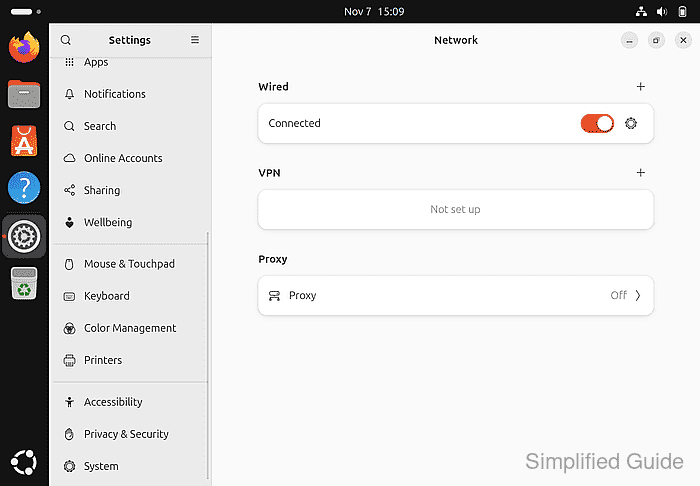
- Select System at the bottom of the sidebar.
- Select Date & Time.
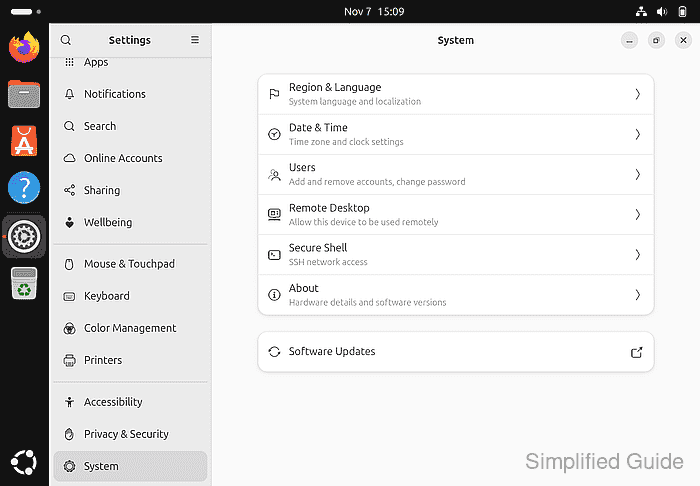
- Select the Time Zone row.
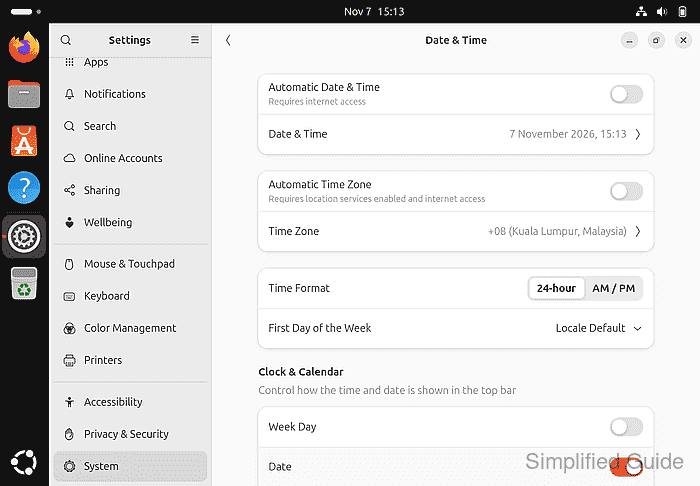
The row is greyed out when Automatic Time Zone is on with location services enabled, because Ubuntu then sets the zone from the computer's location. Turning Automatic Time Zone off makes the row available again.
- Type a city in the zone you want into Search cities, such as Tokyo.
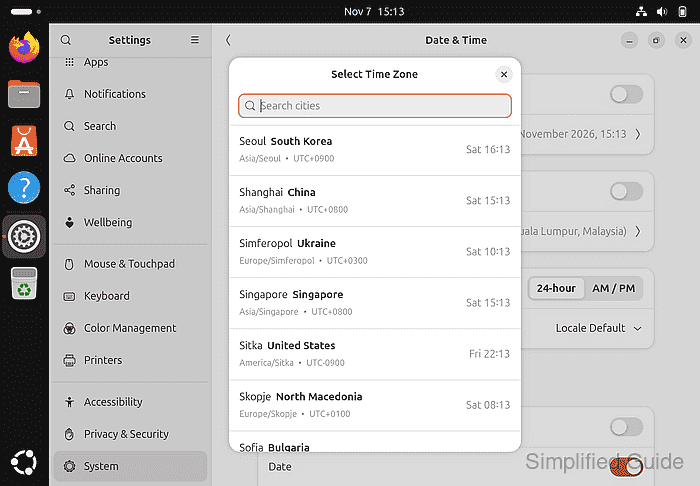
The search also matches country names, so Japan finds Tokyo.
- Select the city in the results.
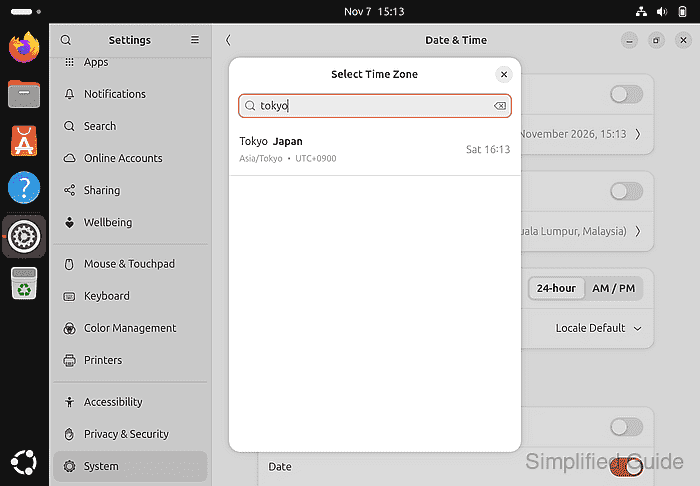
The dialog closes and the zone changes straight away.
- Check that the Time Zone row shows the new zone and the clock in the top bar shows the local time there.