An automount unit lets systemd publish a mount point immediately and wait until the first real access before starting the backing mount. This is useful for optional storage, slow network shares, and paths that should not hold up boot when nothing needs them yet.
An on-demand mount in systemd always uses two matching units: a *.mount unit that describes the real filesystem and a *.automount unit that watches the target path. Both names come from the mount path itself, so /srv/archive becomes srv-archive.mount and srv-archive.automount. The example below uses a bind mount because it is easy to validate without touching a real disk, block device, or remote server.
Automount units are system-level objects, so place them under /etc/systemd/system and manage them with sudo or root. Current upstream systemd.automount documentation still warns against putting mount dependencies such as After=network-online.target on the *.automount unit because that can create ordering cycles; keep remote-mount requirements on the matching *.mount unit instead. The base example leaves TimeoutIdleSec= unset because idle unmounting is off by default; add it only when you want systemd to unmount the path after inactivity.
Related: How to create a systemd mount unit
Steps to create a systemd automount unit:
- Convert the target mount path to the escaped base name that both unit files must share.
$ systemd-escape --path /srv/archive
srv-archive
The resulting filenames are srv-archive.mount and srv-archive.automount.
- Create the source directory for the bind-mount example.
$ sudo mkdir -p /srv/source-archive
The example leaves /srv/archive absent so the automount unit can claim that path when it starts.
- Add a sample file to the source directory so the first access has something obvious to show.
$ sudo touch /srv/source-archive/report-2026.txt
- Create the matching mount unit file.
[Unit]
Description=Bind mount for /srv/archive

[Mount]
What=/srv/source-archive
Where=/srv/archive
Type=none
Options=bind
The mount unit describes the real backend. For a disk, NFS share, or CIFS share, replace What=, Type=, and Options= with the real values and keep any remote-mount dependencies here.
- Create the matching automount unit file.
[Unit]
Description=Automount for /srv/archive

[Automount]
Where=/srv/archive

[Install]
WantedBy=multi-user.target
The Where= path must match the mount unit and the escaped filename exactly. Add TimeoutIdleSec=5min under [Automount] only when you want systemd to unmount the path after it stays idle.
- Verify that both unit files parse cleanly before reloading the manager.
$ sudo systemd-analyze verify /etc/systemd/system/srv-archive.mount /etc/systemd/system/srv-archive.automount
No output means systemd accepted the syntax, filenames, and unit relationship.
- Reload the systemd manager after adding the new unit files.
$ sudo systemctl daemon-reload
- Enable and start the automount unit.
$ sudo systemctl enable --now srv-archive.automount
Created symlink /etc/systemd/system/multi-user.target.wants/srv-archive.automount → /etc/systemd/system/srv-archive.automount.
The *.automount unit is the object that gets enabled. The matching *.mount unit normally stays static and is pulled in on demand.
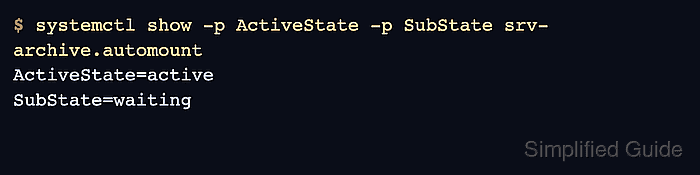
- Confirm that the automount unit is armed and waiting for the first access.
$ systemctl show -p ActiveState -p SubState srv-archive.automount
ActiveState=active
SubState=waiting
The active plus waiting state is the decisive success check before anything touches the directory.
- Access the mount point to trigger the mount.
$ ls /srv/archive
report-2026.txt
The first access may pause briefly while systemd starts the matching mount unit.
- Confirm that the matching mount unit is now active.
$ systemctl show -p ActiveState -p SubState srv-archive.mount
ActiveState=active
SubState=mounted
If the mount stays inactive or enters failed, check journalctl -u srv-archive.mount -u srv-archive.automount for the backend error.
- Remove the sample file if you created it only for a quick trigger test.
$ sudo rm -f /srv/source-archive/report-2026.txt
The automount remains configured. The next access to /srv/archive will mount the path again on demand.

Mohd Shakir Zakaria is a cloud architect with deep roots in software development and open-source advocacy. Certified in AWS, Red Hat, VMware, ITIL, and Linux, he specializes in designing and managing robust cloud and on-premises infrastructures.


