A shared phpMyAdmin endpoint should let each database user authenticate with an individual MySQL or MariaDB account instead of relying on credentials stored in the web application's configuration. Cookie authentication provides that login boundary while leaving database authorization to the server.
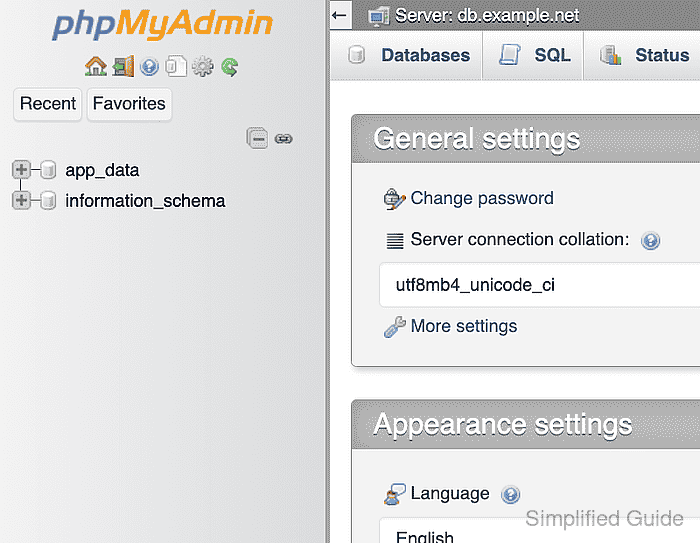
In cookie mode, phpMyAdmin encrypts the submitted password in a temporary browser cookie and uses it for the selected server entry. The entry's user and password values remain empty, while a persistent 32-byte blowfish_secret lets phpMyAdmin decrypt the cookie across requests.
Serve the login page over HTTPS, keep AllowNoPassword disabled, and use a non-root database account with only the required schema privileges. Cookie encryption protects browser storage, not an HTTP login request in transit.
Steps to configure cookie authentication in phpMyAdmin:
- Locate the active phpMyAdmin configuration file for the selected database server.
- Create a root-only phpMyAdmin backup directory outside every served document root.
$ sudo install -d -m 0700 -o root -g root /var/backups/phpmyadmin
- Copy the located active phpMyAdmin configuration into the protected backup file.
$ sudo install -m 0600 -o root -g root /path/to/config.inc.php /var/backups/phpmyadmin/config.inc.php.before-cookie-auth
An invalid PHP statement or server index can block every phpMyAdmin login. /path/to/config.inc.php represents the active file located in the first step, and /var/backups/phpmyadmin stays outside the phpMyAdmin application tree and every served document root.
- Generate a unique 32-byte secret as hexadecimal text.
$ php -r 'echo bin2hex(random_bytes(32)), PHP_EOL;'
The 64-character output is a credential and must not be reused from documentation, command transcripts, or another installation.
- Open the active phpMyAdmin configuration file in a text editor.
$ sudoedit /path/to/config.inc.php
- Set the generated blowfish_secret near the top of the active configuration file.
- config.inc.php
$cfg['blowfish_secret'] = sodium_hex2bin('<64-character-hex-value>');
The placeholder represents the hexadecimal value generated in the previous step, and the conversion must resolve to exactly 32 bytes.
- Set cookie authentication on the selected server entry without stored database credentials.
- config.inc.php
$cfg['Servers'][$i]['auth_type'] = 'cookie';
$cfg['Servers'][$i]['user'] = '';
$cfg['Servers'][$i]['password'] = '';
$cfg['Servers'][$i]['AllowNoPassword'] = false;
The entry's existing host, port, and TLS settings remain in place. MySQL or MariaDB still controls which account hosts and database privileges are accepted.
- Check the edited phpMyAdmin configuration file for PHP syntax errors.
$ php -l /etc/phpmyadmin/config.user.inc.php
No syntax errors detected in /etc/phpmyadmin/config.user.inc.php
The official Docker image loads /etc/phpmyadmin/config.user.inc.php after its generated configuration. For package or source installations, the command path is the active file located in the first step.
- Open the phpMyAdmin HTTPS URL in a fresh private browser window.
https://pma.example.net/
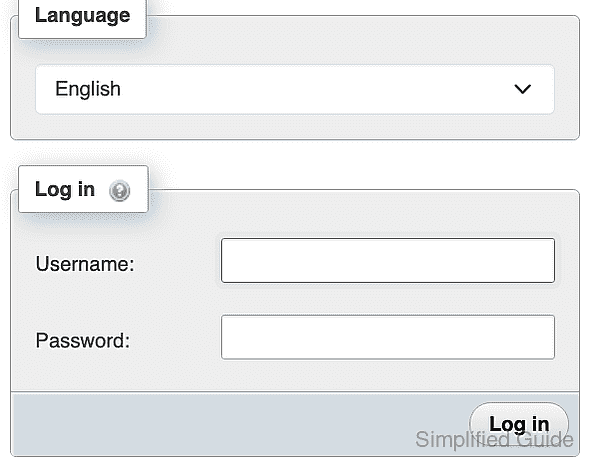
- Enter the restricted database account name in the Username field.
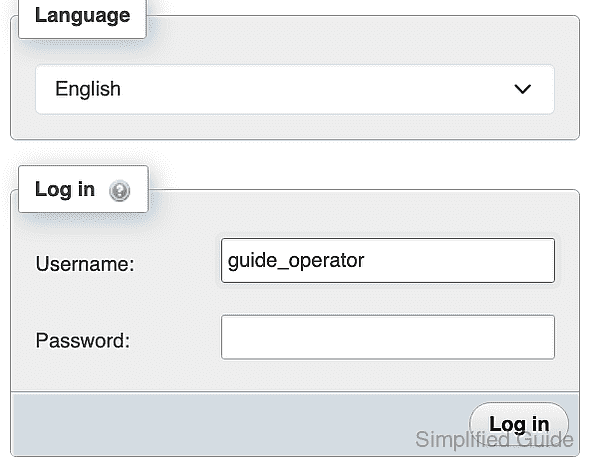
- Enter a deliberately incorrect value in the Password field.
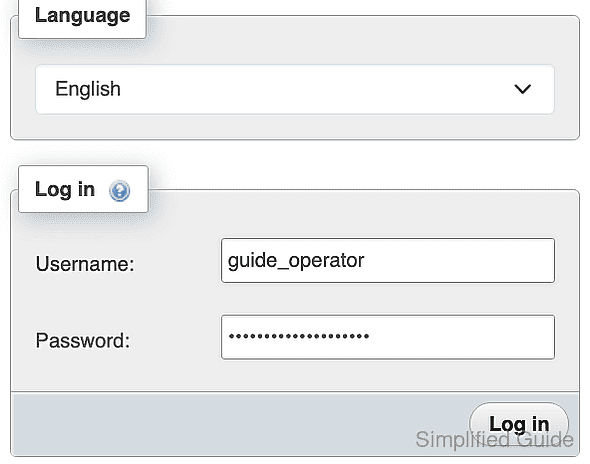
- Select Log in to confirm the invalid database password is rejected.
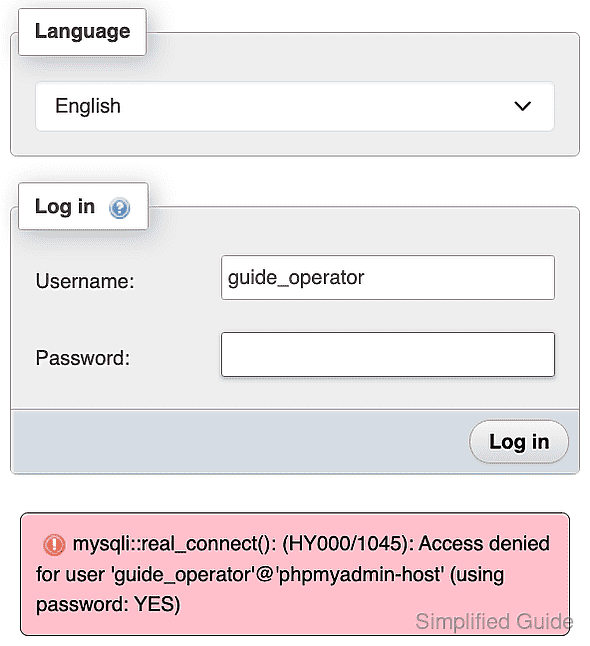
- Reload the phpMyAdmin login page after the rejected attempt.
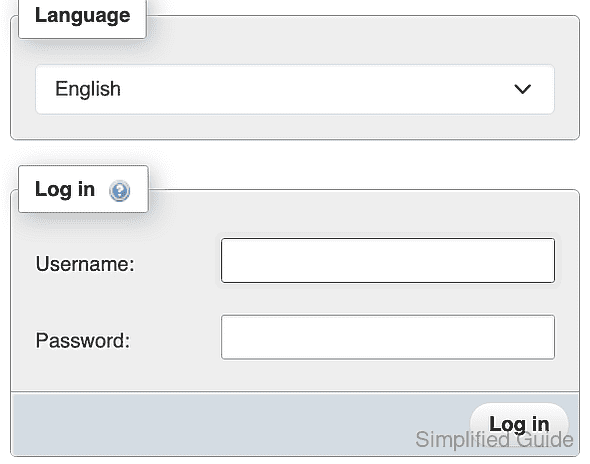
- Enter the restricted database account name in the Username field.
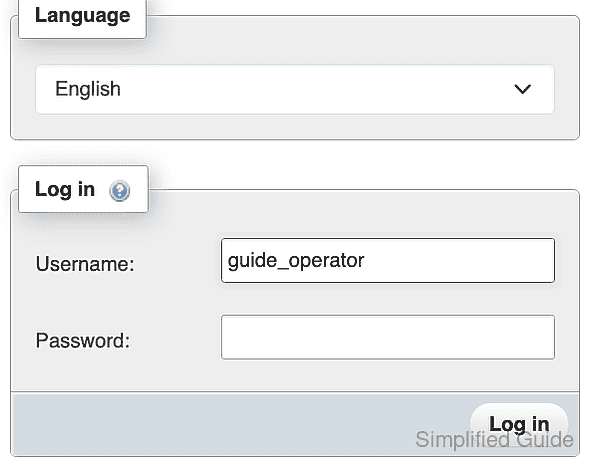
- Enter the account's valid database password in the Password field.
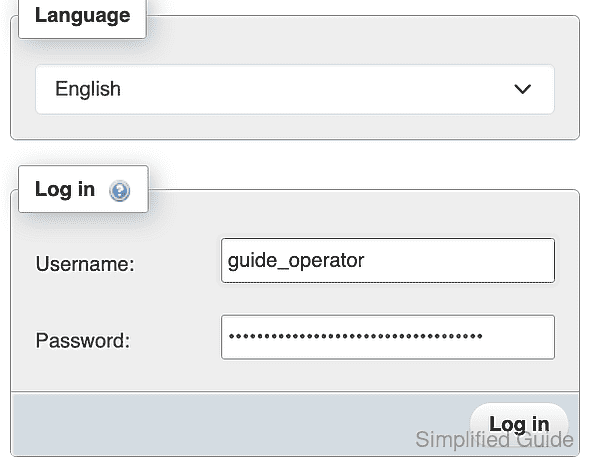
- Select Log in to open the authenticated database dashboard.
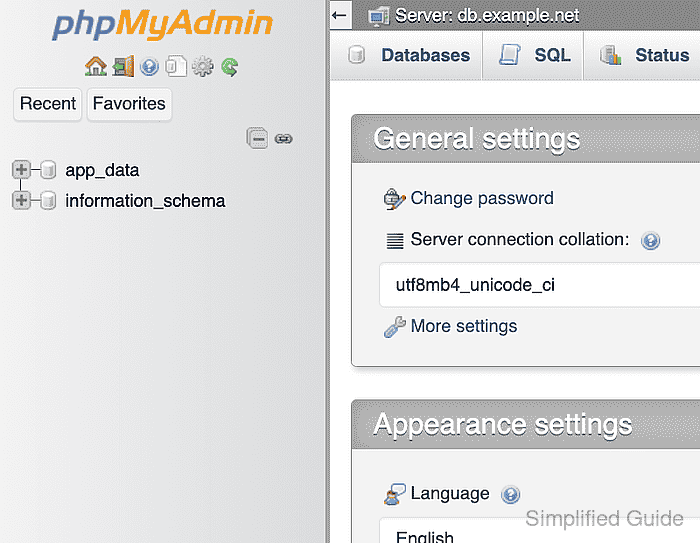
The navigation should show only databases granted to the signed-in account. An access-denied message for the valid password points to the database account's host match, password, or privileges rather than the cookie-mode directive.

Mohd Shakir Zakaria is a cloud architect with deep roots in software development and open-source advocacy. Certified in AWS, Red Hat, VMware, ITIL, and Linux, he specializes in designing and managing robust cloud and on-premises infrastructures.


