A leaked or guessed password is all it takes to open someone's conversations, knowledge bases and connections in a shared Open WebUI instance. Multi-factor authentication in Open WebUI adds a six-digit code from an authenticator app to every sign-in, and an administrator can make that code mandatory for every account on the instance.
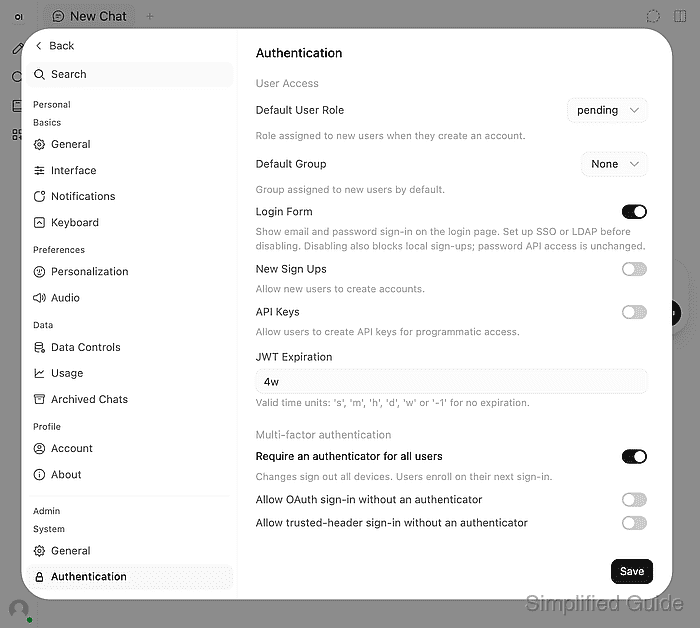
The requirement is one switch in the administrator settings. Saving it ends every session on every device, the administrator's included, and each person then sets up an authenticator at their next sign-in by scanning a QR code and confirming a first code. Setup also issues ten single-use recovery codes, which stand in for the authenticator when a phone is lost or replaced.
Open WebUI encrypts each stored authenticator secret with a key derived from WEBUI_SECRET_KEY, or with MFA_ENCRYPTION_KEY when that variable is set. A container that generates its own secret key at startup gets a new one whenever it is re-created, and Open WebUI then refuses to start because the stored secrets no longer decrypt, so the key has to live in the container's configuration before any account enrolls. Sign-ins through OAuth or trusted headers need the authenticator too, unless an administrator explicitly lets them skip it.
Steps to enable multi-factor authentication in Open WebUI:
- Confirm that the open-webui container receives WEBUI_SECRET_KEY from its configuration.
$ docker exec open-webui sh -c \
    'test -n "$WEBUI_SECRET_KEY" && echo "key is set" ||
    echo "key is missing"'
key is set
If the check prints key is missing, set a fixed key with How to set WEBUI_SECRET_KEY in Open WebUI before continuing, because a re-created container would otherwise start with a different key. Once authenticators are stored, a different key stops Open WebUI from starting with Stored MFA secrets cannot be decrypted. When MFA_ENCRYPTION_KEY is set, that value protects the authenticator secrets instead and must stay unchanged in the same way.
The command prints only whether the key is present, never the key itself. The open-webui container name matches a standard installation, and a Docker Compose installation runs the same check through docker compose exec open-webui.
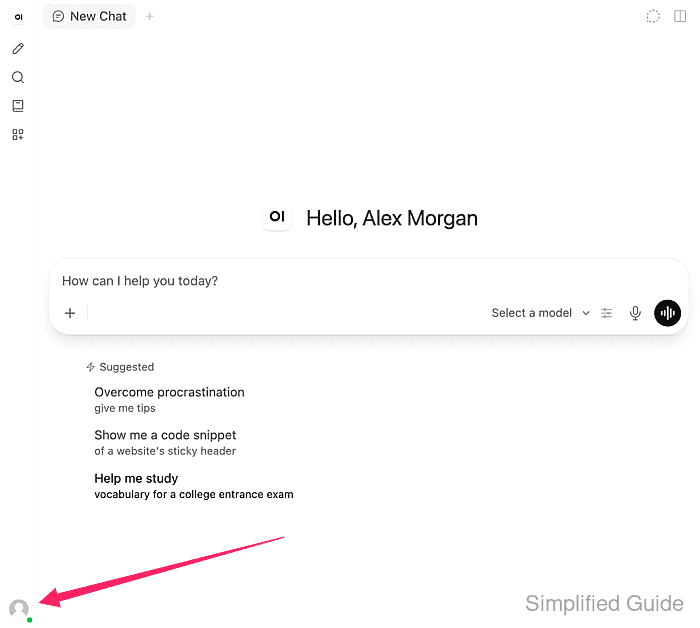
Related: How to run Open WebUI with Docker - Click the account avatar in the lower-left corner of the Open WebUI workspace while signed in as an administrator.
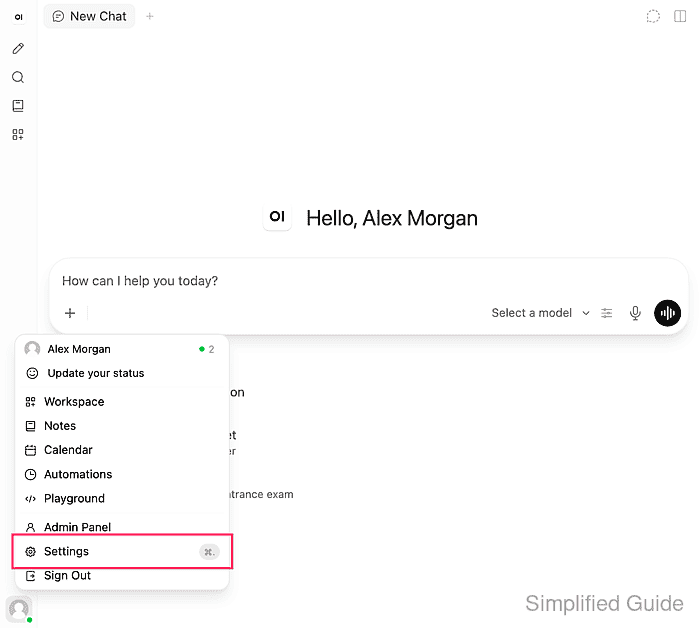
- Select Settings in the user menu.
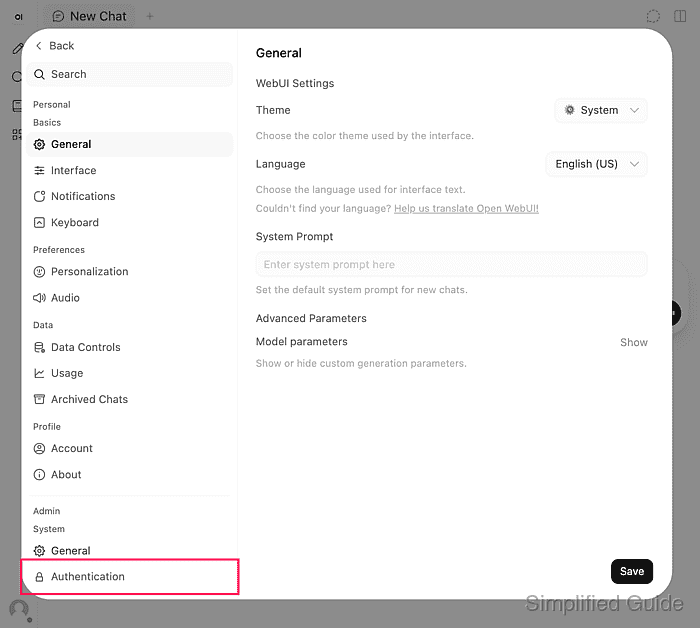
- Select Authentication under Admin in the settings sidebar.
- Turn on Require an authenticator for all users under Multi-factor authentication.
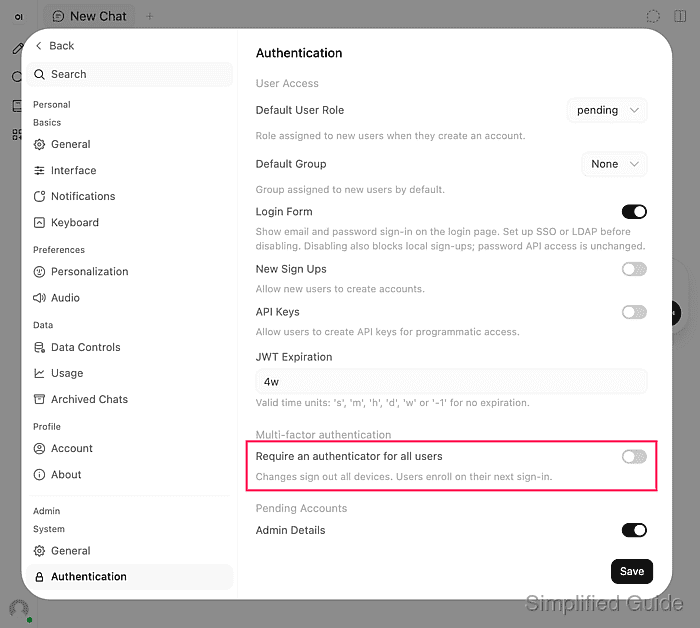
Saving this change signs out every session on every device, including the current one, and every account, the administrator's included, must set up an authenticator at its next sign-in. An authenticator app on a phone or in a password manager needs to be ready before the save.
Open WebUI stores this requirement in its database and enforces it only while ENABLE_PERSISTENT_CONFIG keeps its default of true. A container started with ENABLE_PERSISTENT_CONFIG=false lets every account sign in with a password alone and refuses the save with Unable to update MFA policy. Check configuration and retry. Adding ENABLE_MFA=true to that configuration does not restore the requirement, because Open WebUI then stops at startup with MFA requires authentication and persistent configuration.
The Multi-factor authentication section exists in Open WebUI 0.12.0 and later releases.
Related: How to update Open WebUI in Docker - Click Save.
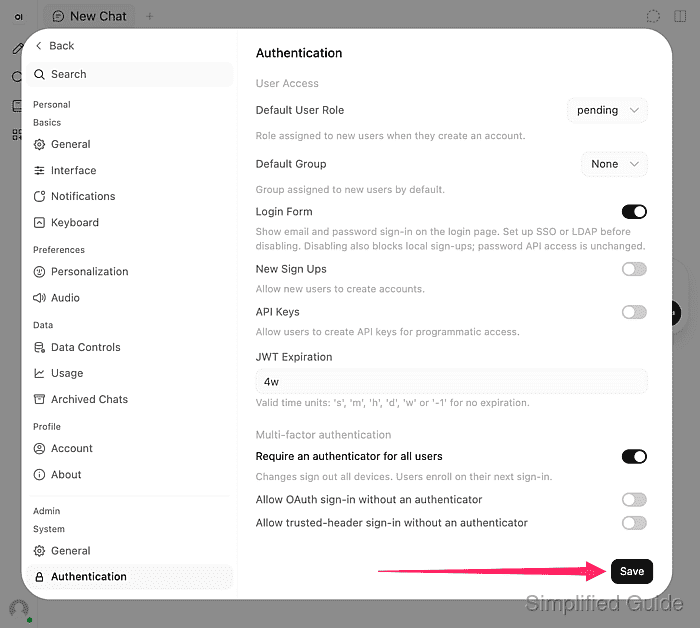
Two more switches, Allow OAuth sign-in without an authenticator and Allow trusted-header sign-in without an authenticator, appear once the requirement is on. Both stay off by default, so single sign-on and trusted-header accounts also need the authenticator.
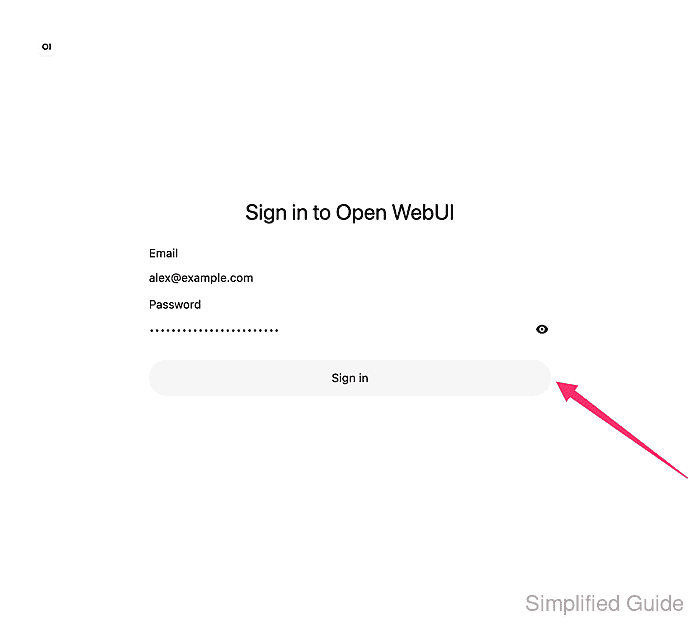
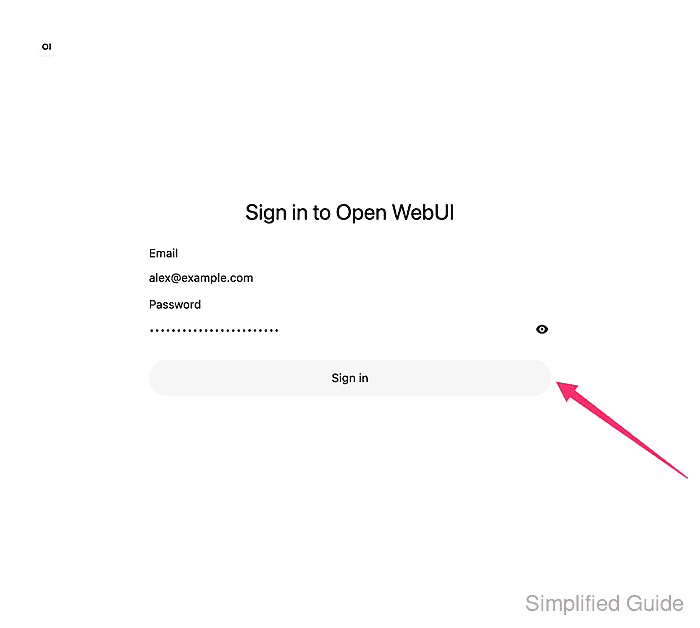
- Enter the administrator's email address in Email on the sign-in page that replaces the workspace.
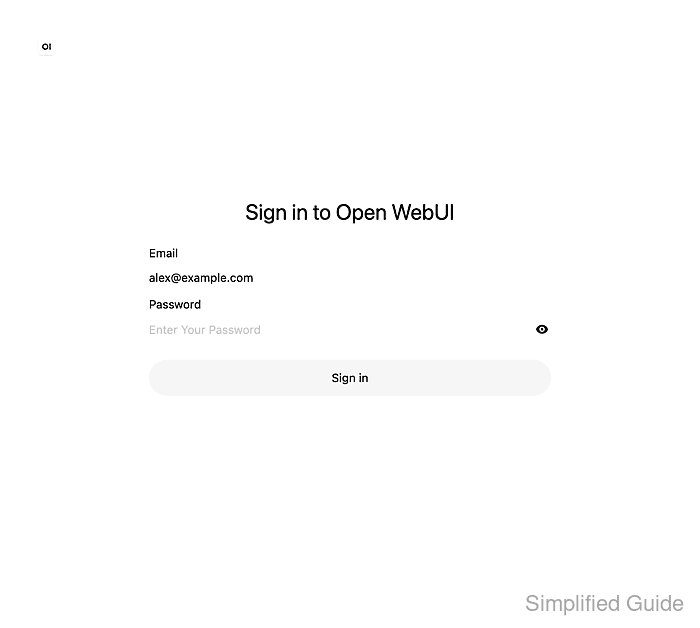
The sign-in page appears as soon as the save finishes because the change ended the session.
- Enter the administrator's password in Password.
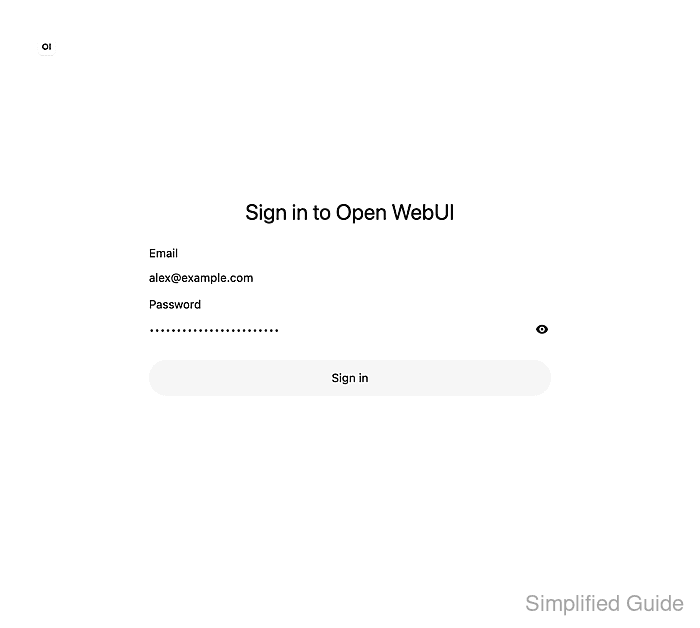
- Click Sign in.
- Scan the QR code under Set up your authenticator with the authenticator app.
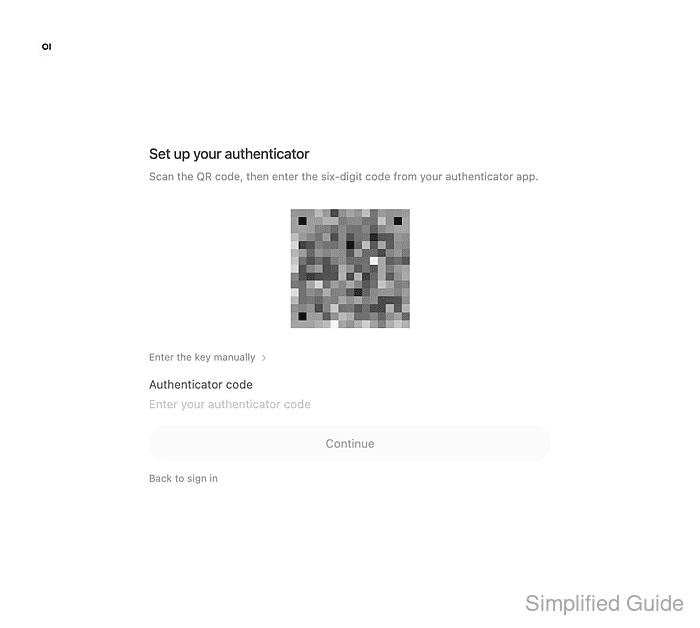
The QR code holds the account's authenticator secret and must stay out of screenshots, chat messages and support tickets. The same secret appears as a 32-character key under Enter the key manually for apps without a camera, and the app lists the new entry as Open WebUI with the account's email address.
- Enter the current six-digit code for Open WebUI from the app in Authenticator code.
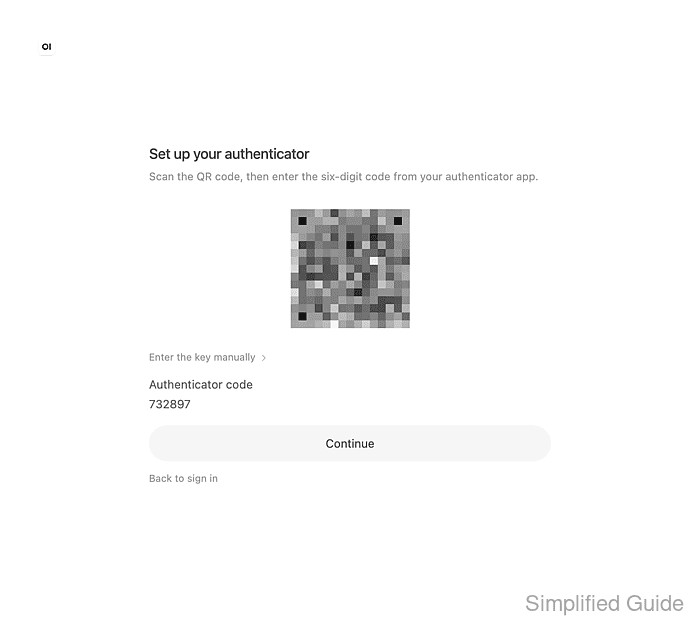
- Click Continue.
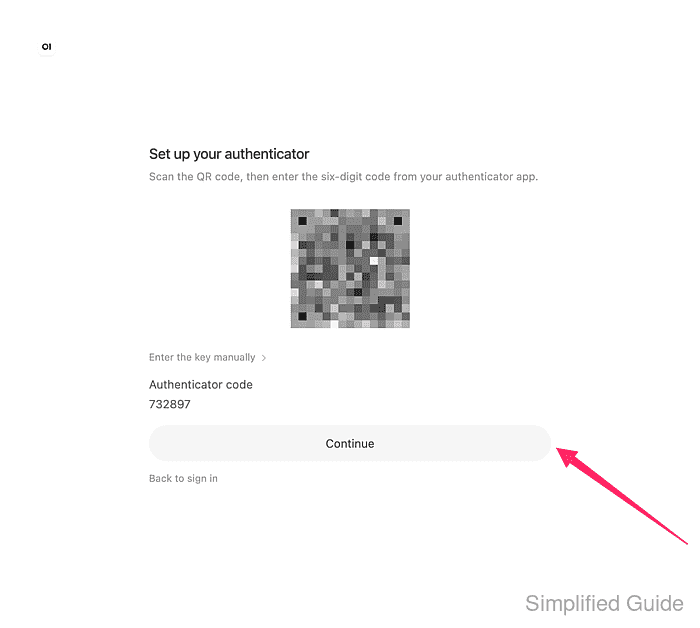
A mistyped or expired code is rejected with Invalid code. Check your authenticator and try again. Codes change every 30 seconds, so the phone and the server need clocks that agree to within about half a minute.
- Click Download recovery codes under Save your recovery codes.
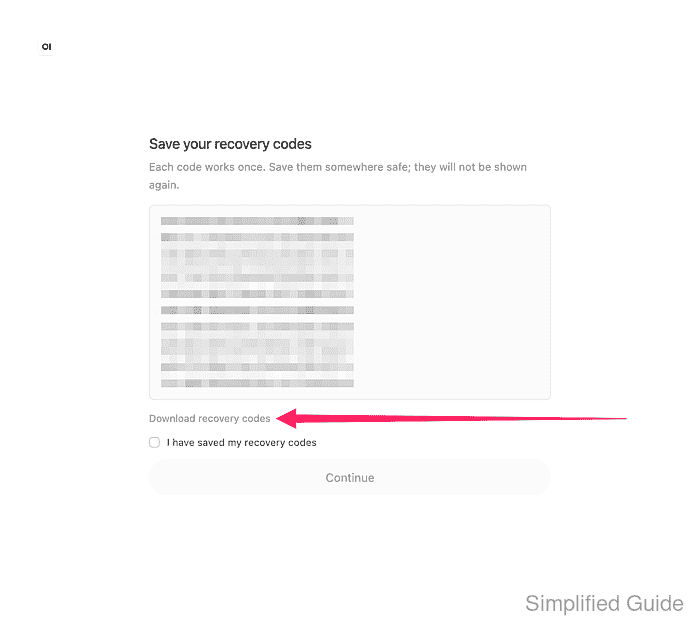
The browser saves recovery-codes.txt with ten codes, and Open WebUI never shows them again. Each code replaces an authenticator code for one sign-in through Use a recovery code, so the file belongs in a password manager or other private storage that is not on the phone running the authenticator.
If a user has lost both the authenticator and the recovery codes, an administrator on the Docker host can issue a one-time recovery token after confirming the user's identity.
$ docker exec open-webui \
    python -c 'from open_webui import app; app()' \
    mfa reset sam@example.com --reason "Lost phone"
##### snipped #####
Recovery token (expires in 30 minutes; deliver securely to the verified user):
<recovery-token>
The reset signs that user out everywhere, and at the next sign-in Recover your authenticator asks for the token before a new authenticator is set up. The Docker image has no open-webui command, so the reset runs through python inside the container.
- Select the I have saved my recovery codes checkbox.
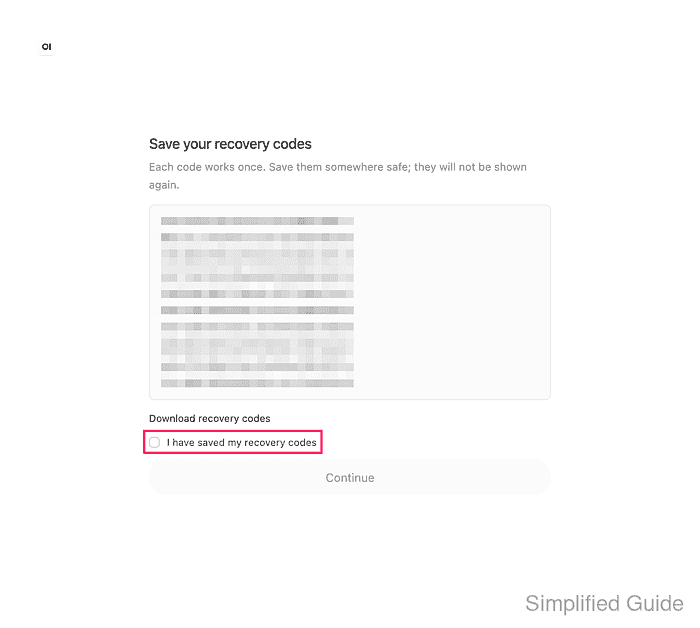
The Continue button stays unavailable until the box is selected.
- Click Continue.
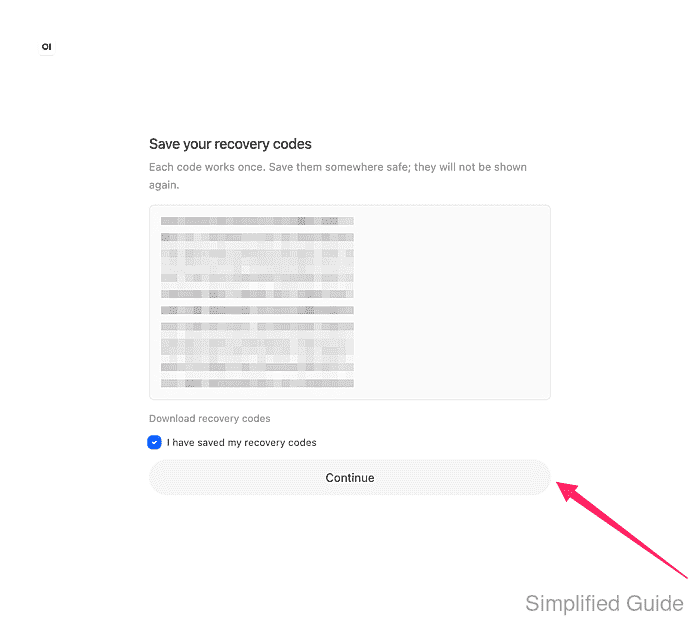
- Click the account avatar in the lower-left corner of the workspace that opens after setup.
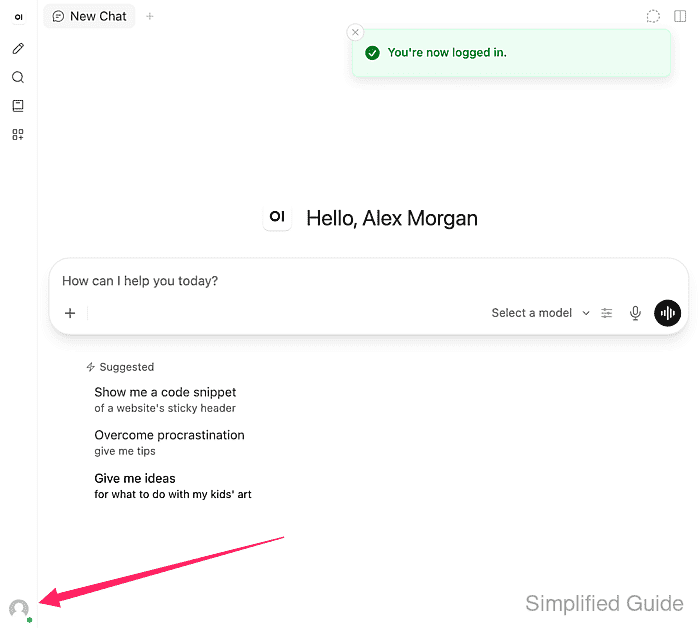
You're now logged in. confirms that the authenticator is set up for the account.
- Select Sign Out in the user menu.
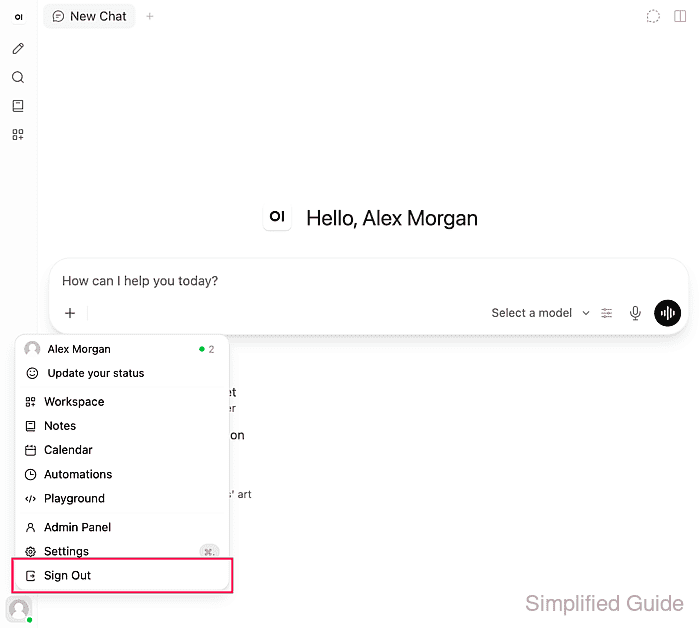
- Sign in again with the administrator's email address and password.
- Enter a new code from the authenticator app in Authenticator code under Verify your sign-in.
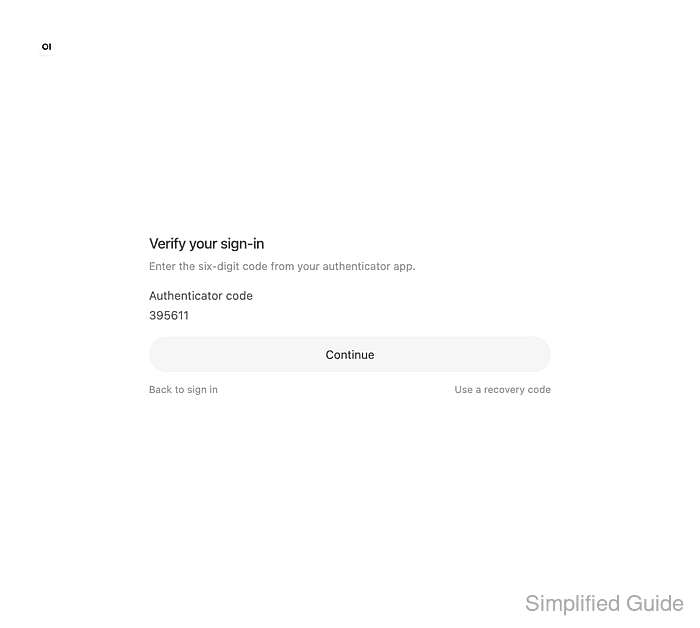
The code used during setup is refused here, so the app must show a new code first. A wrong or reused code returns Invalid or already used code., and Use a recovery code accepts one saved recovery code instead.
- Click Continue.
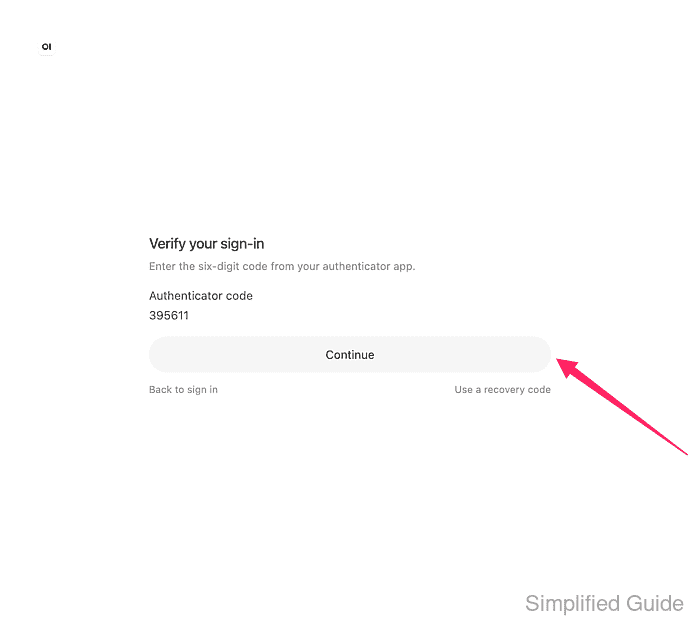
- Confirm that the chat workspace opens with You're now logged in. after the code is accepted.
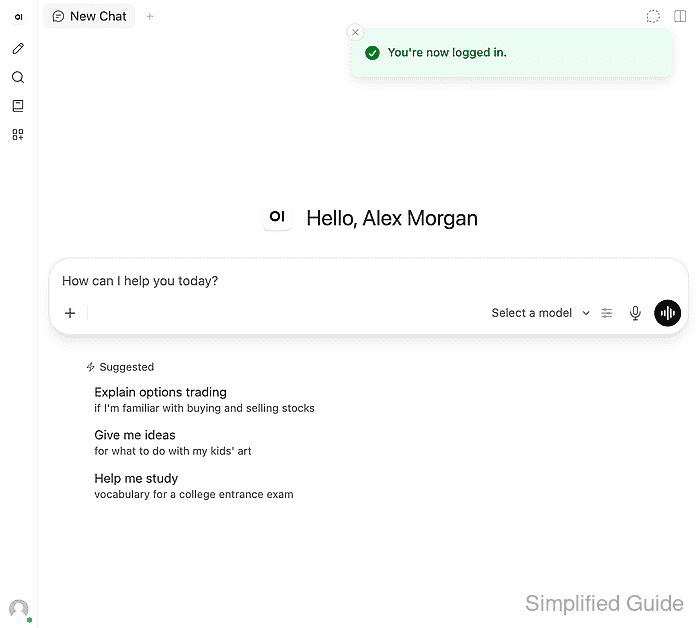
The password alone no longer opens the workspace for this account. Every other user meets Set up your authenticator at their next sign-in and goes through the same setup.