File Explorer can leave rarely used items out of everyday folder views without deleting them. The Hidden attribute lets you hide files and folders in Windows while keeping their contents on disk.

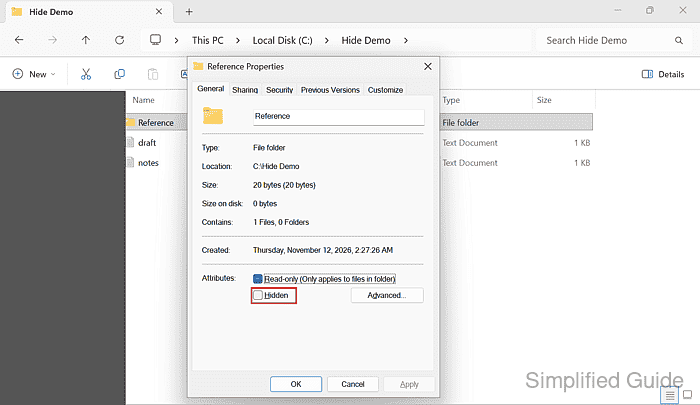
The same Hidden checkbox applies to individual files and folders. A folder also offers a choice between hiding the folder itself and marking everything inside it as hidden; hiding only the folder leaves its contents' attributes unchanged.
Hidden items are not password-protected or encrypted, and anyone with access can reveal them again. File Explorer must have hidden-item display turned off for them to disappear from the normal listing.
Steps to hide files and folders in Windows:
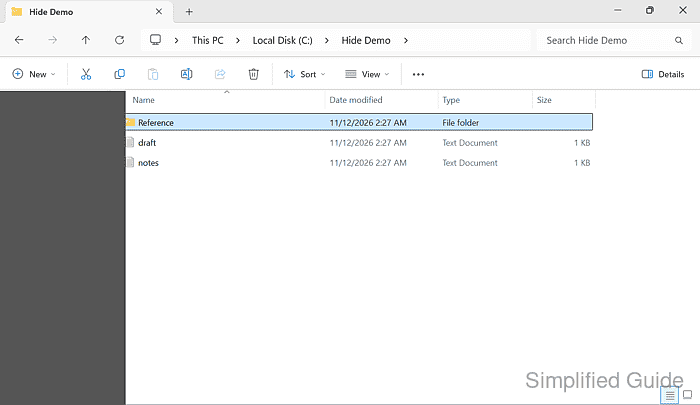
- Select the file or folder to hide in File Explorer.
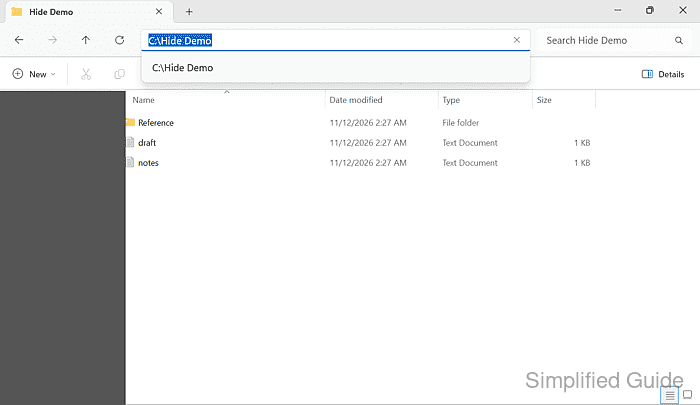
Windows + E opens File Explorer; the selection belongs in the folder that contains the item.
- Open the selected item's Properties with Alt + Enter.
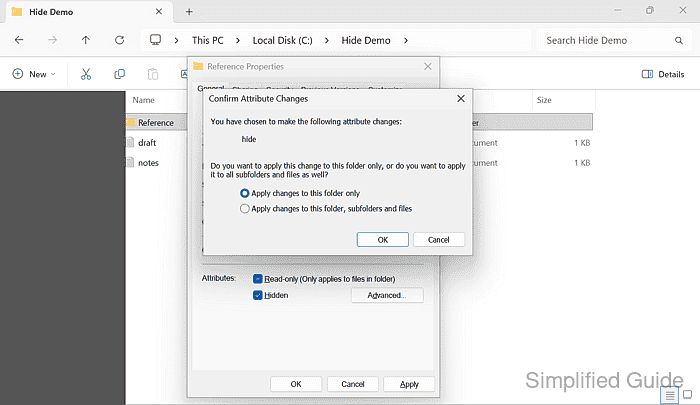
- Check Hidden on the General tab.
- Click OK to save the attribute change.
- Select Apply changes to this folder only if Confirm Attribute Changes appears.
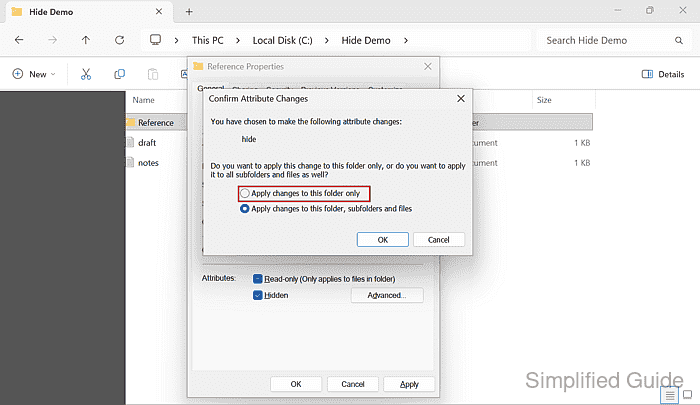
The other option also marks all subfolders and files as hidden, which can make them harder to find individually later.
A single file has no folder-scope confirmation.
- Click OK in the folder confirmation dialog if it appears.
- Open View in File Explorer.
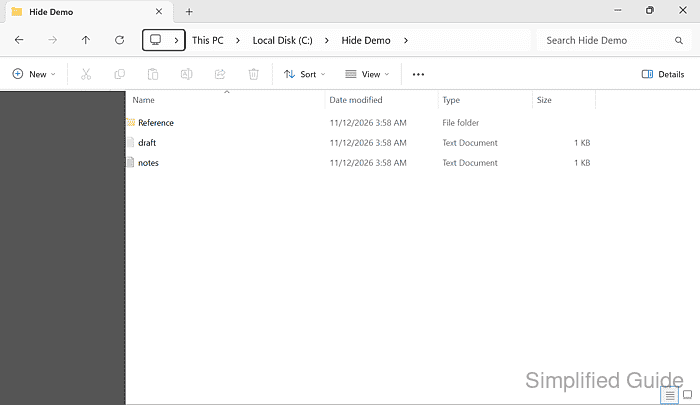
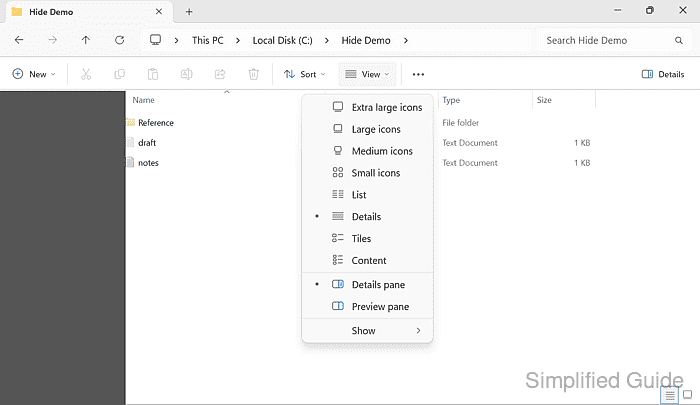
The menu pictures show Windows 11; Windows 10 has a Hidden items checkbox directly on its View tab.
- Open the Show submenu on Windows 11.
- Clear Hidden items if it is checked.
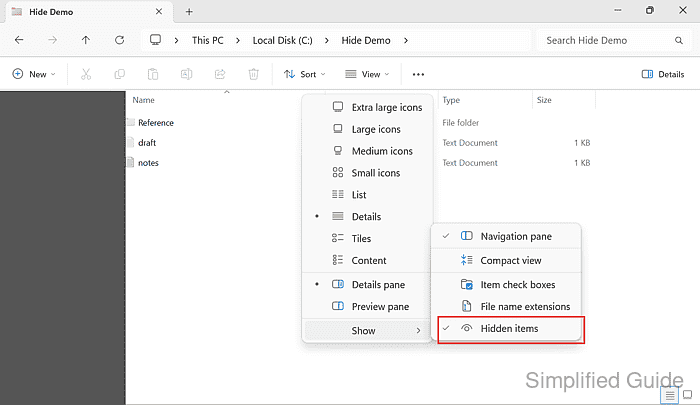
If hidden-item display is already off, the newly hidden item disappears as soon as its attribute change is saved.
- Refresh the containing folder with F5.
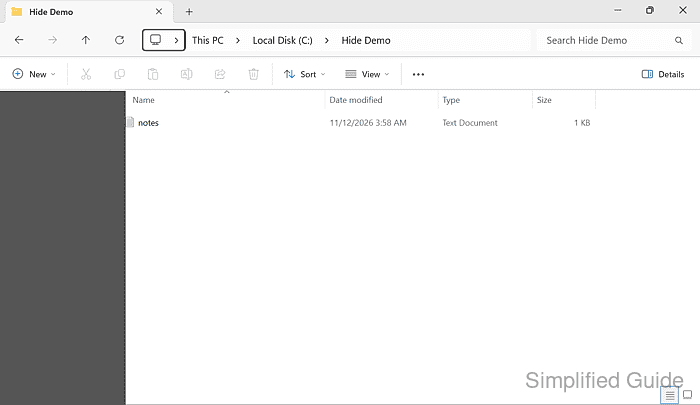
- Confirm the hidden file or folder no longer appears in the listing.
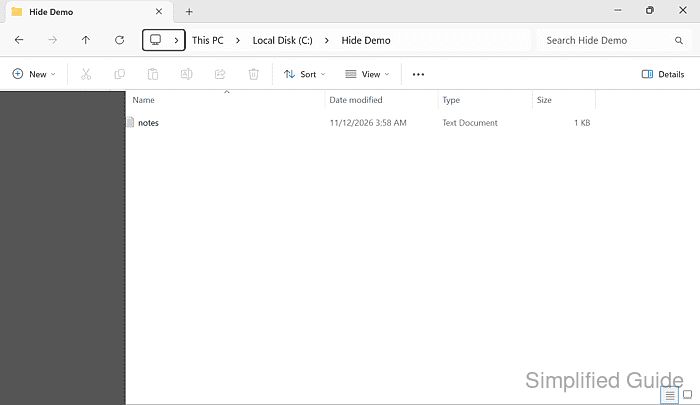
The hidden Reference folder and draft file are absent, while notes remains visible.
For recovery, enabling Hidden items reveals the item again; clearing its Hidden property makes it visible in ordinary views.