Code signing is a security measure that verifies the authenticity and integrity of software. On macOS, using a certificate from a trusted Certificate Authority (CA) is essential to ensure that the software comes from a verified source and hasn't been tampered with. This process establishes trust between the software provider and the end-user.
macOS includes built-in tools that allow developers to create and manage these certificates. While it's possible to create self-signed certificates for local testing, distributing software to a broader audience requires a certificate from a recognized public CA. Alternatively, an organization can create an in-house CA for private software distributions.
Creating a Certificate Authority (CA) on macOS involves using the Keychain Access application. This tool lets you create a CA, generate a code signing certificate, and then sign that certificate. This setup is especially useful for internal software distributions or when a public CA is not necessary.
Steps to create a certificate authority for code signing using Keychain Access:
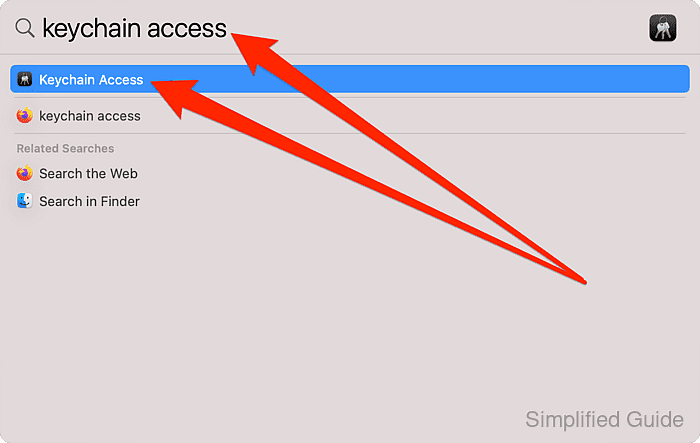
- Launch Keychain Access.
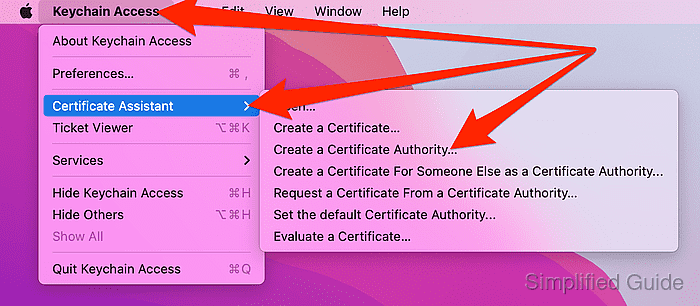
- Go to Keychain Access → Certificate Assistant → Create a Certificate Authority from the menu bar.
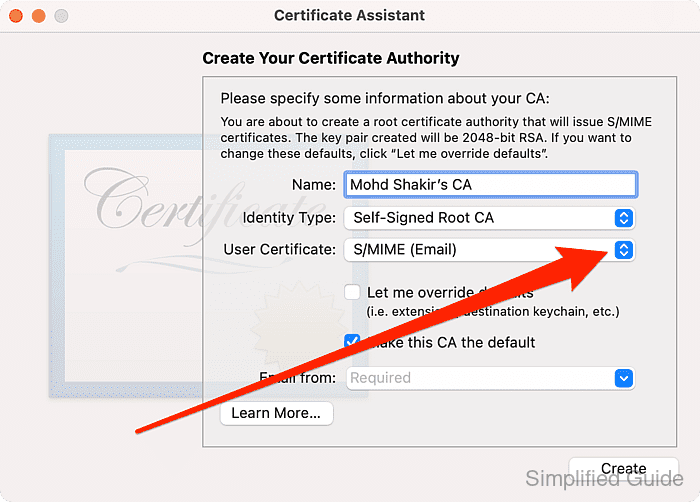
- Set a name for your CA.
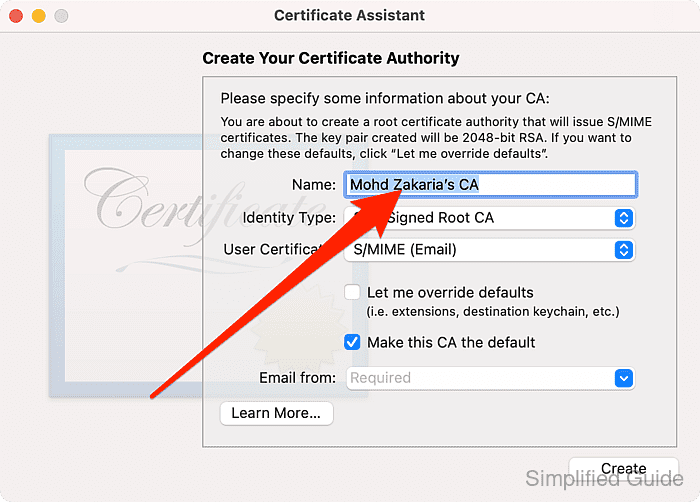
- Click on User Certificate select list.
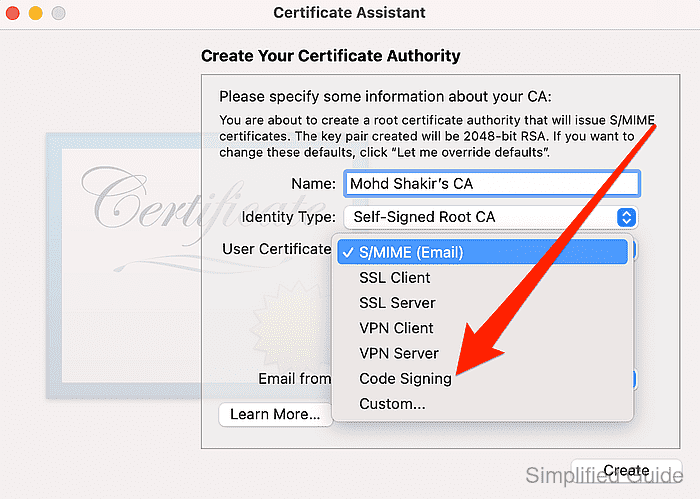
- Select Code Signing from the list.
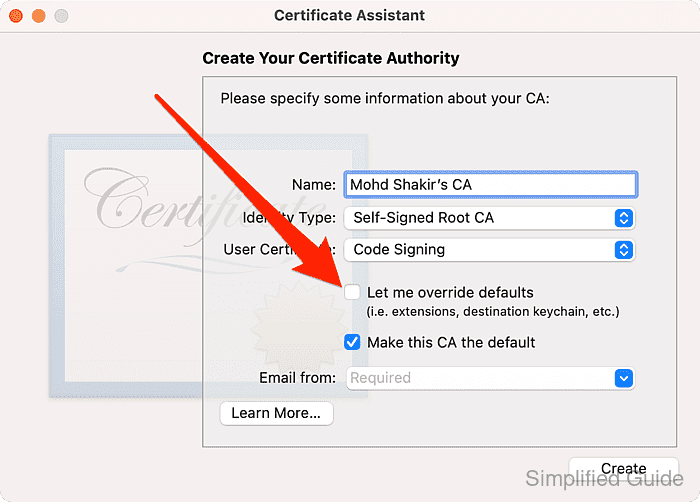
- Check on Let me override defaults checkbox.
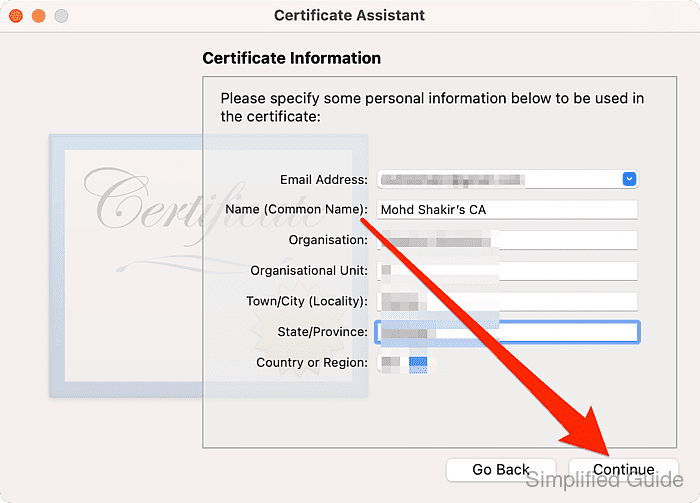
- Enter the email address for your CA.
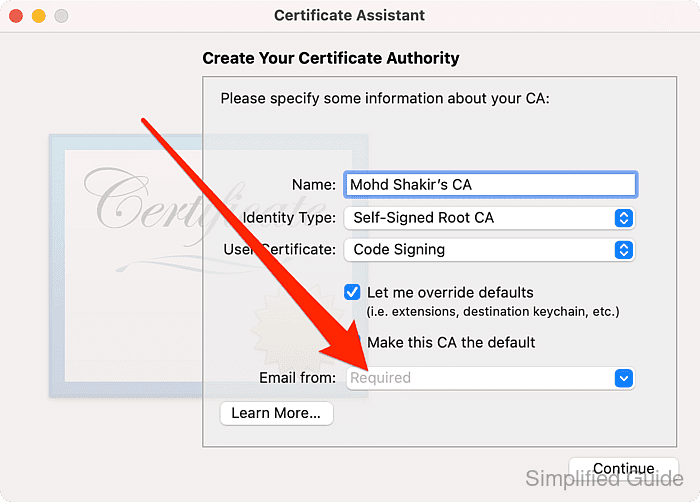
- Click on Continue.

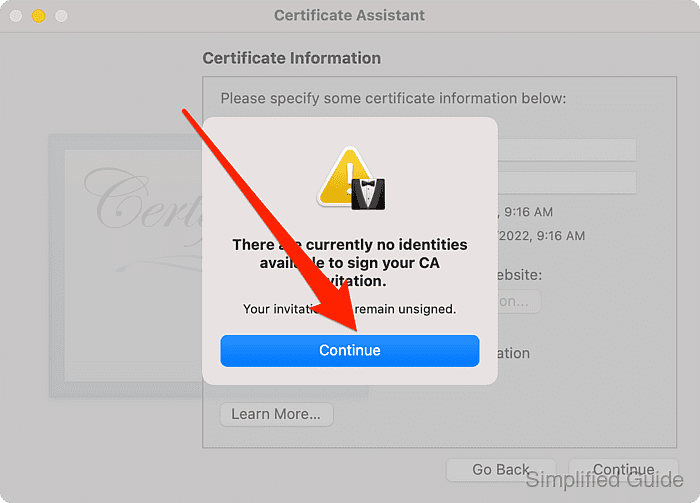
Click Continue if you encounter this warning.
 Related : How to create a code signing certificate in macOS
- Accept defaults for Certificate Information and click Continue.
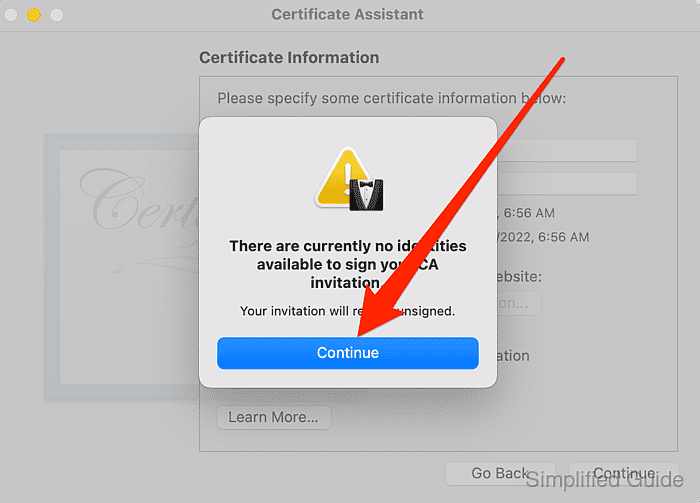
Click Continue if you encounter this warning.
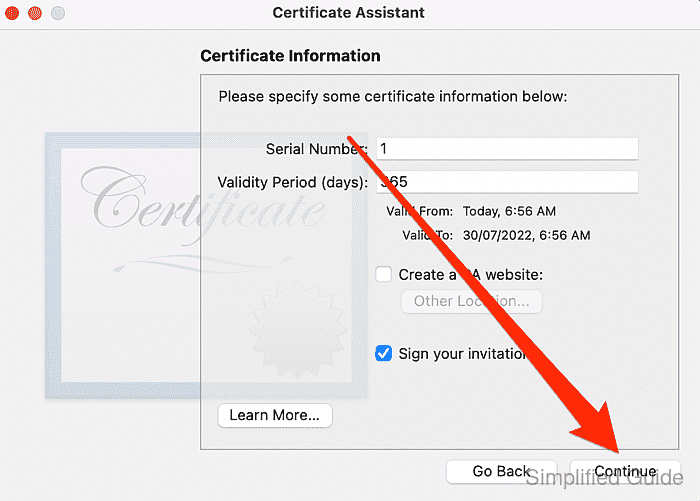
- Enter certificate information and click Continue.
- Accept defaults for Key Pair Information For This CA and click Continue.
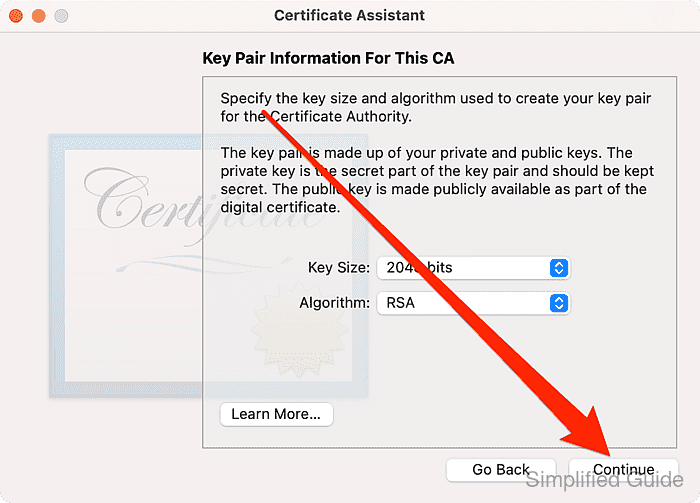
- Accept defaults for Key Pair Information For Users of This CA and click Continue.

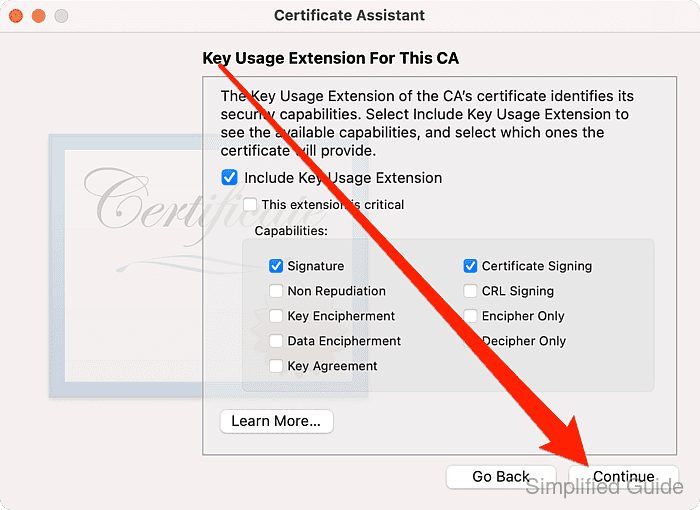
- Accept defaults for Key Usage Extensions For This CA and click Continue.
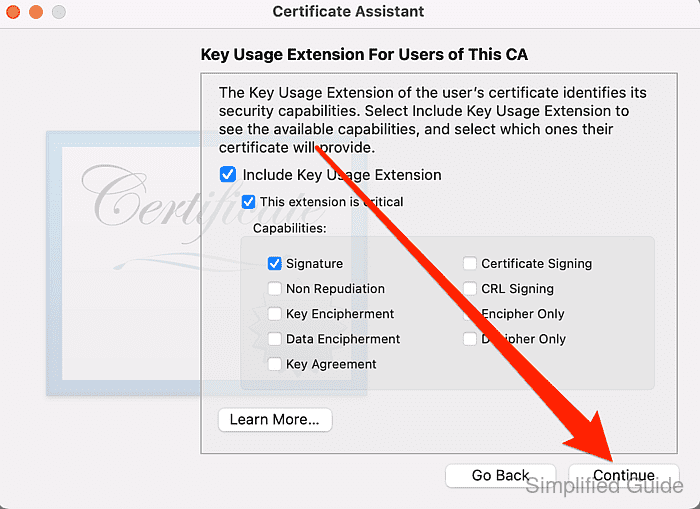
- Accept defaults for Key Usage Extensions For Users of This CA and click Continue.
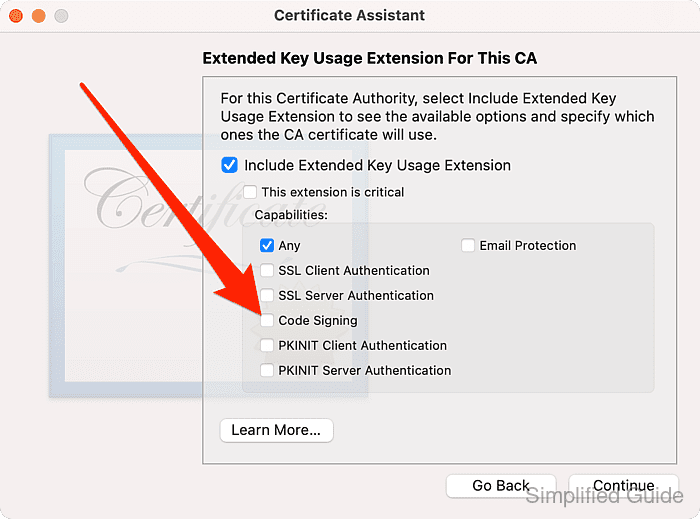
- Click on Include Extended Key Usage Extension.
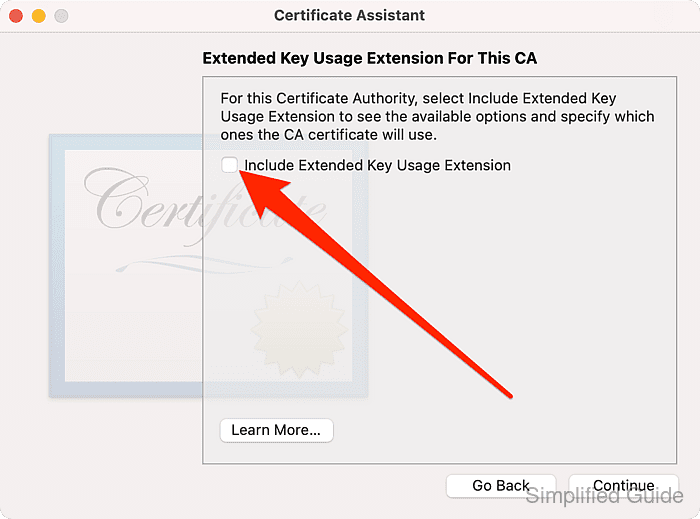
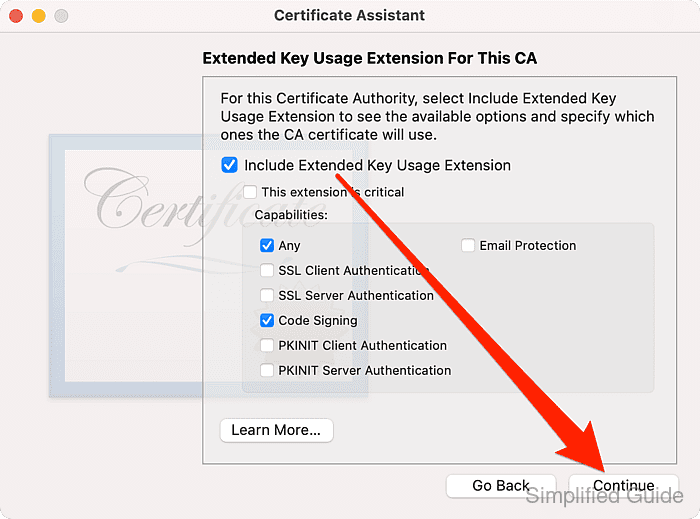
- Click to check the Code Signing checkbox.
- Click Continue.
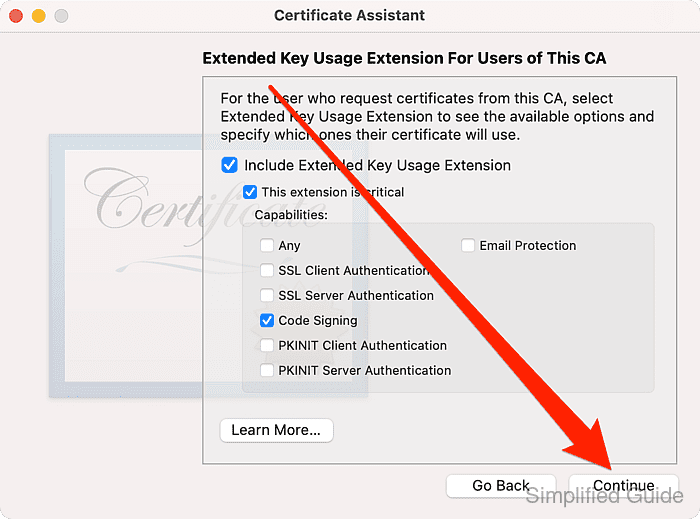
- Accept defaults for Extended Key Usage Extensions For Users of This CA and click Continue.
- Accept defaults for Basic Constraints Extension For This CA and click Continue.

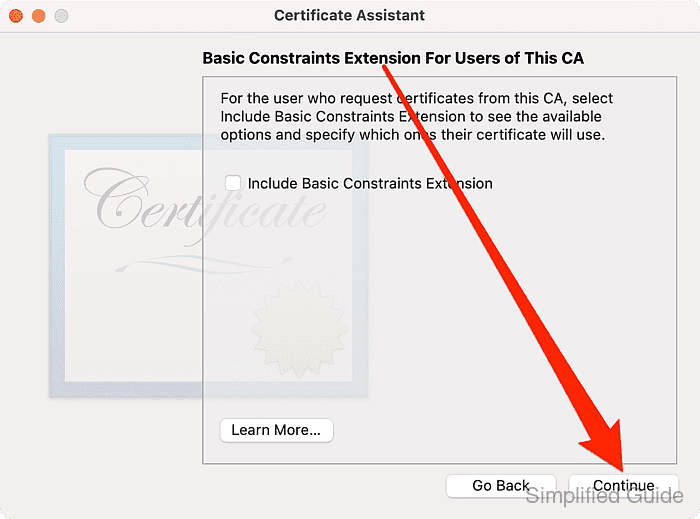
- Accept defaults for Basic Constraints Extension For Users of This CA and click Continue.
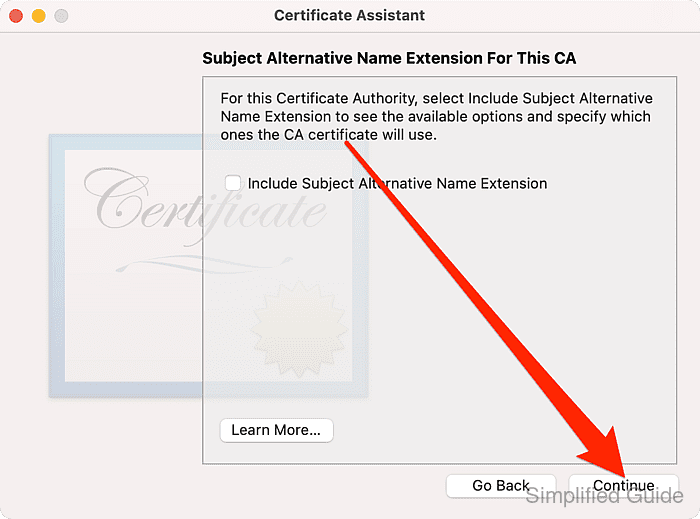
- Accept defaults for Subject Alternative Name For This CA and click Continue.
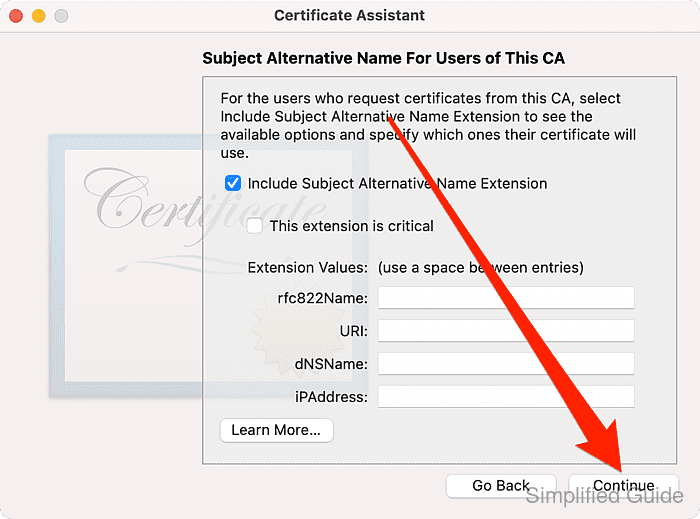
- Accept defaults for Subject Alternative Name for Users of This CA and click Continue.
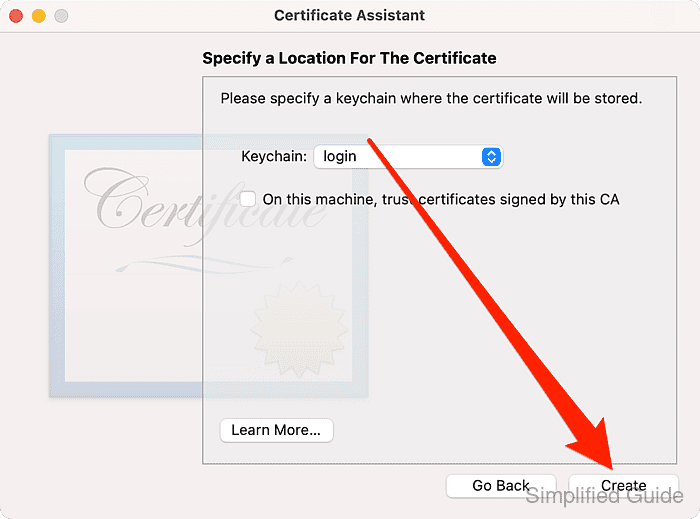
- Click Create to create the CA.
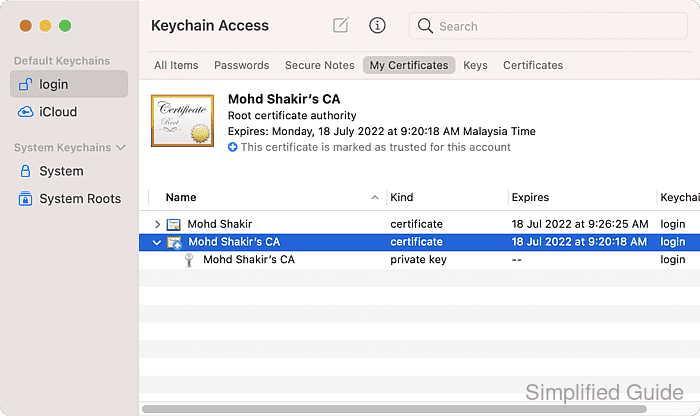
- Close the Certificate Assistant window and open Keychain Access.
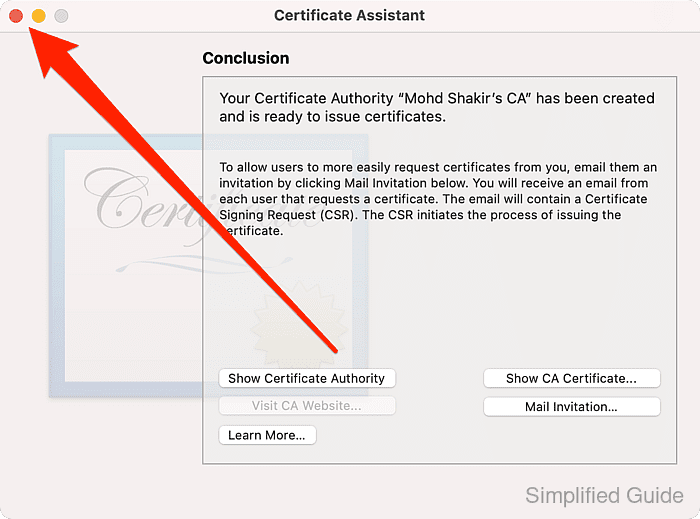
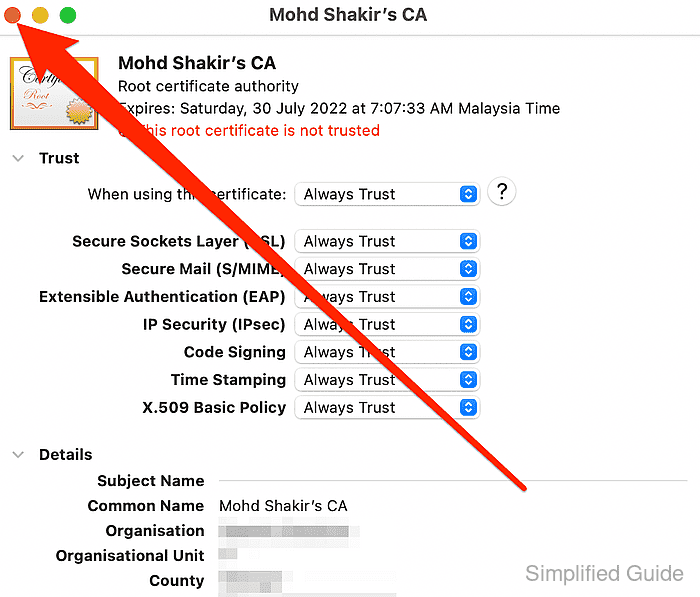
- Double click on your newly created CA in login → My Certificates.
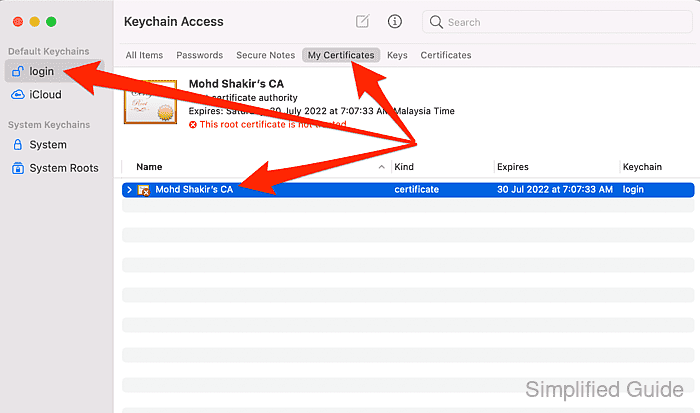
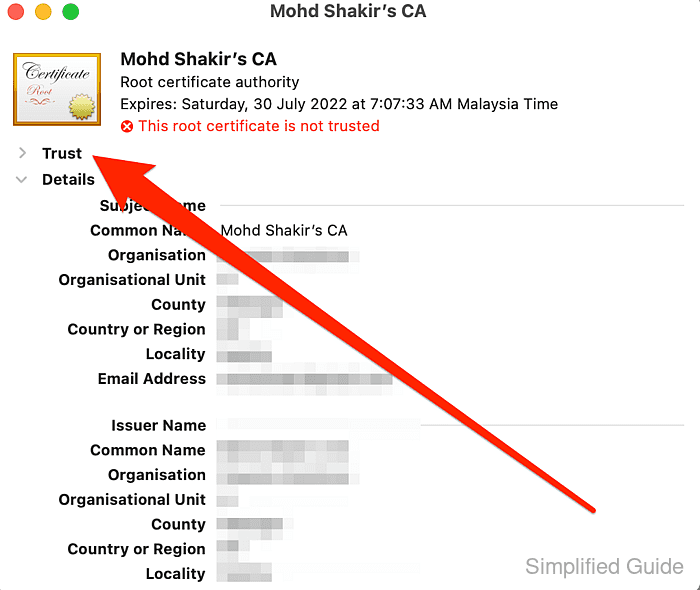
- Click on Trust.
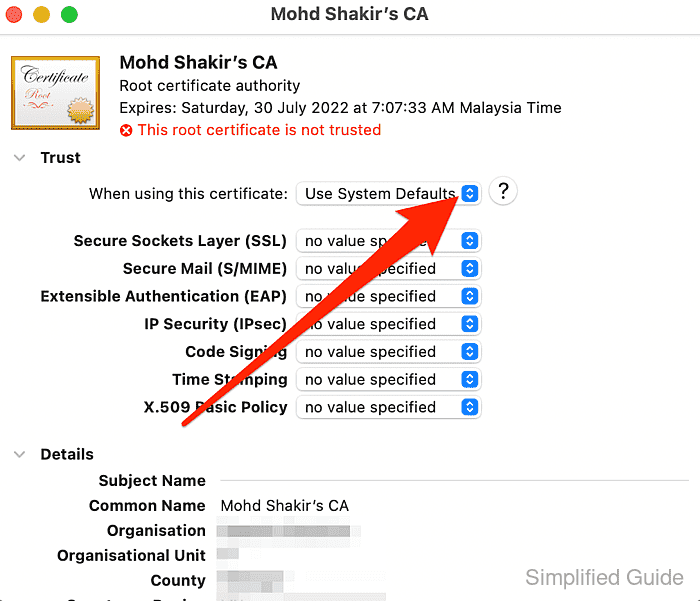
- Click on When using this certificate select list.
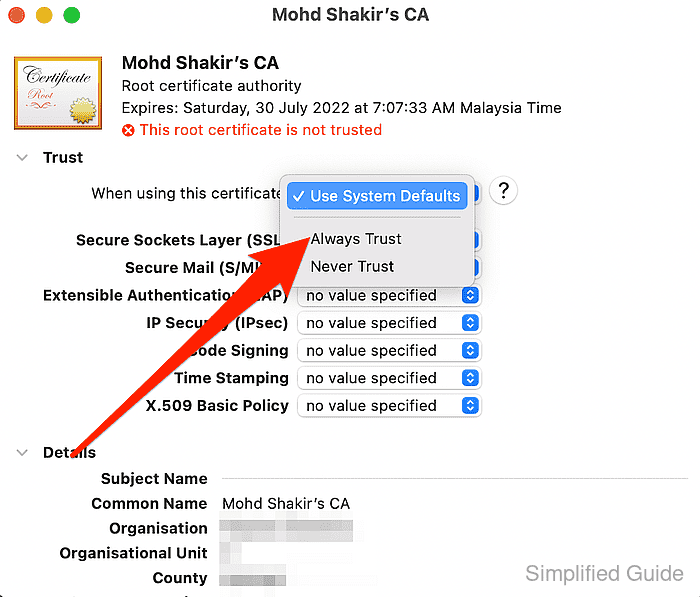
- Click on Always trust.
- Close the CA information window.
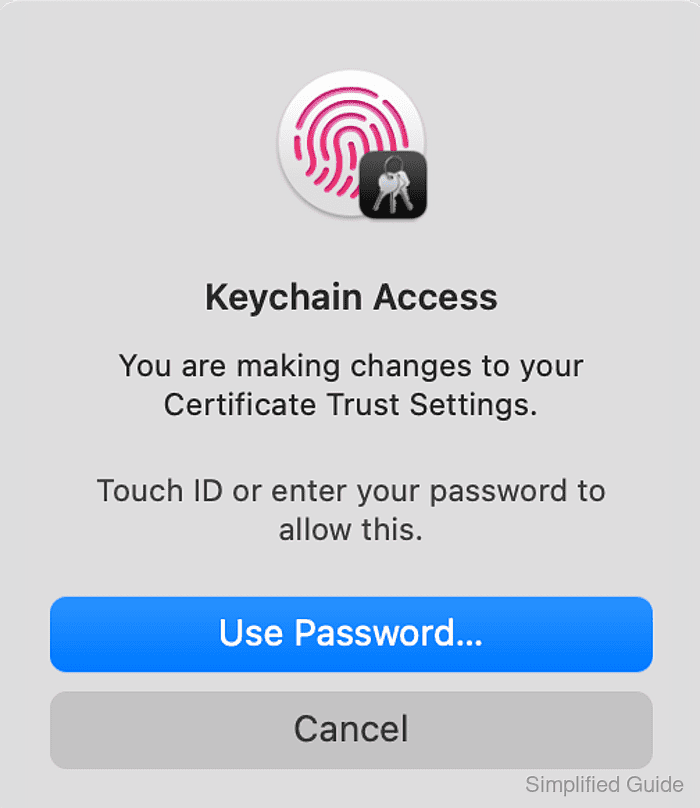
- Authenticate to the system to enable your changes.

Mohd Shakir Zakaria is a cloud architect with deep roots in software development and open-source advocacy. Certified in AWS, Red Hat, VMware, ITIL, and Linux, he specializes in designing and managing robust cloud and on-premises infrastructures.


