Screen resolution affects the clarity and size of content on a macOS display. Adjusting this setting can make text and images larger or smaller, depending on your needs. Lower resolutions enlarge content, while higher resolutions increase the amount of visible content with sharper details.
In macOS, this adjustment is often referred to as display scaling. Display scaling is especially useful on high-resolution displays like Retina screens. It allows you to control the size of text, apps, and other items on your screen without losing visual quality.
Changing screen resolution or display scaling on a Mac is a straightforward process. You can easily make these adjustments through the System Preferences app. This allows you to customize the display to match your specific preferences.
Steps to change screen resolution in macOS:
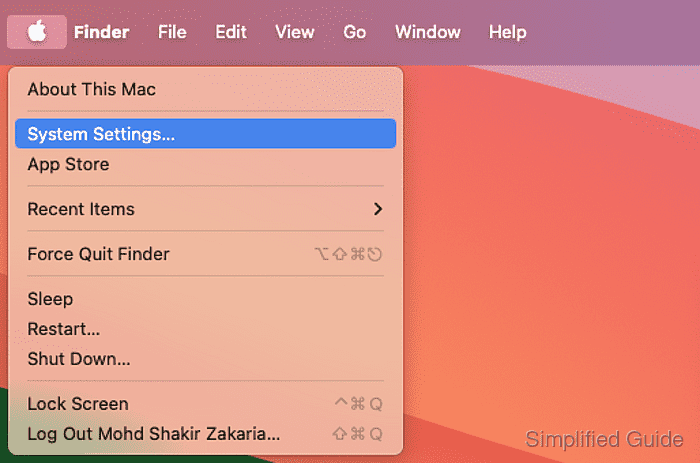
- Open System Preferences from the Apple menu at the top left of the screen.
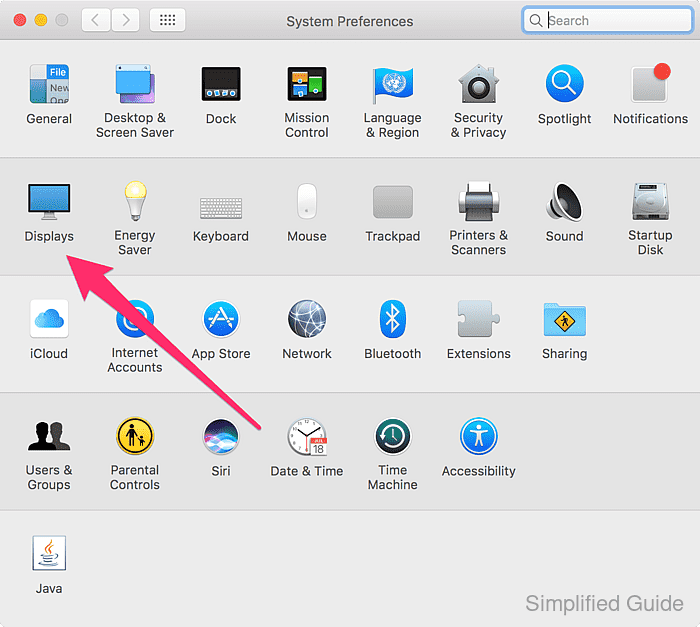
- Click on Displays.
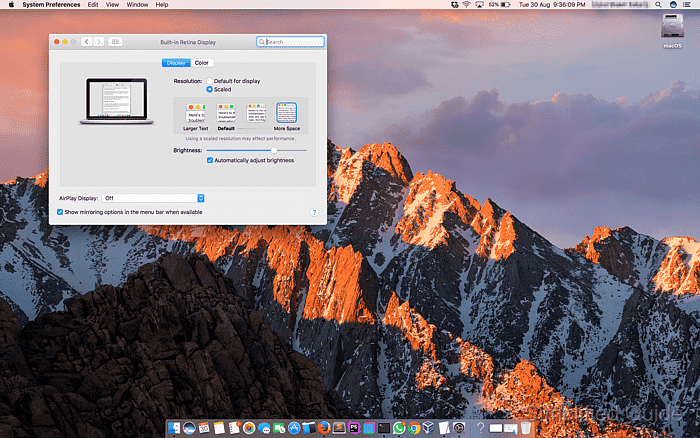
- Select the Display tab if it's not already active.
- Click on Scaled in the Resolution section.

- Choose your preferred scaled resolution.
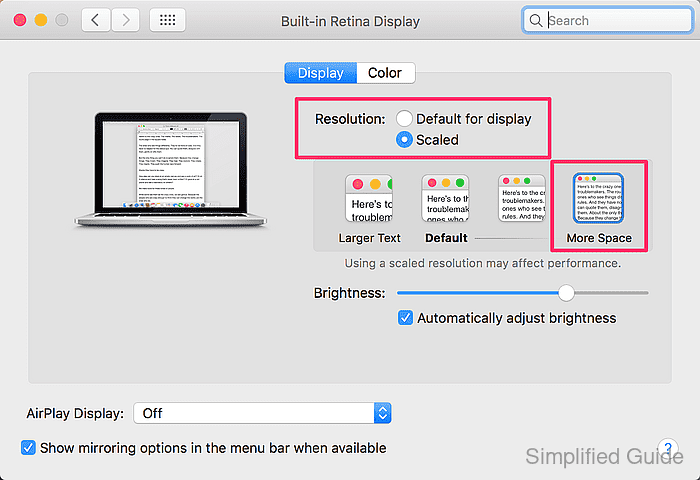
You will see options ranging from Larger Text to More Space. Click on one of the options to preview the changes. The further you move towards More Space, the smaller items will appear, providing more workspace. Conversely, moving towards Larger Text makes items appear bigger and more legible.
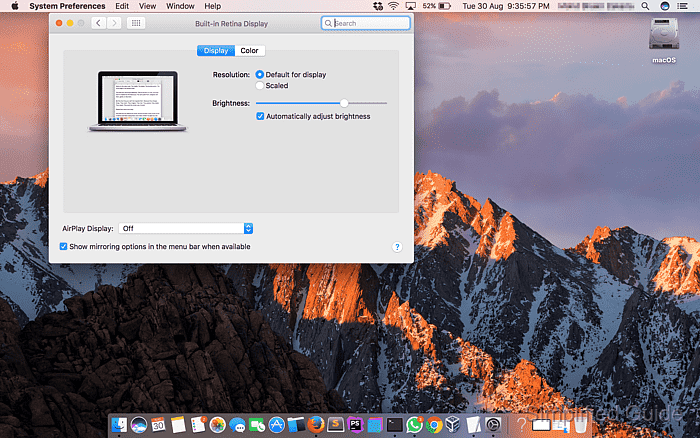
- Below is a comparison between the default resolution and when selecting More Space option.

Mohd Shakir Zakaria is a cloud architect with deep roots in software development and open-source advocacy. Certified in AWS, Red Hat, VMware, ITIL, and Linux, he specializes in designing and managing robust cloud and on-premises infrastructures.


