Changing the hostname on a macOS system allows you to assign a unique name to your device within a network. By default, macOS gives your device a generic name like MacBook-Pro. Customizing the hostname is important if you have multiple Mac devices on the same network.
There are two primary methods to change the hostname in macOS. You can do it through System Preferences for a graphical approach or use the Terminal for a more direct method. Both methods will effectively update your machine’s identity on the network.
For IT professionals, using the Terminal to change the hostname provides more control and can be useful for scripting. Whether you prefer the System Preferences or the Terminal, updating the hostname is a simple process.
Methods to change hostname in macOS:
Change Hostname in macOS via System Preferences
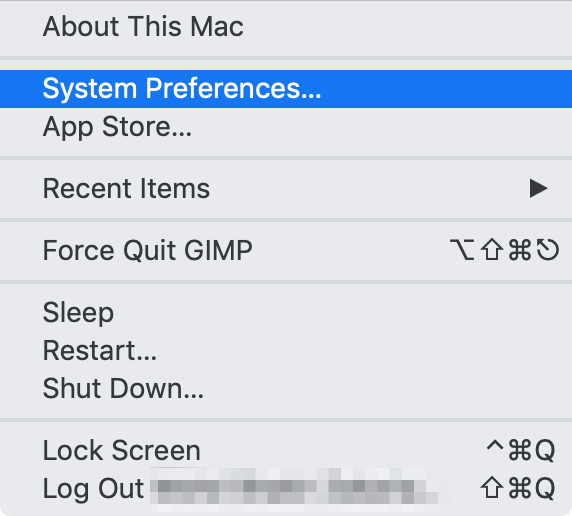
- Open System Preferences from the Apple menu.
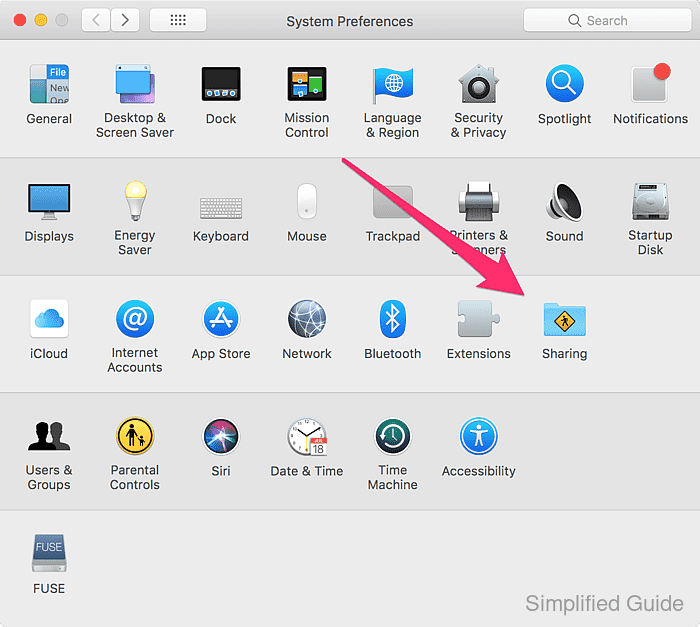
- Click on the Sharing icon.
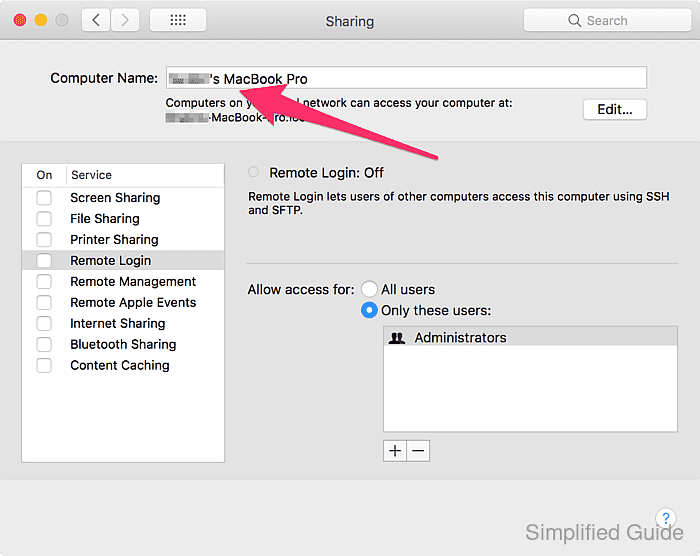
- Type in your desired hostname under the Computer Name field.
- Close the Sharing window for the changes to take effect.
Change Hostname in macOS via terminal
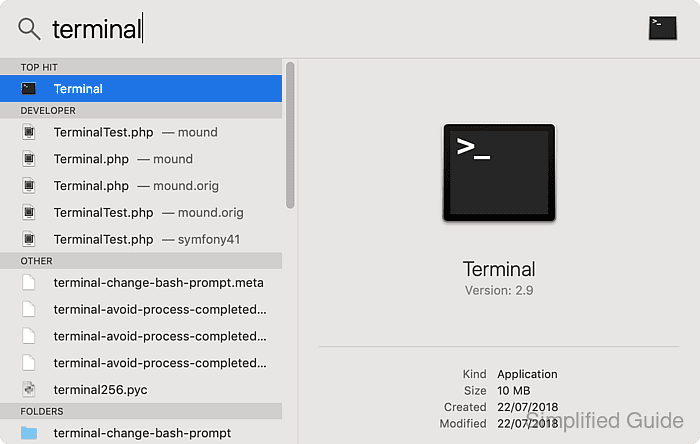
- Launch the Terminal application using Spotlight.
- Set new hostname via scutil using sudo.
$ sudo scutil --set HostName newhostname
- Confirm the change by checking the current hostname in the Terminal.
$ hostname
newhostname
- Close the Terminal.


Mohd Shakir Zakaria is a cloud architect with deep roots in software development and open-source advocacy. Certified in AWS, Red Hat, VMware, ITIL, and Linux, he specializes in designing and managing robust cloud and on-premises infrastructures.


