Managing user accounts in Kubuntu is essential for multi-user systems and controlled environments. It isolates individual configurations, maintains data privacy, and enforces security boundaries. Each account operates under separate permissions to protect important resources on the system.
Adding a user in KDE involves creating a unique identity with its own home directory and configuration files. A corresponding user identifier (UID) is registered in core files such as /etc/passwd, and a separate entry is placed in /etc/shadow to store the password hash. Assigning correct permissions ensures that resources are allocated securely.
When creating a new account through the KDE graphical interface, Kubuntu updates relevant system files and sets default environment variables automatically. This process also creates an associated group entry in /etc/group, simplifying resource sharing and file ownership. Consistent user management on a shared system prevents conflicts and ensures that each account is properly isolated from others.
Related: How to create a user in Linux
Steps to add new user in Kubuntu (KDE):
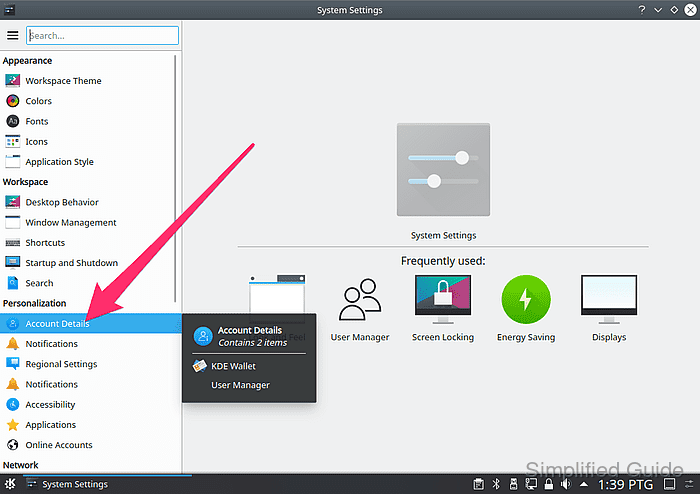
- Open System Settings from the Application Launcher.

- Select the Users panel in the left sidebar.
- Click the Add New User button.

- Enter the desired username, full name, and password.

- Choose account type and privileges from the drop-down menu of Account type option.

- Click Create to create the specified user.

- Authenticate the changes by entering your administrator password when prompted.

This requires your user to have administrator privilege in the system.
- Click OK to confirm your password.

- Verify the new account appears in the user list.

Tested on Kubuntu:
| Version | Code Name |
|---|---|
| 24.04 LTS | Noble Numbat |

Mohd Shakir Zakaria is a cloud architect with deep roots in software development and open-source advocacy. Certified in AWS, Red Hat, VMware, ITIL, and Linux, he specializes in designing and managing robust cloud and on-premises infrastructures.


