A still screenshot cannot show a sequence of taps. Screen recording on an iPhone or iPad saves that onscreen activity as a video in Photos.
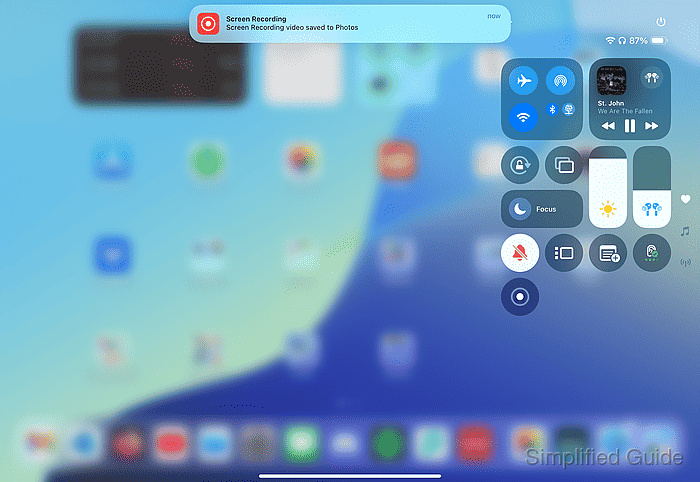
The built-in recorder is available through Control Center without a separate screen recorder app. It can capture app sound when the app permits it, while the separate Microphone option adds your voice or other sounds around you.
A recording can include private messages and notification banners that appear onscreen. Some apps block audio or video recording, and screen recording cannot run at the same time as screen mirroring.
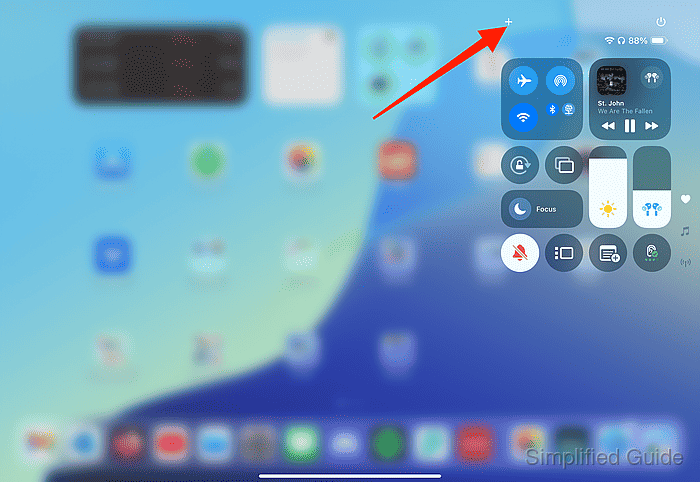
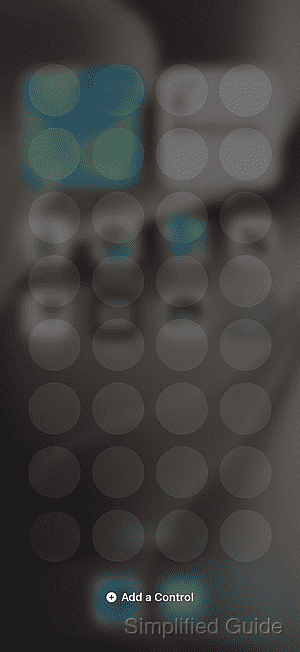
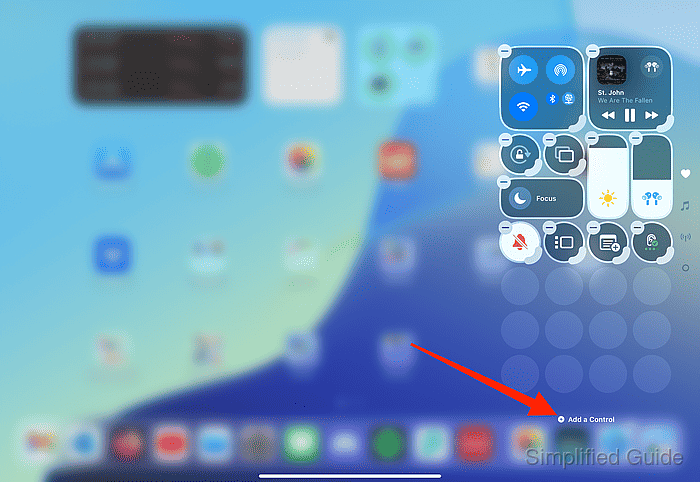
The iPad pictures show an older layout; the route is the same on iOS 27 and iPadOS 27. The iPhone pictures show Control Center empty, while yours shows your own controls.
Steps to screen record on iPhone and iPad:
- Swipe down from the top-right corner of the screen to open Control Center.
On an iPhone with a Home button, swipe up from the bottom edge instead. If Screen Recording is already present, continue at the step that opens its options.
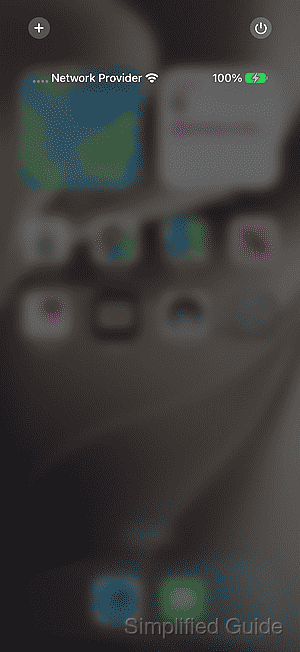
- Tap the + button at the top left of Control Center.
- Tap Add a Control.
- Select Screen Recording from the controls gallery.
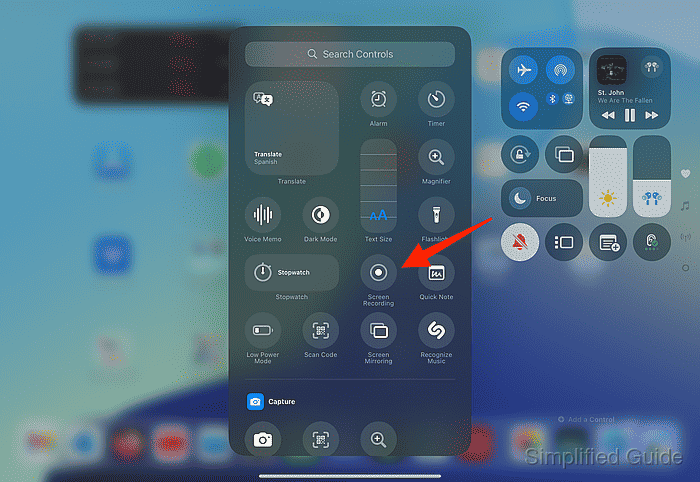
- Tap an empty area of Control Center to leave editing mode.
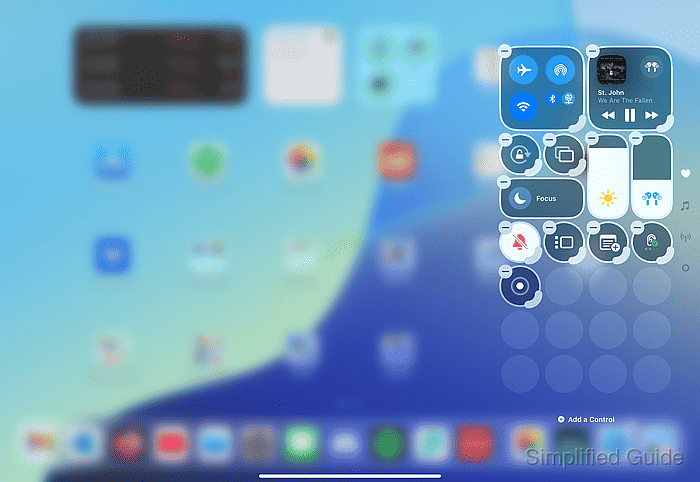
- Hold the Screen Recording control to open its options.
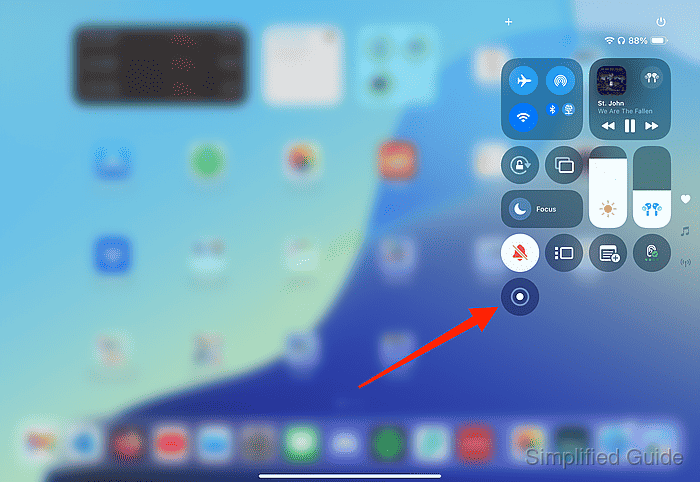
- Set Microphone to On for narration or Off to exclude your voice.
- Tap Start Recording.
This button can also appear as a gray Record button. Recording begins after a three-second countdown.
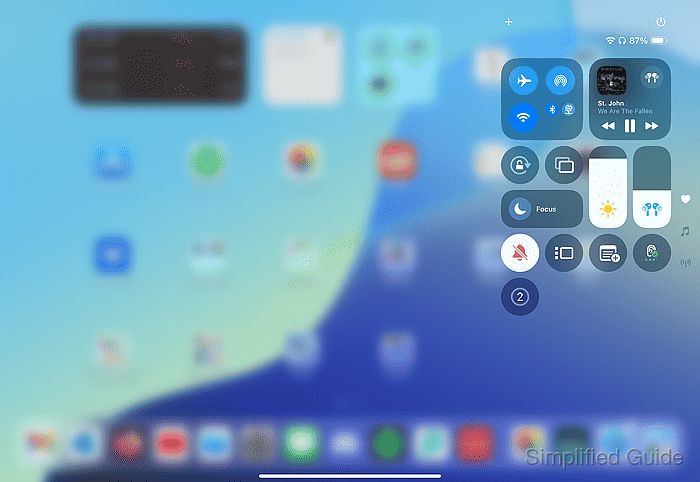
- Swipe up from the bottom center of the screen to close Control Center.
On an iPhone with a Home button, press the Home button instead.
- Perform the onscreen activity you want to record.
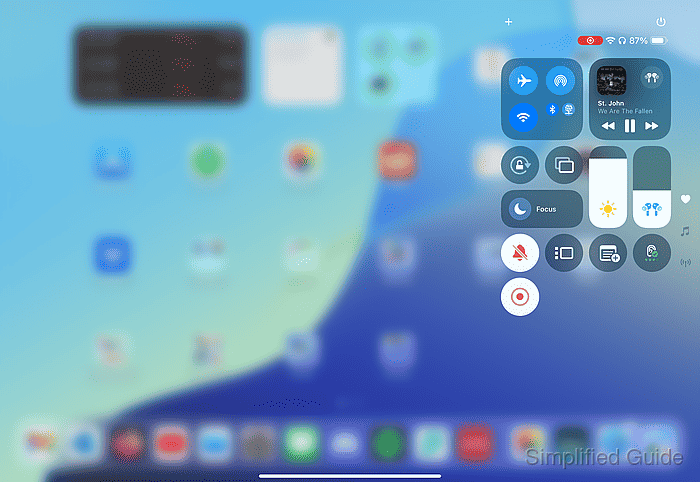
- Tap the Screen Recording control with the red dot in Control Center to stop recording.
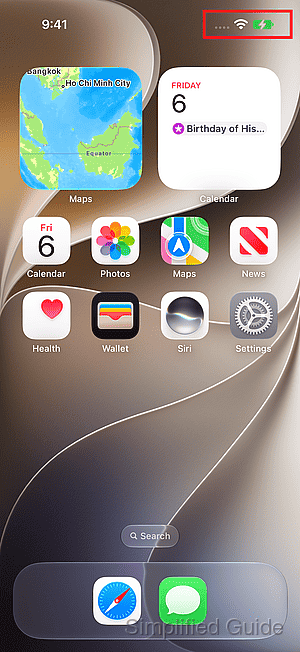
The video is saved automatically in Photos. The recording indicator at the top of the screen also stops recording.
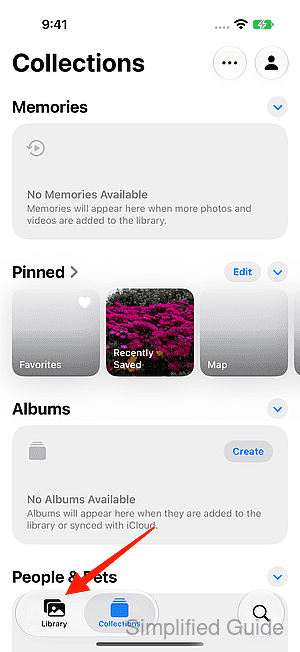
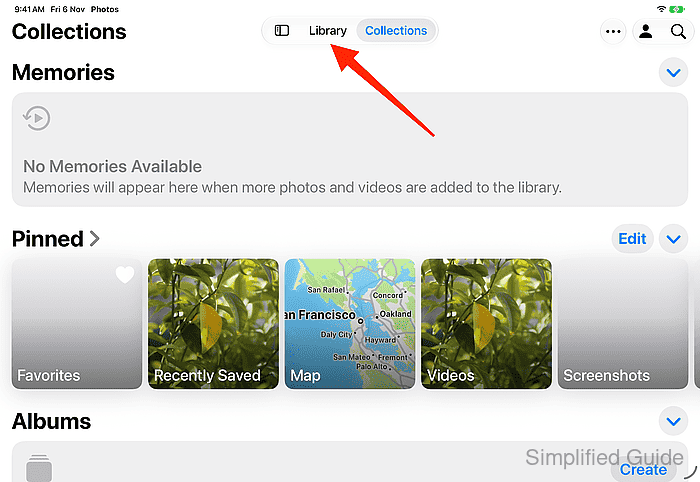
- Play the new recording from Library in Photos to check the video and any sound.
The iPhone tab is at the bottom of Photos; the iPad selector is at the top, or in the sidebar when it is open.