Apps use your iPhone or iPad camera for video calls, photos, and scanning. Camera permissions let you allow or block that access for each app.
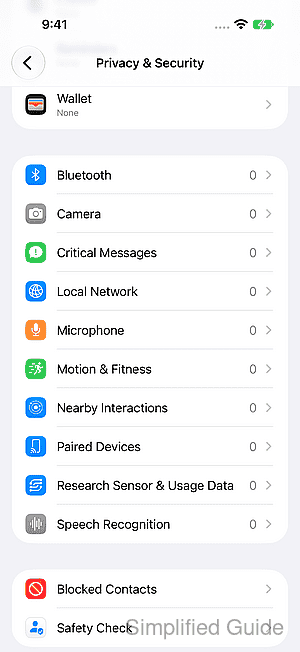
An app appears in the Camera permission list only after requesting access. The request usually comes when you first use a camera feature inside that app, rather than when you install it. Allowing access lets the app use the camera for its features, so permission should be limited to apps you trust.
Camera permission is separate from Photos access, Microphone access, and notifications. It controls the built-in camera on your device; it does not grant access to someone else's iPad camera or to a home security camera account.
Steps to manage camera permissions on iPhone and iPad:
- Open Settings on your iPhone or iPad.
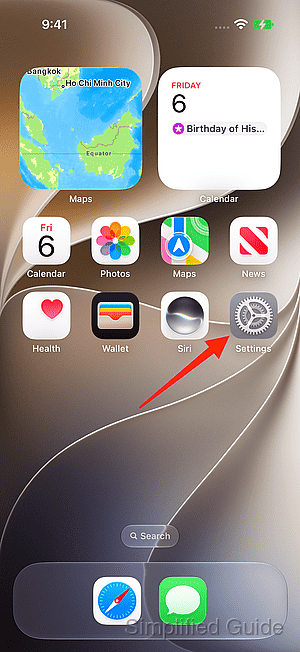
- Tap Privacy & Security.
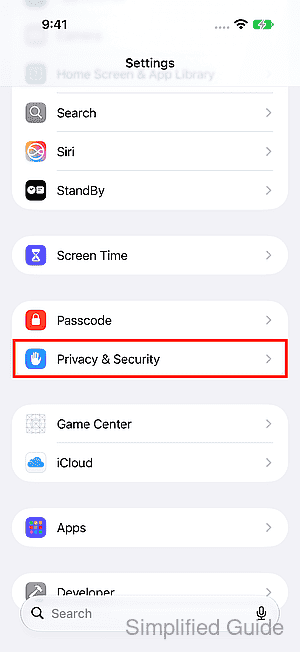
On iOS 15, this section is called Privacy.
- Tap Camera in the Privacy & Security list.
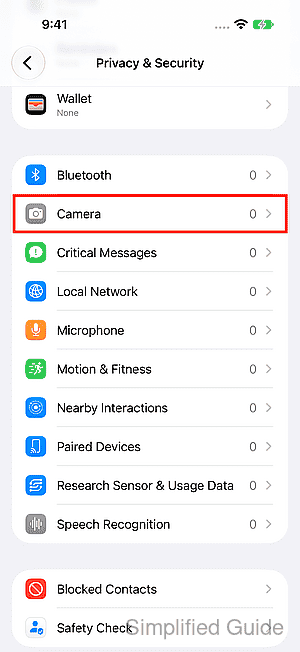
- Locate the app whose camera permission you want to change.
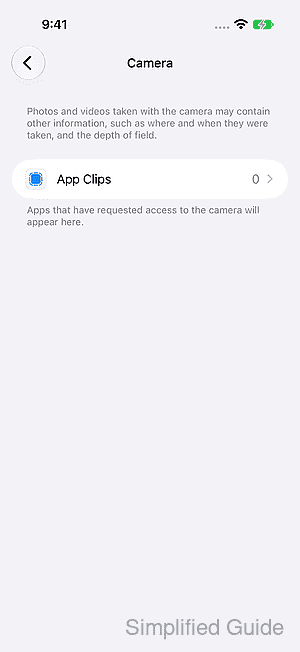
No apps have requested camera access in the screen shown, so there are no app switches. If your app is missing, open its photo, scan, or video-call feature so it can ask for permission.
- Turn the switch beside the app on to allow camera access or off to deny it.
Blocking access makes the app's camera features unavailable, and allowing it does not also grant microphone or photo-library access. If the control is unavailable, Screen Time or a device-management policy may be restricting camera use; the parent or device administrator controls those restrictions.