Apps can use your whereabouts for directions and nearby results. Location Services on iPhone and iPad controls which apps can use that information.
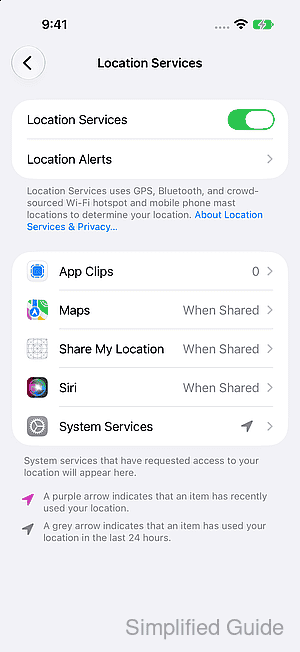
Location Services uses available GPS, Wi-Fi, Bluetooth and cellular information to determine your location. GPS and cellular positioning on iPad require a Wi-Fi + Cellular model; a Wi-Fi-only iPad can still use location services through Wi-Fi.
Restricting one app leaves location features available to other apps. Switching Location Services off device-wide can prevent maps, weather and other location-based features from working as expected, so individual permissions usually offer more control.
Steps to control location services on iPhone and iPad:
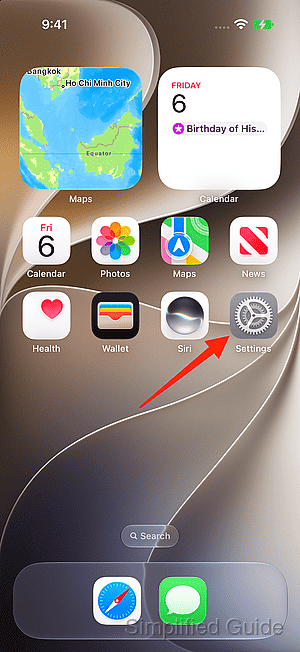
- Open Settings on your iPhone or iPad.
- Tap Privacy & Security.
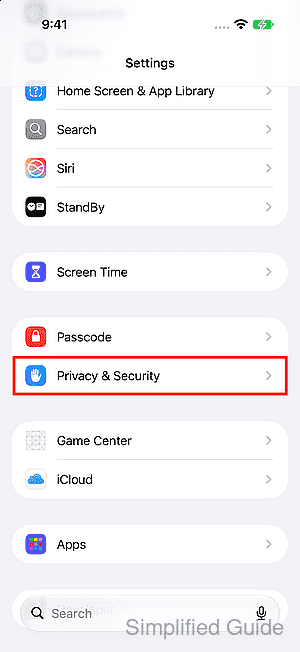
On iPad, this category is in the Settings sidebar.
- Tap Location Services.
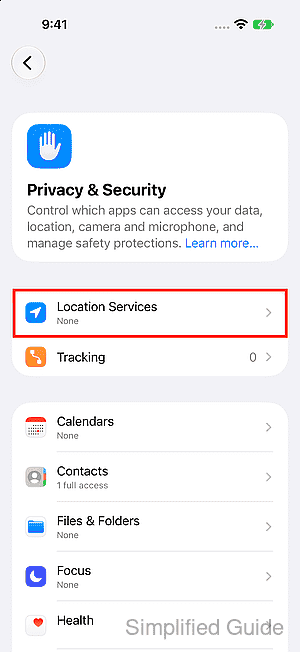
- Set the Location Services switch to on or off.
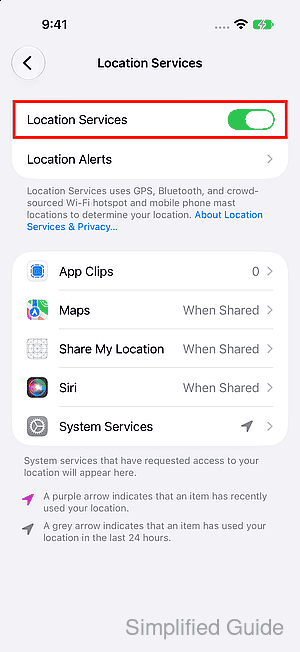
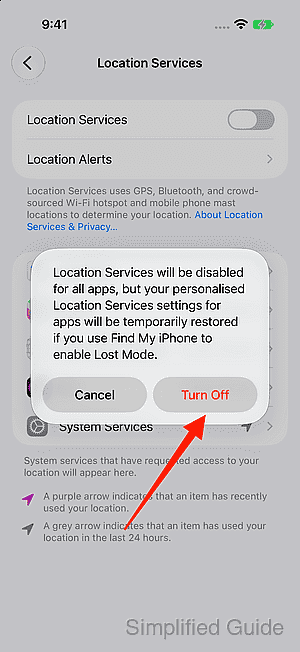
Turning Location Services off stops every app from using it, including apps you have allowed. An iPhone's location may still be used during an emergency call.
- Tap Turn Off if you switched Location Services off.
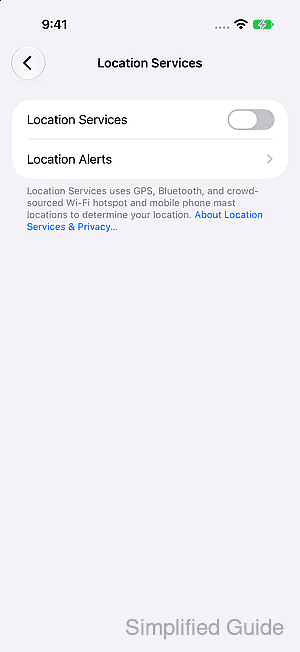
A grey switch means Location Services is off. Stop here if that is what you want, because the remaining steps need it on.
- Tap the app whose location access you want to change.
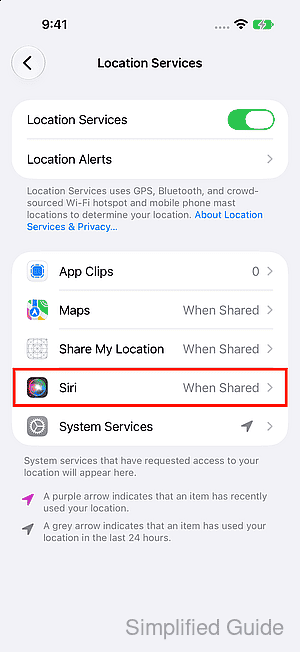
Apps appear in the list after requesting location access, so yours will differ. System Services at the bottom of the list has switches for features built into the device, and turning one off can affect that feature.
- Choose the location access you want for the app.
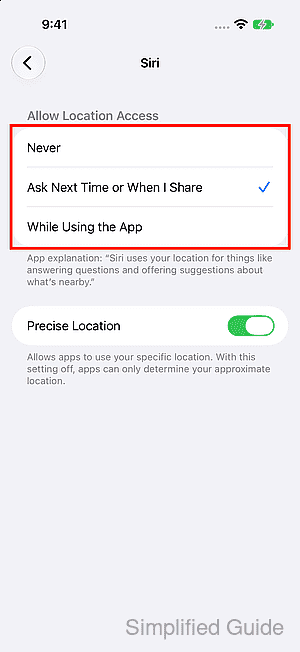
Never blocks access. Ask Next Time or When I Share asks you again when needed. While Using the App allows access only during use. Always also allows background access. Not every app offers every choice, and some also have a Precise Location switch that shares only your approximate area when off.
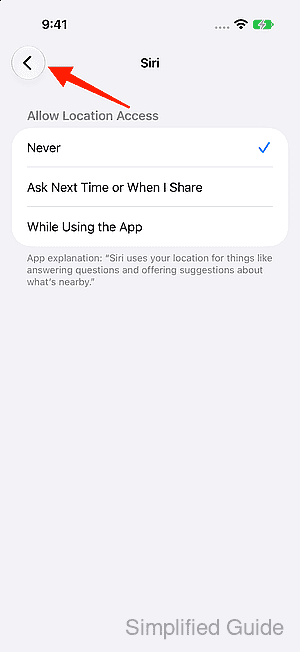
- Tap the back button to see the access you chose beside the app's name.
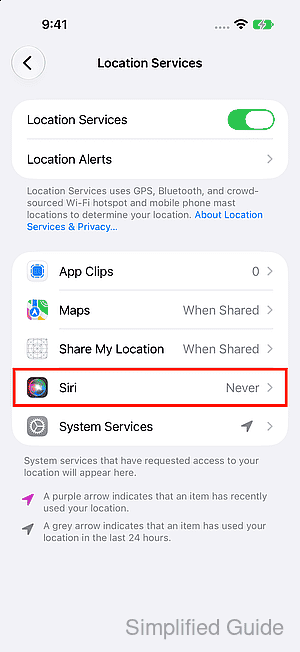
When Shared is the short label for Ask Next Time or When I Share.